
Now first of all, [Steph] grants that you can already take your pick of several LED pumpkin badges out there on IO. That’s not the point. The point is that this flickering pumpkin pin is nicely-built as well as being open source.
 Even though it’s fully featured — it flickers, it’s wearable, and it’s lightweight — the build couldn’t be more simple. It’s fancy through-hole LEDs and a coin cell holder, plus a tack pin to stick it through your shirt. But the final result is quite elegant thanks to clever use of PCB layering.
The first version was to get all the layers right to let the light through and embellish the jack-o-lantern’s lines with manufacturer-applied silver solder, but as [Steph] points out, it looked ‘like something a disturbed child might carve into their desk in detention’. So [Steph] enlisted [Mx. Jack Nelson], who improved the artwork.
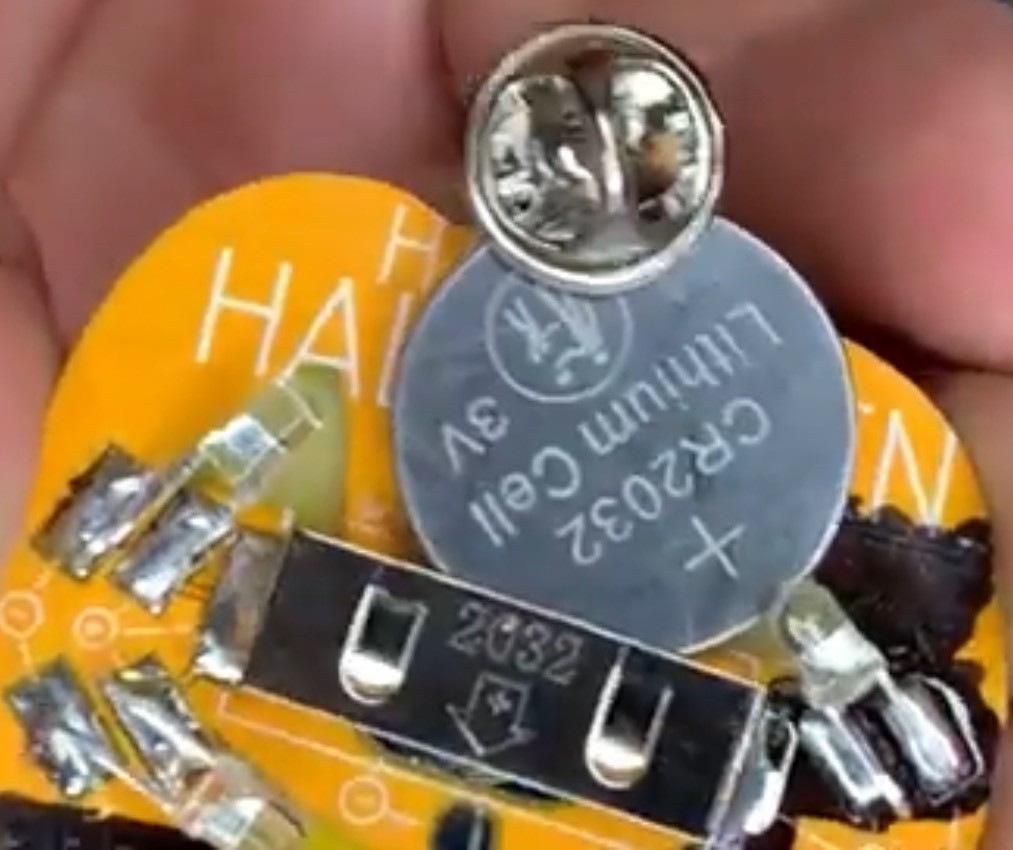
Pretty much every component does double duty here, including the tack pin — it serves as a switch because it can hold the battery in place. The battery’s edges reflect the glowing light quite nicely around the edge of the pin. And the LEDs beneath the battery prevent it from slipping out. You can see how it goes together in the video after the break.
Continue reading “2023 Halloween Hackfest: Flickering Pumpkin Pin Is Solidly Built”