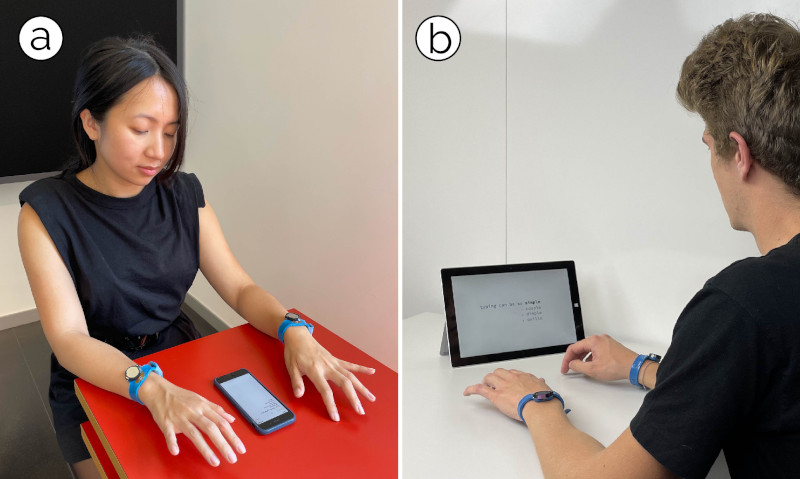
The team from the Sensing, Interaction & Perception Lab at ETH Zürich, Switzerland have come up with TapType, an interesting text input method that relies purely on a pair of wrist-worn devices, that sense acceleration values when the wearer types on any old surface. By feeding the acceleration values from a pair of sensors on each wrist into a Bayesian inference classification type neural network which in turn feeds a traditional probabilistic language model (predictive text, to you and I) the resulting text can be input at up to 19 WPM with 0.6% average error. Expert TapTypers report speeds of up to 25 WPM, which could be quite usable.
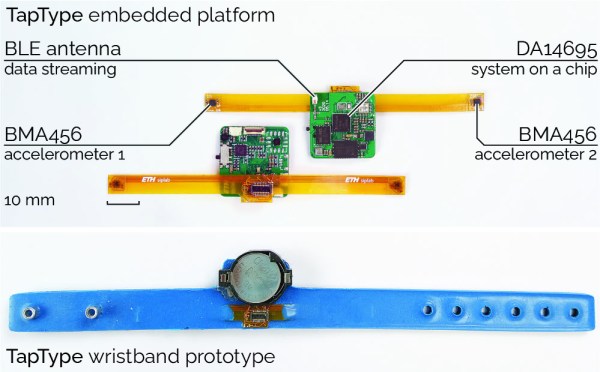
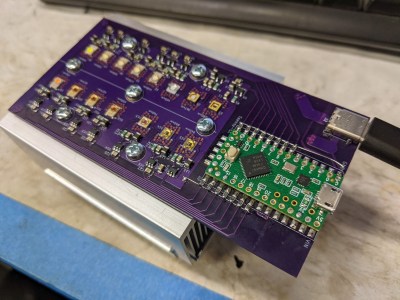
Details are a little scarce (it is a research project, after all) but the actual hardware seems simple enough, based around the Dialog DA14695 which is a nice Cortex M33 based Bluetooth Low Energy SoC. This is an interesting device in its own right, containing a “sensor node controller” block, that is capable of handling sensor devices connected to its interfaces, independant from the main CPU. The sensor device used is the Bosch BMA456 3-axis accelerometer, which is notable for its low power consumption of a mere 150 μA.
The wristband units themselves appear to be a combination of a main PCB hosting the BLE chip and supporting circuit, connected to a flex PCB with a pair of the accelerometer devices at each end. The assembly was then slipped into a flexible wristband, likely constructed from 3D printed TPU, but we’re just guessing really, as the progression from the first embedded platform to the wearable prototype is unclear.
What is clear is that the wristband itself is just a dumb data-streaming device, and all the clever processing is performed on the connected device. Training of the system (and subsequent selection of the most accurate classifier architecture) was performed by recording volunteers “typing” on an A3 sized keyboard image, with finger movements tracked with a motion tracking camera, whilst recording the acceleration data streams from both wrists. There are a few more details in the published paper for those interested in digging into this research a little deeper.
The eagle-eyed may remember something similar from last year, from the same team, which correlated bone-conduction sensing with VR type hand tracking to generate input events inside a VR environment.
Continue reading “TapType: AI-Assisted Hand Motion Tracking Using Only Accelerometers”

 (
(
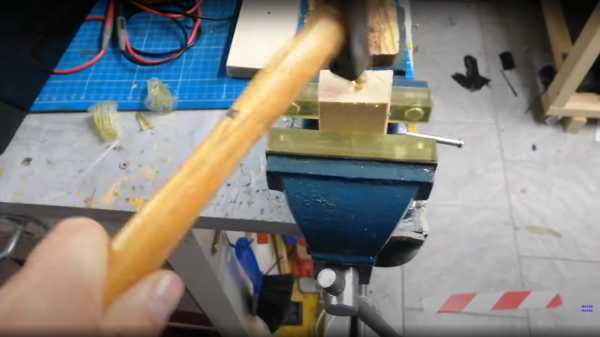
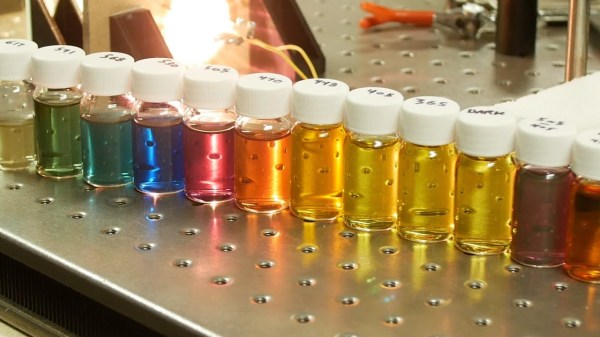
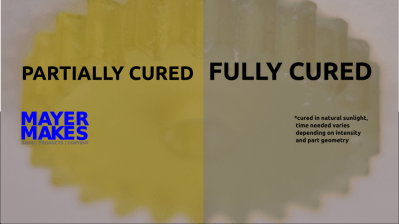 have a neat trick of presenting a definite yellowish hue when not fully cured, which is very helpful. This is particularly useful when removing support structures as you can use the color change during the curing process to judge the right moment to snap off the thicker sections, minimizing the risk of damaging the print. The resulting printed part is also tough enough to withstand subsequent traditional post-processing, such as milling, giving greater final finishing tolerances. Try doing that with an FDM print.