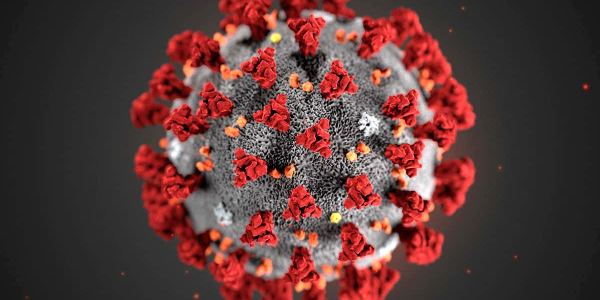
Masks are proven tools against airborne diseases, but pathogens — like the COVID-19 virus — can collect in a mask and survive which complicates handling and disposal. [Ilaria Rubino], a researcher at the University of Alberta, recently received an award for her work showing how treating a mask’s main filtration layer with a solution of mostly salt and water (plus a surfactant to help the wetting process) can help a mask inactivate pathogens on contact, thereby making masks potentially re-usable. Such masks are usually intended as single-use, and in clinical settings used masks are handled and disposed of as biohazard waste, because they can contain active pathogens. This salt treatment gives a mask a kind of self-cleaning ability.
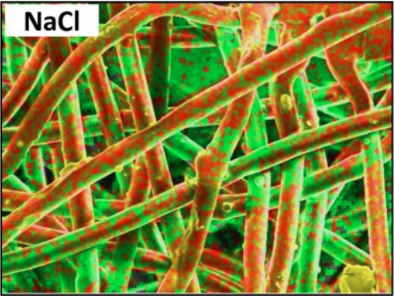
How exactly does salt help? The very fine salt coating deposited on the fibers of a mask’s filtration layer first dissolves on contact with airborne pathogens, then undergoes evaporation-induced recrystallization. Pathogens caught in the filter are therefore exposed to an increasingly-high concentration saline solution and are then physically damaged. There is a bit of a trick to getting the salt deposited evenly on the polypropylene filter fibers, since the synthetic fibers are naturally hydrophobic, but a wetting process takes care of that.
The salt coating on the fibers is very fine, doesn’t affect breathability of the mask, and has been shown to be effective even in harsh environments. The research paper states that “salt coatings retained the pathogen inactivation capability at harsh environmental conditions (37 °C and a relative humidity of 70%, 80% and 90%).”
Again, the salt treatment doesn’t affect the mask’s ability to filter pathogens, but it does inactivate trapped pathogens, giving masks a kind of self-cleaning ability. Interested in the nuts and bolts of how researchers created the salt-treated filters? The Methods section of the paper linked at the head of this post (as well as the Methods section in this earlier paper on the same topic) has all the ingredients, part numbers, and measurements. While you’re at it, maybe brush up on commercially-available masks and what’s inside them.