How To Make A Custom LCD From Scratch

If you have ever wondered what it took to make your own custom graphic LCD from scratch, this video from [Applied Science] is worth a watch. It’s concise and to the point, while still telling you what you need to know should you be interested in rolling your own. There is also a related video which goes into much more detail about experimenting with LCD technology.

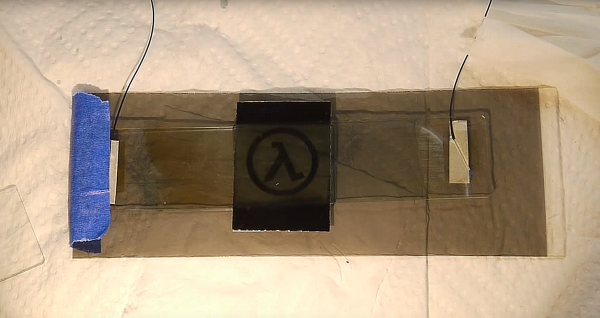
[Applied Science] used microscope slides and parts purchased online to make an LCD that displays a custom graphic when activated. The only step that home experimenters might have trouble following is coating the glass slides with a clear conductive layer, which in the video is done via a process called sputtering to deposit a thin film. You don’t need to do this yourself, though. Pre-coated glass is readily available online. (Search for Indium-Tin Oxide or ‘ITO’ coated glass.)

The LCD consists of a layer of liquid crystal suspended between two layers of conductive glass. An electrical field is used to change the orientation of crystals in the suspension, which modulate the light passing through them. Polarizing filters result in a sharp contrast and therefore a visible image. To show a particular shape, some of the conductive coating is removed from one of the layers in the shape of the desired image. The process [Applied Science] uses to do this is nearly identical to etching a custom PCB. Continue reading “How To Make A Custom LCD From Scratch” →
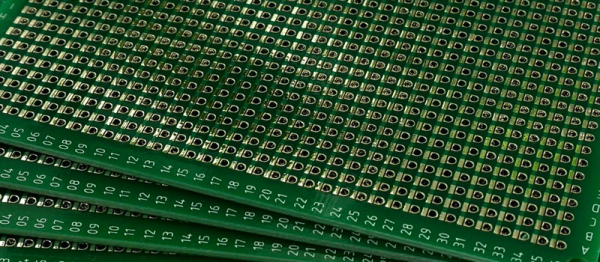
Evaluating The Unusual And Innovative Perf+ Protoboard

Back in 2015 [Ben Wang] attempted to re-invent the protoboard with the Perf+. Not long afterward, some improvements (more convenient hole size and better solder mask among others) yielded an updated version which I purchased. It’s an interesting concept and after making my first board with it here are my thoughts on what it does well, what it’s like to use, and what place it might have in a workshop.

Perf+ Overview

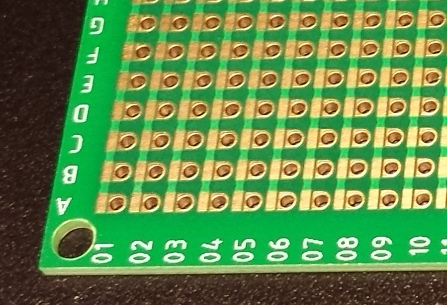
One side of a Perf+ 2 board. Each hole can selectively connect to bus next to it with a solder bridge. The bus strips are horizontal on the back side.
One side of a Perf+ board. Each hole can selectively connect to the bus next to it with a solder bridge. These bus strips are vertical. The ones on the back are horizontal.

The Perf+ is two-sided perfboard with a twist. In the image to the left, each column of individual holes has a bus running alongside. Each hole can selectively connect to its adjacent bus via a solder bridge. These bus traces are independent of each other and run vertically on the side shown, and horizontally on the back.

Each individual hole is therefore isolated by default but can be connected to one, both, or neither of the bus traces on either side of the board. Since these traces run vertically on one side and horizontally on the other, any hole on the board can be connected to any other hole on the board with as few as two solder bridges and without a single jumper wire.

It’s an innovative idea, but is it a reasonable replacement for perfboard or busboard? I found out by using it to assemble a simple prototype.

Continue reading “Evaluating The Unusual And Innovative Perf+ Protoboard” →

Low Cost Optics Bench Project – Now With Lasercut Optics

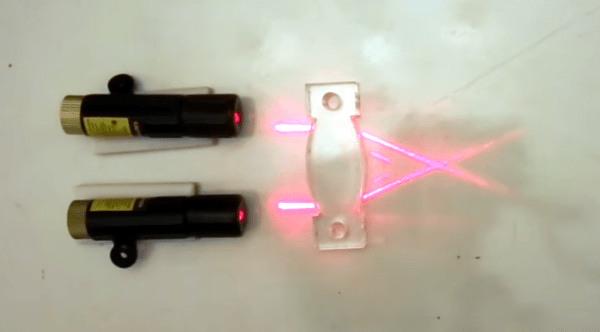
[PWalsh] has a clever idea for learning and experimenting with basic optics: instead of using actual lenses, he’s using clear pieces of laser-cut acrylic cut into lens profiles instead. They are much easier to make, mount, adjust, and handle while still bending light in the same basic ways. It allows for simple hands-on experimentation with plenty of visual feedback – perfect for beginners.

Optical Group

This idea is part of [PWalsh]’s low-cost optics bench project, which uses laser-cut plastic to create adjustable optics bench components. We’ve covered this project before, but [PWalsh] expanded the idea with the concept of these simple laser-cut optics for basic experimentation; an addition that requires no additional tools and only a small amount of material. Features and value added for nearly zero cost is something we always love to see!

Continue reading “Low Cost Optics Bench Project – Now With Lasercut Optics” →

An Improved WiFi Connected E-Ink Display

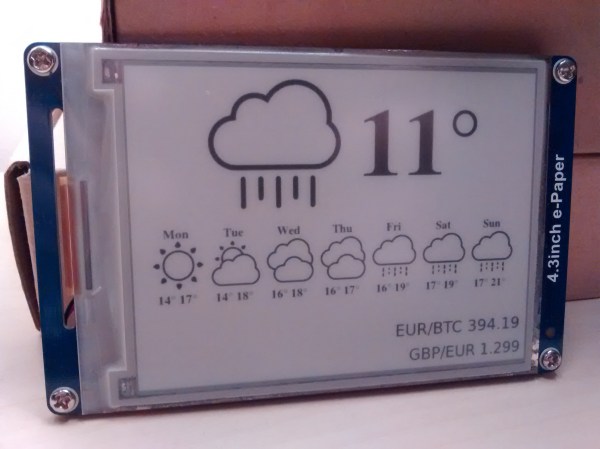
[David] created a great looking e-ink WiFi display project that works a little like a network-connected picture frame with a few improvements over other similar projects. With the help of an ESP8266 it boots up, grabs an 800×600 image over the network, updates the screen, then goes back to sleep. Thanks to some reverse engineering, he was able to make his own firmware for the onboard controller to handle the low-level driving of the display. Since e-ink displays require no power to hold an image and the rest of the unit spends most of the time either asleep or off, power use is extremely low. [David] hopes to go months without needing to recharge the internal lithium-polymer battery.

eink_back
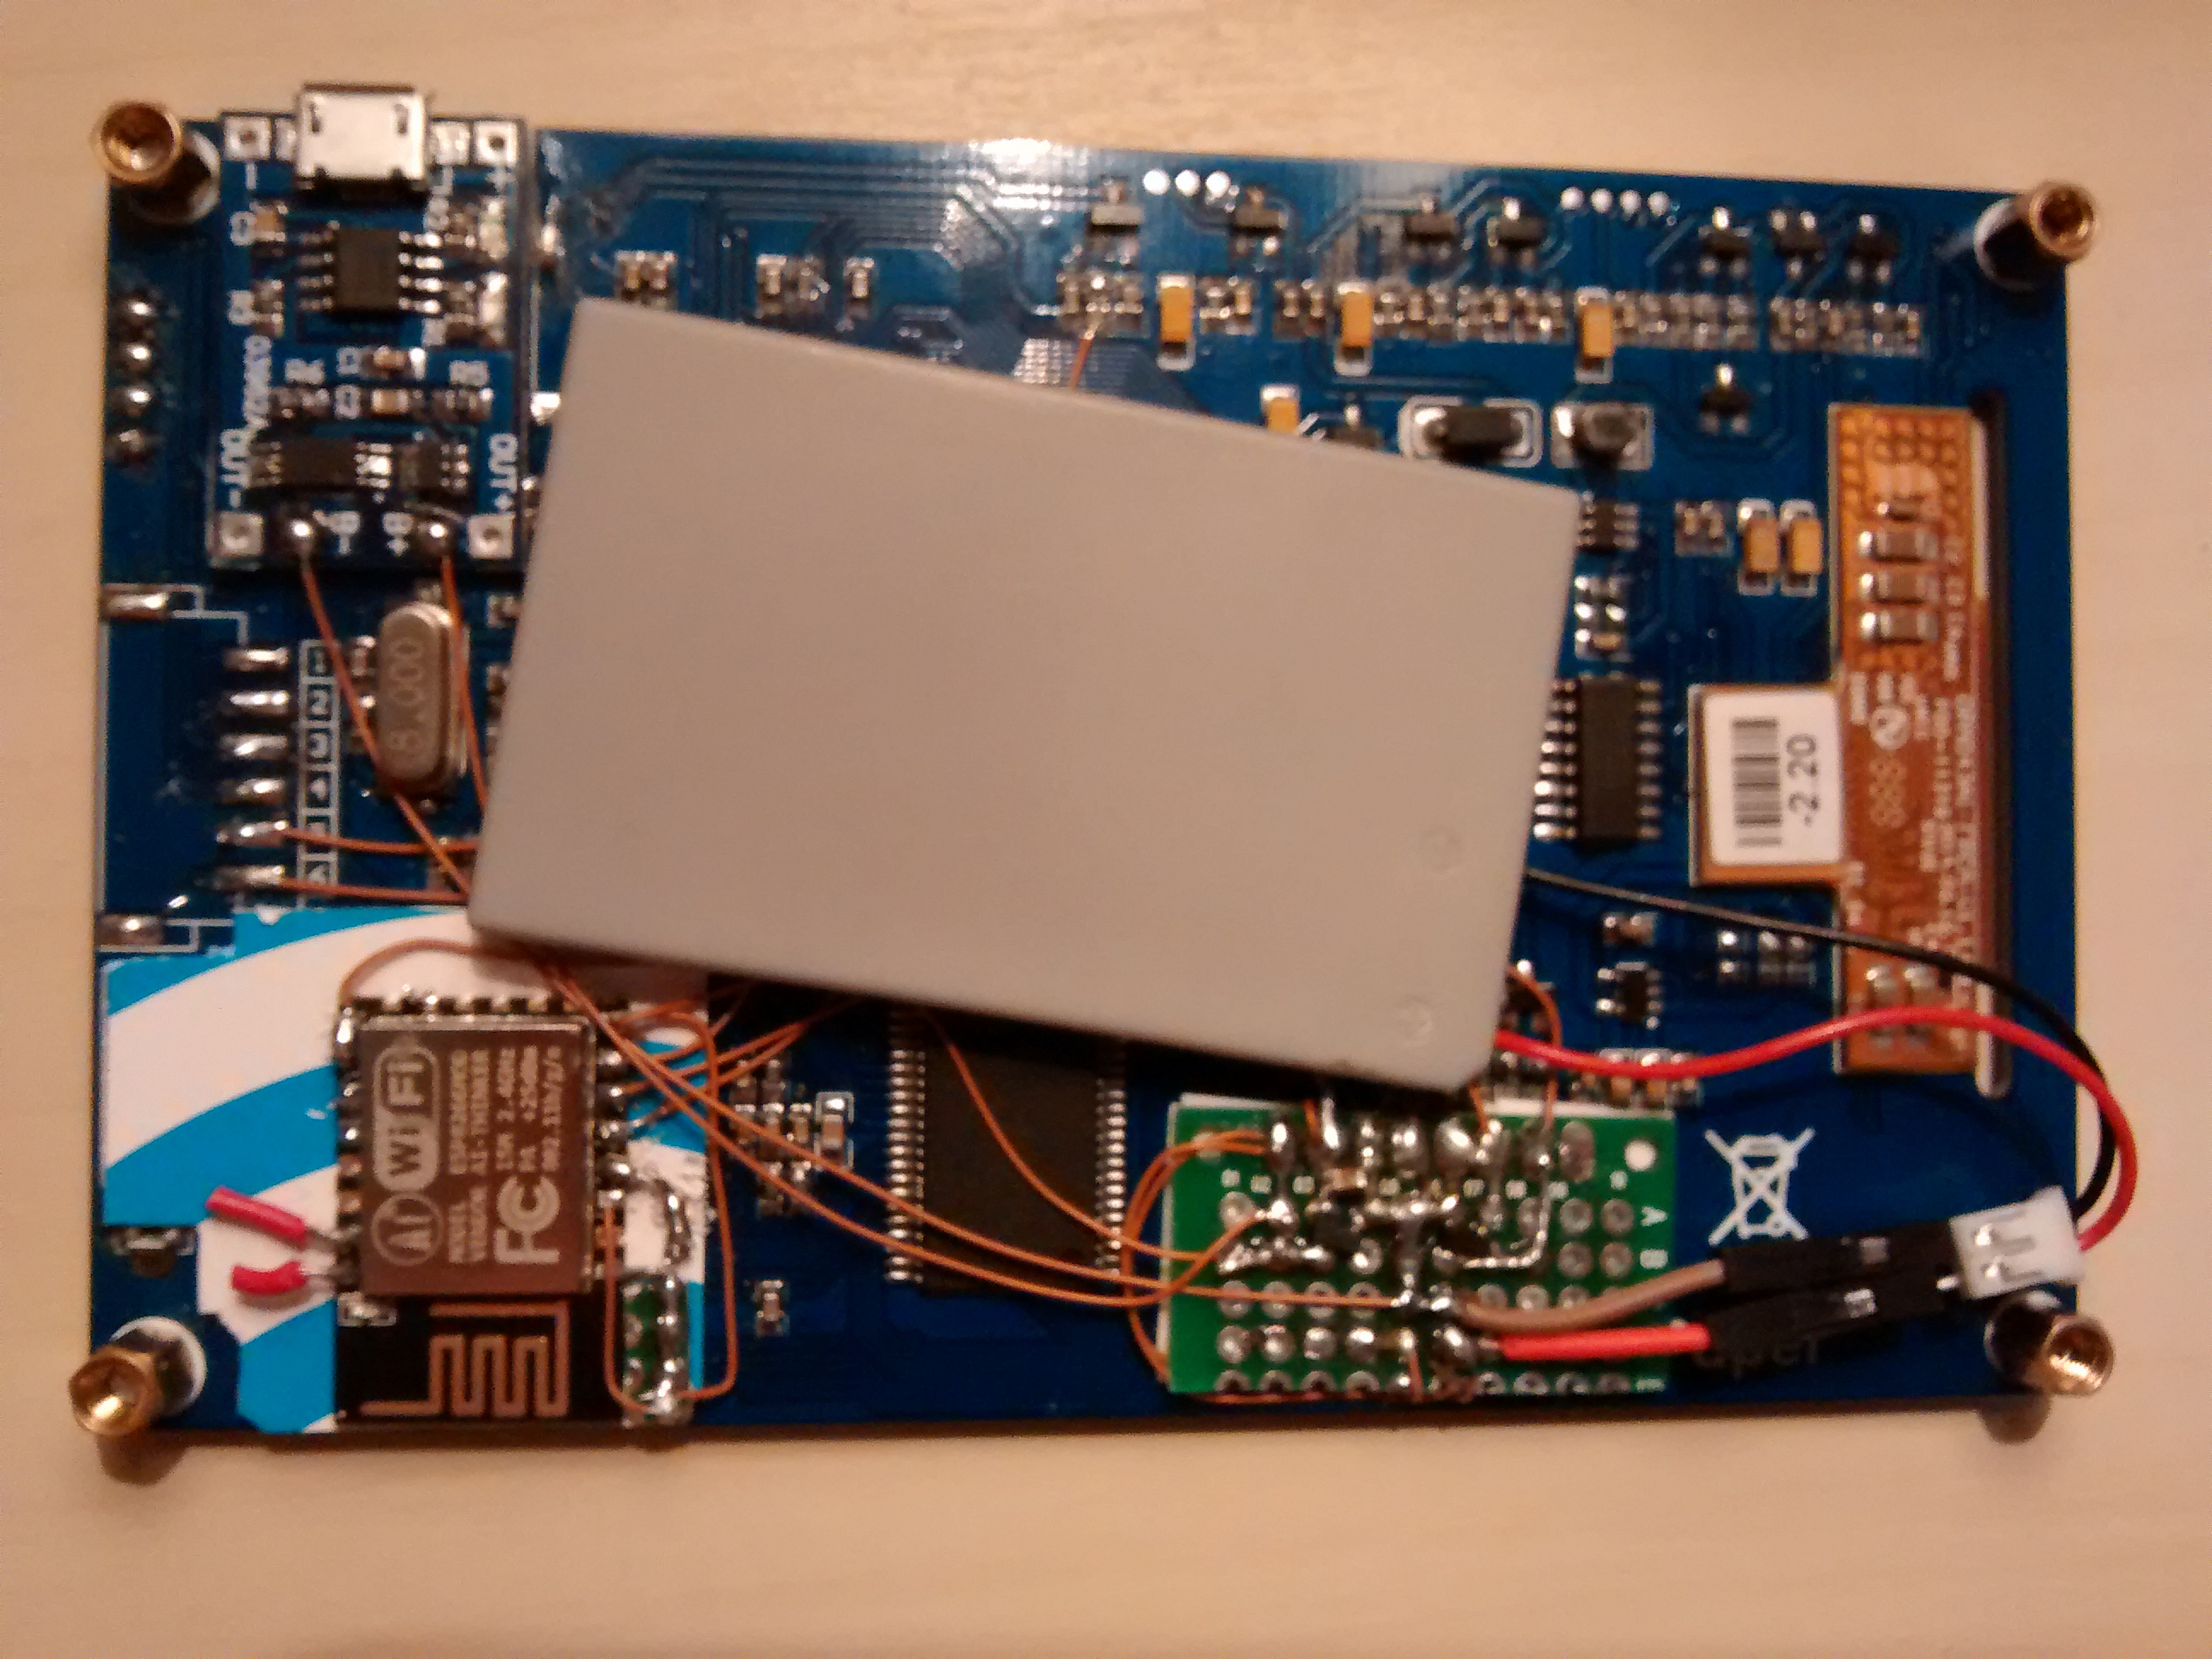
Lithium-polymer charger (top left); Single-cell lithium-polymer battery (center); pullups and power cutoff for nonessential electronics (green board, lower right); ESP866 (lower left).

We previously featured another WiFi-connected e-ink display project that was in fact also the inspiration for this version. [David] uses a 4.3″ 800×600 GDE043A e-ink display and wrote his own firmware for the STM32F103ZE ARM CortexM3 SoC used as a display controller, a process that required some reverse engineering but was aided by the manufacturer providing a closed-source driver for him to use. [David] writes that some reverse-engineering work for this display had already been done, but he had such a hard time getting a clear understanding from it that he reverse engineered the firmware anyway and used the documents mainly for validation and guidance.

As a result, [David] was able to make use of the low-level driver electronics already present on the board instead of having to make and interface his own. E-ink displays have some unusual driving requirements which include generating relatively high positive and negative voltages, and rapidly switching them when updating the display. Taking advantage of the board’s existing low-level driver electronics was a big benefit.

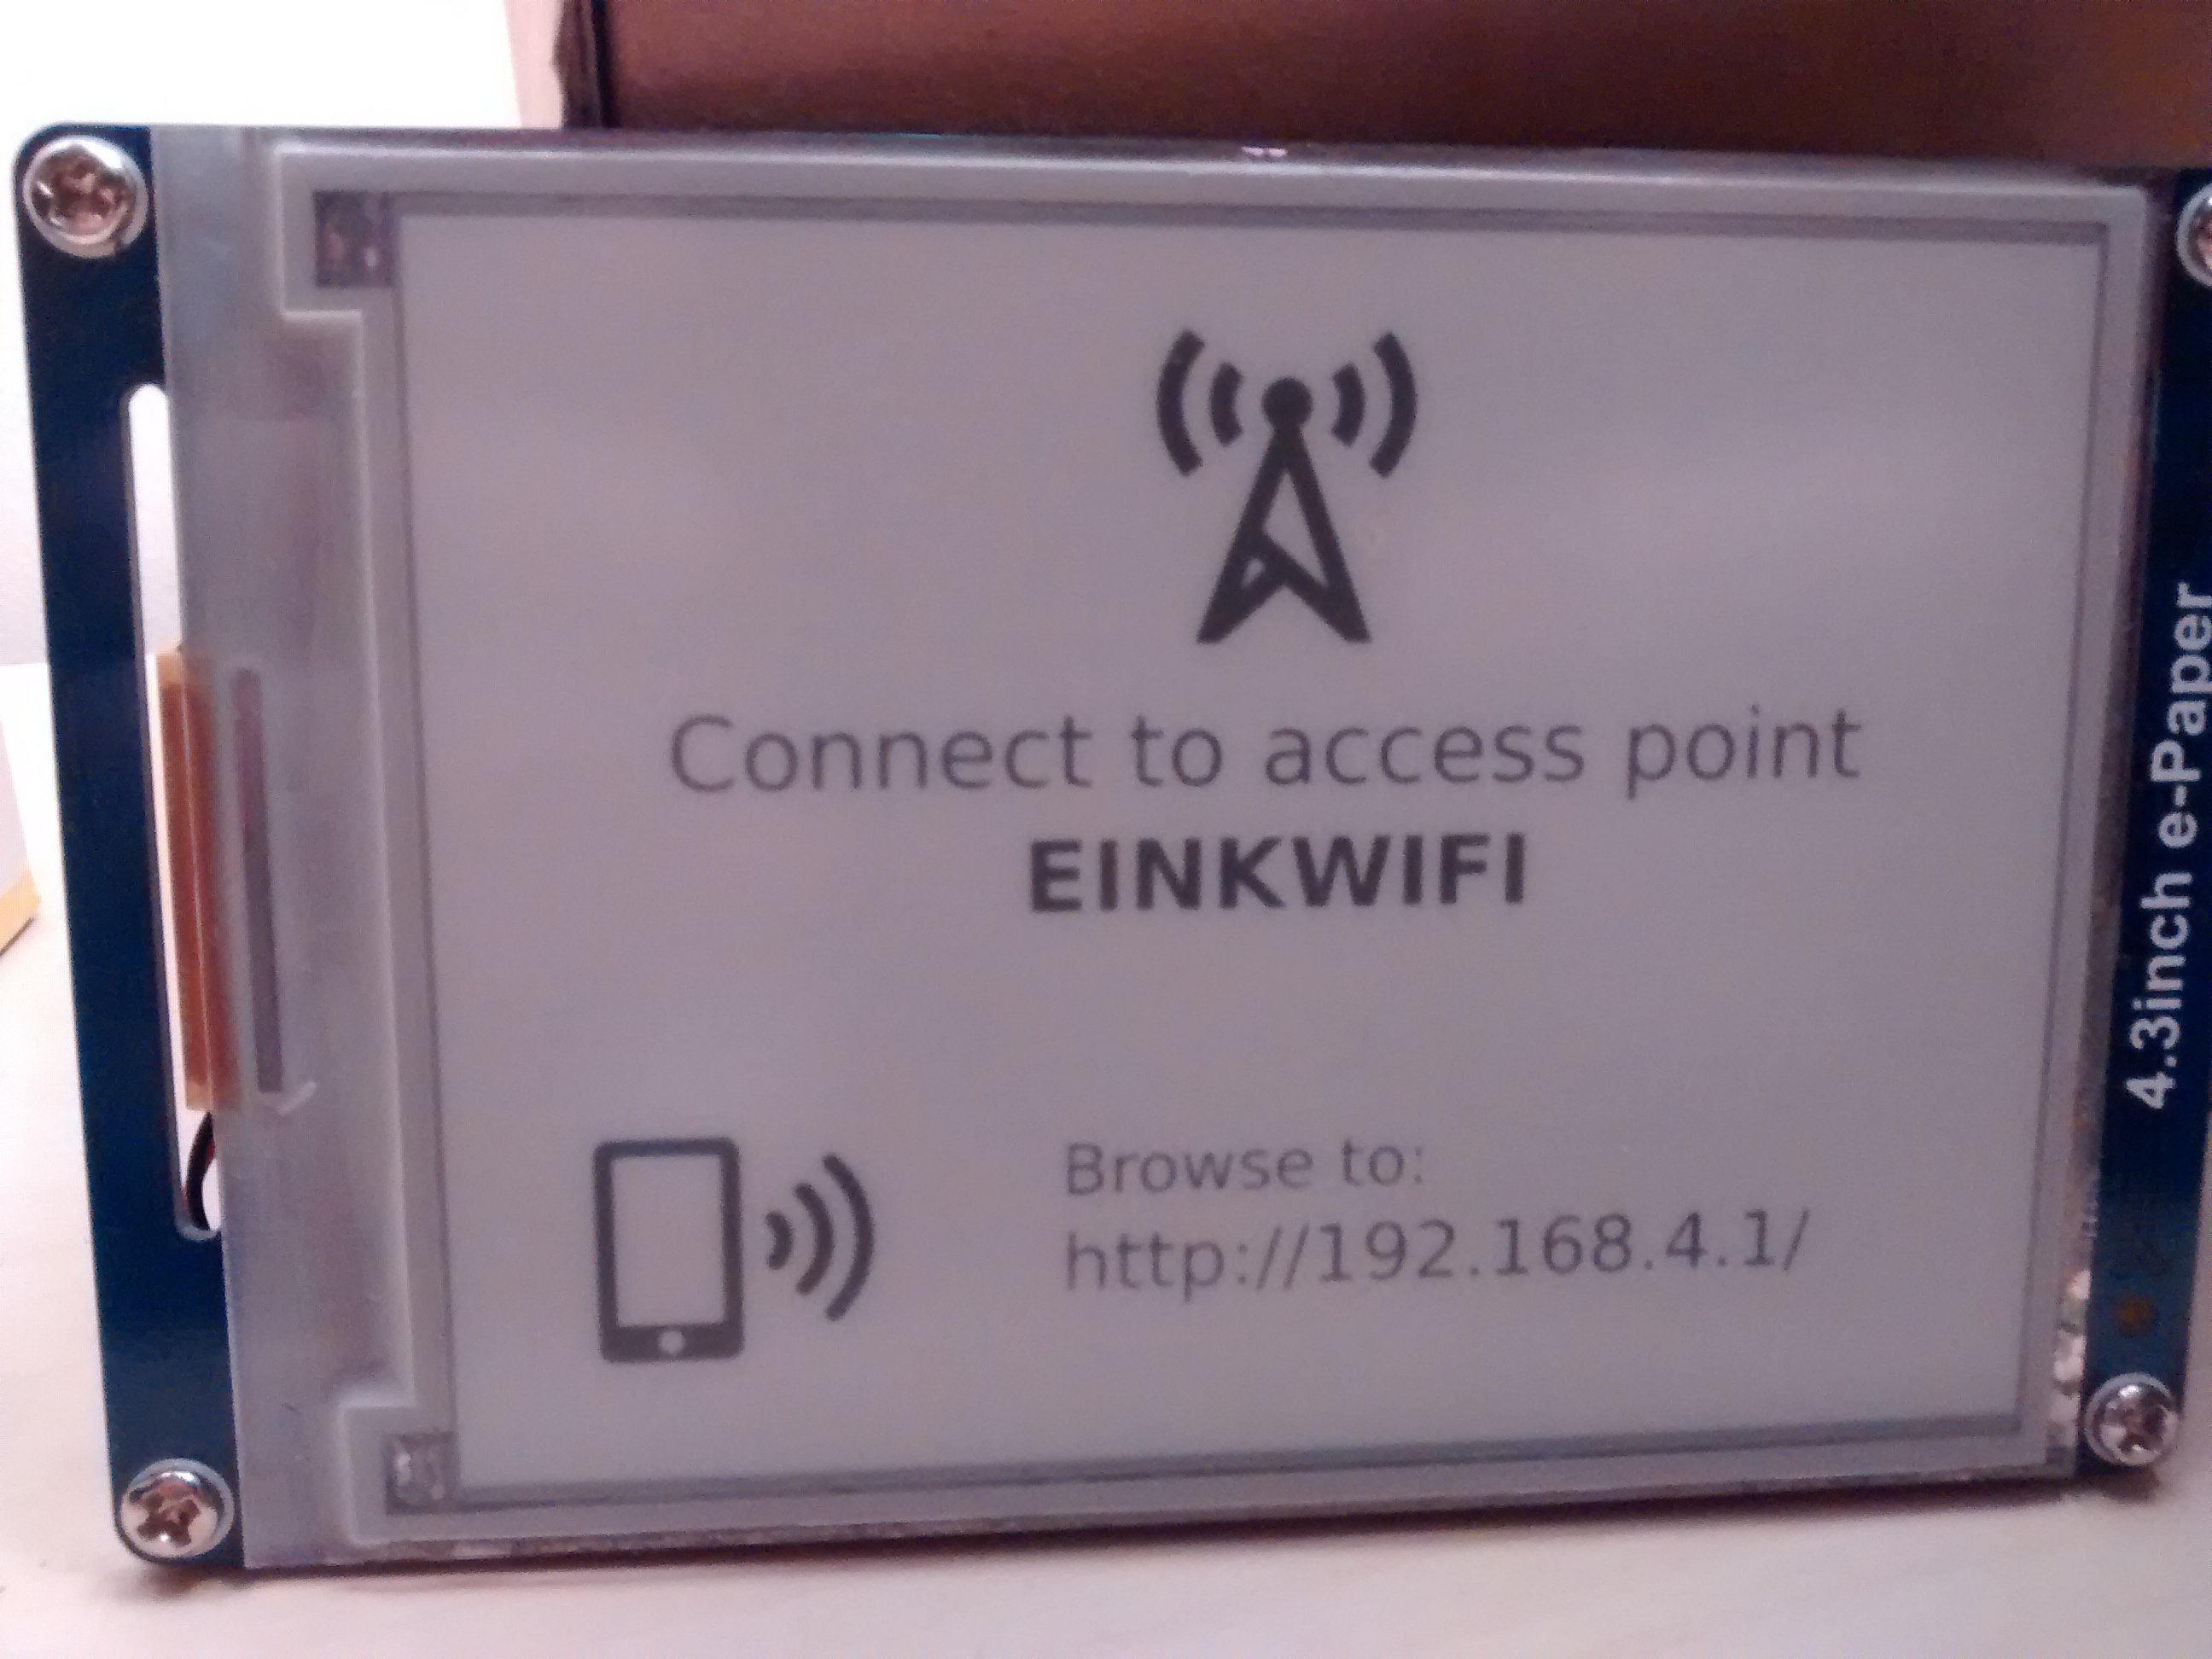
eink_apThe ESP8266 rounds out the project by taking care of periodically booting things up, connecting to the wireless network and downloading an image, feeding the image data to the STM32 to update the display, then disconnecting power from all non-essential electronics and going back to sleep. We especially like how the unit automatically creates a WiFi access point to allow easy (re)configuring.

There’s one more nice touch. [David] goes the extra mile with server software (in the form of PHP scripts) to design screens for the display with data like weather forecasts, stock prices, and exchange rates. Check it out in the project’s github repository.

Self-Balancing One-Wheel Motorcycle Tears Up The Beach

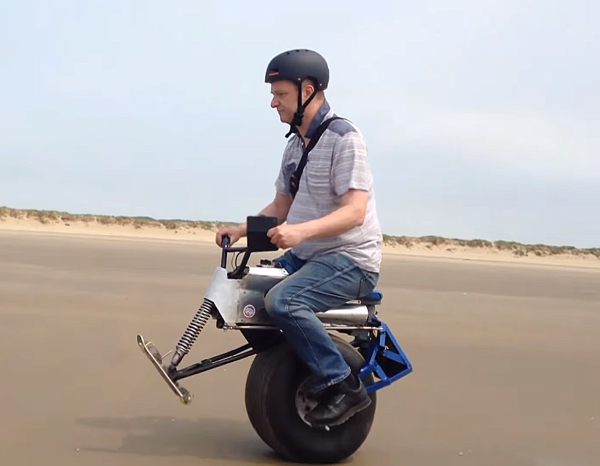
[XenonJohn] wrote in to let us know about updates and a recent test drive of an Electric Self-Balancing One-wheeled Motorcycle, fresh from the beach where he says it proved to be great fun to ride. The design and build have been updated since we last saw it as a semifinalist entry in the 2014 Hackaday Prize. The original, he says, “looked cool but was slow, cumbersome and really dangerous to ride.”

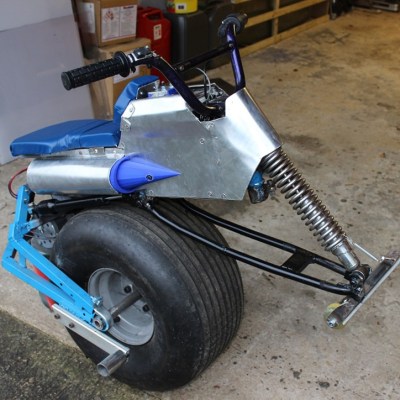
electric self-balancing unicycle - thumbnailSince then it has been completely redesigned and now has a super fat kite-surfer wheel, a front crash skid with damper, and a variable geometry which allows it to steer properly despite just having one wheel. It does this by allowing the rider to shift their position relative to the wheel, instead of the seat always being rigidly locked directly above the axle.

That steering is a pretty clever upgrade, but we do wonder if the new crash skid will have an atlatl effect and really launch the rider in a crash. Our gut feeling aside, it is designed not to plant itself in the pavement, but to slide along (without ejecting the rider) until the vehicle loses all momentum.

There is something about self-balancing unicycles that attracts experimenters, each of whom takes a different approach. We see everything from this device constructed mainly from a Razor Scooter to this more polished-looking unit based on an earlier Segway clone design. [XenonJohn] reminds us that “there is still much to learn in this area and you can genuinely innovate even as a hobbyist. Also, you can only do so much on a computer, you then have to actually build something and see how well it works. [This recent test] shows what you can do if you just keep on experimenting.” Video of the test drive is below.

Continue reading “Self-Balancing One-Wheel Motorcycle Tears Up The Beach” →

Fixing A Broken Bandsaw With A Custom Steel Part

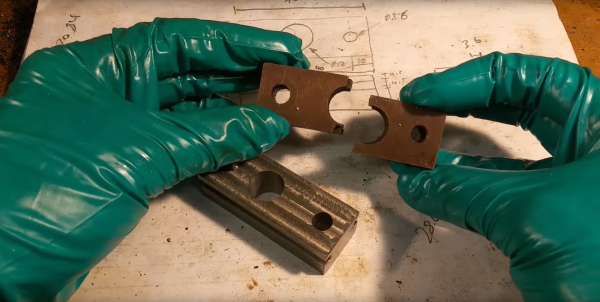
When a large bandsaw broke down due to a cast iron part snapping in two, [Amr] took the opportunity to record the entire process of designing and creating a solid steel replacement for the broken part using a (non-CNC) mill and lathe.

For those of us unfamiliar with the process a machinist would go through to accomplish such a thing, the video is extremely educational; it can be sobering both to see how much design work happens before anything gets powered up, and just how much time and work goes into cutting and shaping some steel into what at first glance looks like a relatively uncomplicated part.

Continue reading “Fixing A Broken Bandsaw With A Custom Steel Part” →

Hexapod Tank From Ghost In The Shell Brought To Life

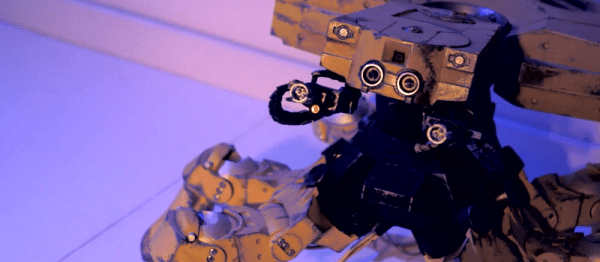
Every now and then someone gets seriously inspired, and that urge just doesn’t go away until something gets created. For [Paulius Liekis], it led to creating a roughly 1:20 scale version of the T08A2 Hexapod “Spider” Tank from the movie Ghost in the Shell. As the he puts it, “[T]his was something that I wanted to build for a long time and I just had to get it out of my system.” It uses two Raspberry Pi computers, 28 servo motors, and required over 250 hours of 3D printing for all the meticulously modeled pieces – and even more than that for polishing, filing, painting, and other finishing work on the pieces after they were printed. The paint job is spectacular, with great-looking wear and tear. It’s even better seeing it in motion — see the video embedded below.

Continue reading “Hexapod Tank From Ghost In The Shell Brought To Life” →