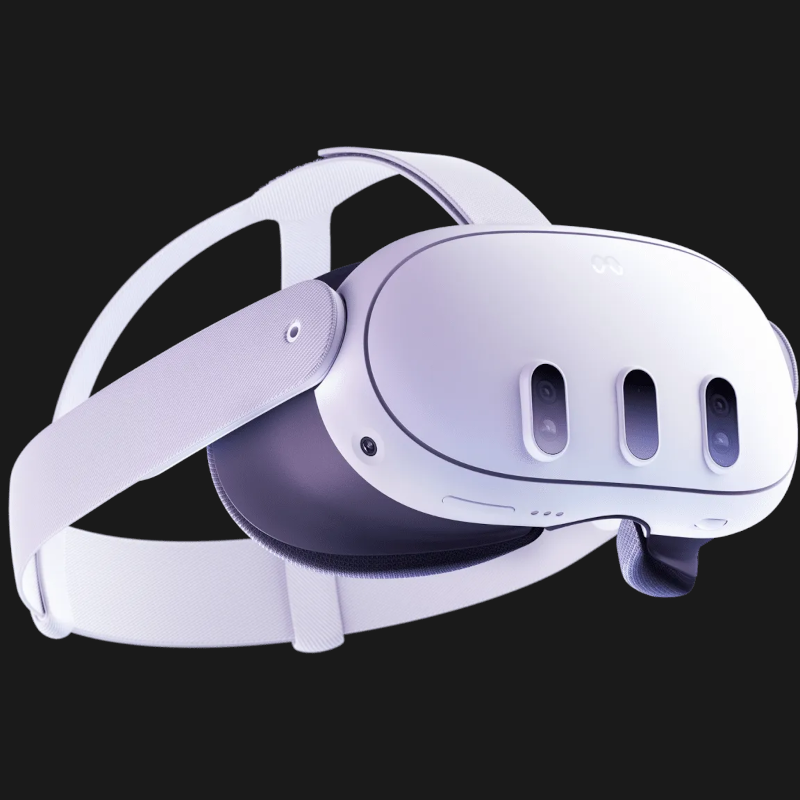
Meta’s Quest VR headset recently got the ability to accept and display video over USB-C, and it’s started some gears turning in folks’ heads. [Ian Hamilton] put together a quick concept machine consisting of a Raspberry Pi 400 that uses a VR headset as its monitor, which sure seems like the bones of a new breed of cyberdeck.
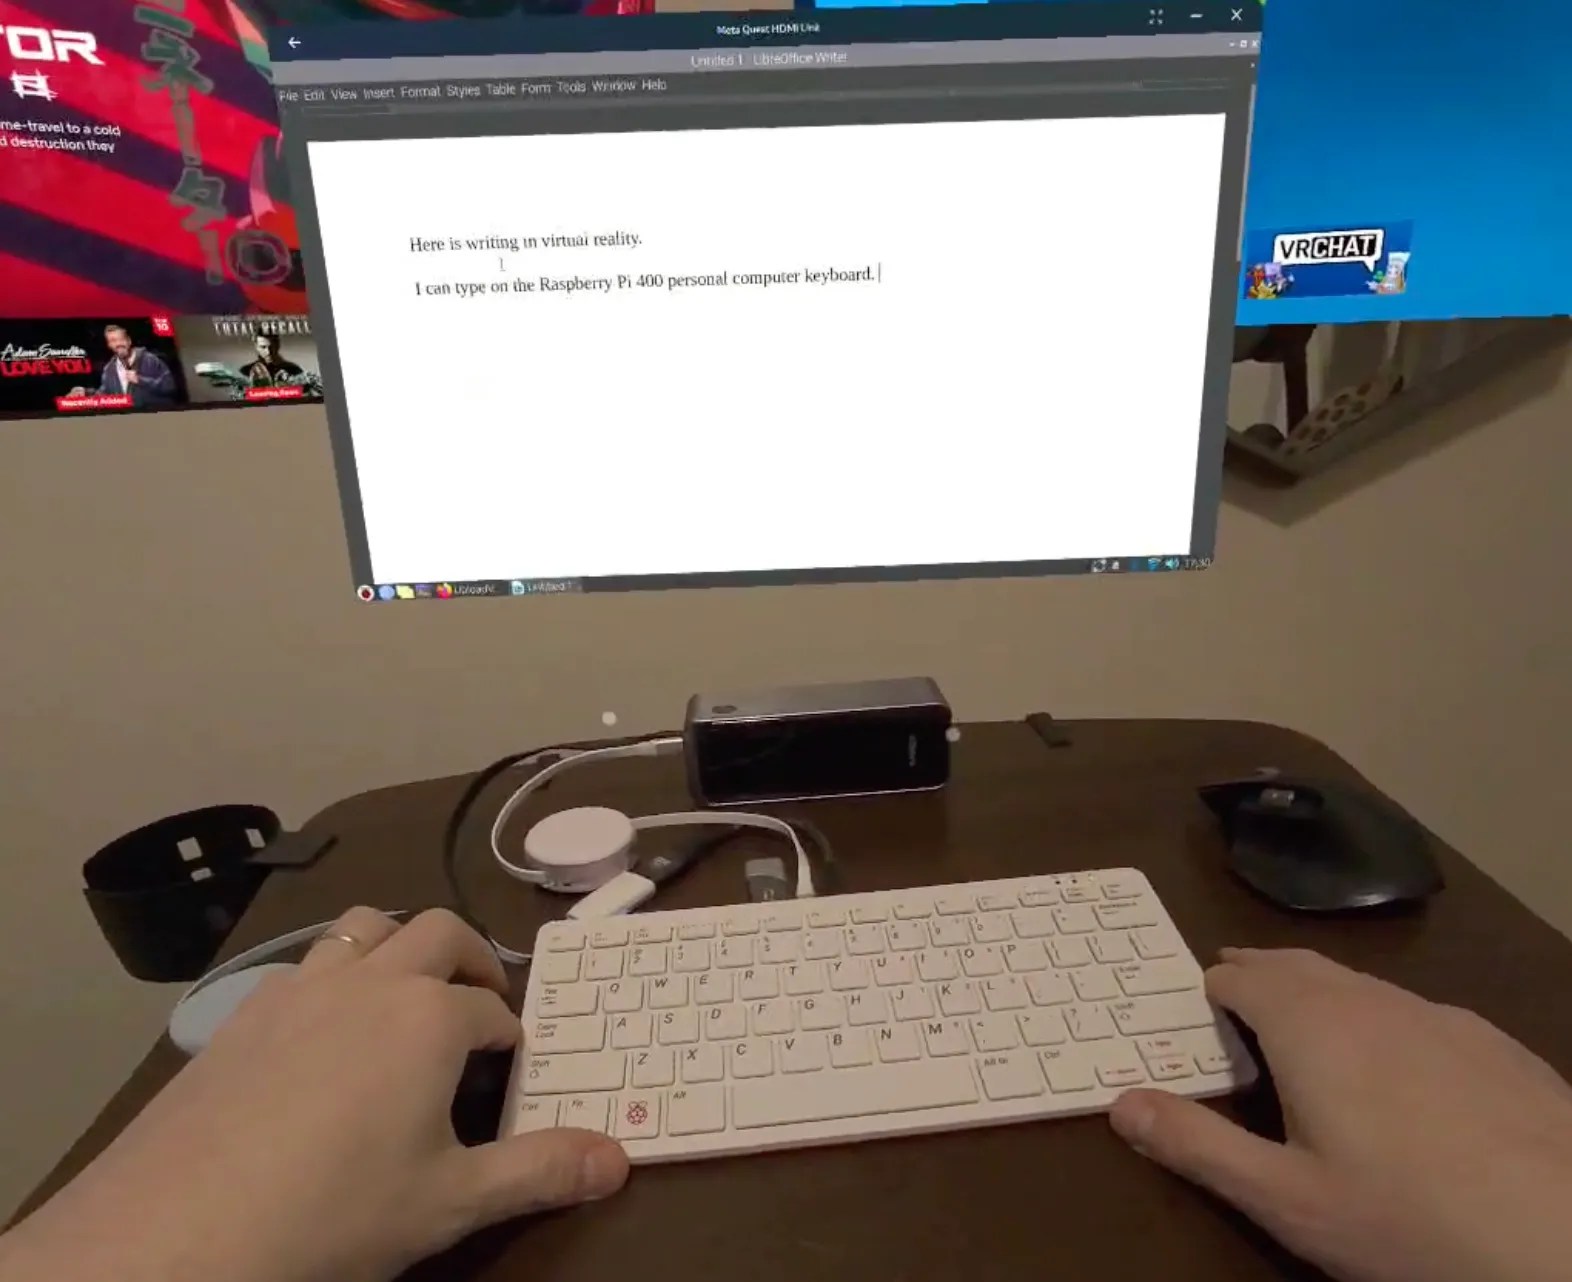
The computer-in-a-keyboard nature of the Pi 400 means that little more than a mouse and the VR headset are needed to get a functional computing environment. Well, that and some cables and adapters.
What’s compelling about this is that the VR headset is much more than just a glorified monitor. In the VR environment, the external video source (in this case, the Raspberry Pi) is displayed in a window just like any other application. Pass-through can also be turned on, so that the headset’s external cameras display one’s surroundings as background. This means there’s no loss of environmental awareness while using the rig.
[Note: the following has been updated for clarity and after some hands-on testing] Video over USB-C is technically DisplayPort altmode, and both the video source and the USB-C cable have to support it. In [Ian]’s case, the Raspberry Pi 400 outputs HDMI and he uses a Shadowcast 2 capture card to accept HDMI on one end and outputs video over USB-C on the other.
Here’s how it works: the Quest has a single USB-C port on the side, and an app (somewhat oddly named “Meta Quest HDMI link”) running on the headset takes care of accepting video over USB and displaying it in a window within the headset. The video signal expected is UVC (or USB Video Class), which is what most USB webcams and other video devices output. (There’s another way to do video over USB-C which is technically DisplayPort altmode, and both the video source and the USB-C cable have to support it. That is not what’s being used here; the Quest does not support this format. Neither is it accepting HDMI directly.) In [Ian]’s case, the Raspberry Pi 400 outputs HDMI and he uses a Shadowcast 2 capture card to accept HDMI on one end and output UVC video on the other, which is then fed into the Quest over a USB-C cable.
As a concept it’s an interesting one for sure. Perhaps we’ll see decks of this nature in our next cyberdeck contest?