Fixing (And Improving!) An Annoying Apartment Entry System

[Zak]’s two-floor apartment has a typical door entry control system, but the setup is less than ideally convenient. The wall-mounted telephone-like intercom is downstairs, but [Zak] is usually upstairs. What’s an enterprising hacker to do? Obviously the most elegant solution is to simply do without visitors in the first place, but [Zak] opted for a more full-featured solution to the problem.

The layout of the typical wall-mounted door intercom is less than ideal.

He fixed things with a custom ESP8285-based board that, with the help of opto-isolation, allows him to detect visitors and grant entry without having to be physically present at the wall-mounted intercom. It’s even integrated into Telegram, and has a few neat new features. Let’s take a look.

The first interesting bit is how [Zak] rolled his own opto-isolation. The door entry system uses 14 VAC and is frankly — electromagnetically-speaking — a very noisy device. Attaching GPIO pins directly to this system from the ESP board for interfacing is not an option. The solution in situations like this is to use opto-isolation, so that interfaced devices can be electrically isolated from one another.

Rather than use off-the-shelf options, [Zak] opted to keep things small and economical by rolling his own solution using side-mounted IR LEDs on the small interface PCB. LEDs can also act as photodiodes, so by pointing two LEDs directly at one another and driving one LED from the door control system and measuring the small amount of resulting current on the other LED, [Zak] can detect states without having to directly connect a GPIO pin.

Continue reading “Fixing (And Improving!) An Annoying Apartment Entry System”

Gaze Upon The Swimming Mechanical Stingray, Made With LEGO

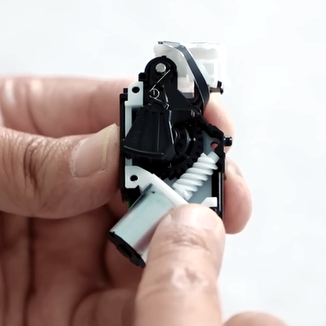
Stingrays have an elegant, undulating swimming motion that can be hypnotic. [Vimal Patel] re-created this harmony with his fantastic mechanical mechanical stingray using LEGO pieces and a LEGO Technics Power Functions motor. The motor is set in a clever arrangement that drives the motion remotely, so that it and electrical elements can stay dry.

The mechanical stingray sits at the end of a sort of rigid umbilical shaft. This shaft connects the moving parts to the electrical elements, which float safely on the surface. This leaves only the stingray itself with its complex linkages free to move in the water, while everything else stays above the waterline.

We’ve seen some impressive LEGO creations before, like this race car simulator and pneumatic engine, and the mechanical action in this stingray is no exception. Interested in making your own? The part list and build directions are available online, and you can see it in action in the video embedded below.

Continue reading “Gaze Upon The Swimming Mechanical Stingray, Made With LEGO”

Old-School Video Switching Levels Up With Modern USB Control

Video effects and mixing are done digitally today, but it wasn’t always so. When analog ruled the video world, a big switch panel was key to effective results.

VIdeo like this was the result of combining different analog feeds with different effects. The better the hardware, the more was possible.

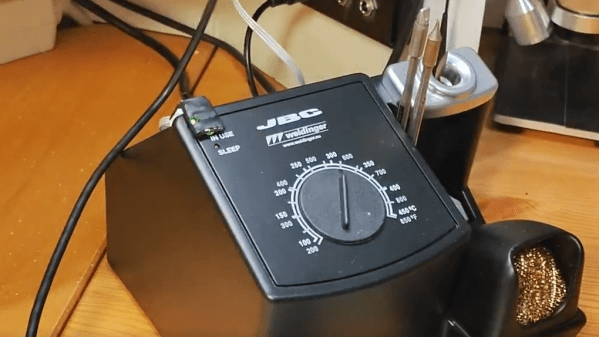
Devices like [Glen]’s Grass Valley Series 300 Crosspoint Switch Panel were an important part of that world. With tools like that, a human operator could set up a composited preview feed in true WYSIWYG style, and switch to live on cue. All done with relatively simple CMOS ICs and buttons. Lots and lots of buttons.

[Glen] reverse engineers the panel to show how it works, and most of the heavy lifting is done by the MC14051B analog multiplexer/demultiplexer, and the MC14532B 8-bit priority encoder. Once that’s figured out, the door is open to modernizing things a little by using a microcontroller to drive the device, turning it into a USB peripheral.

With a little design work, [Glen] builds a PCB around the EFM8UB2 8-bit microcontroller to act as a USB peripheral and control the switch panel, taking care of things like key scanning and lamp control. The last step: a GUI application for monitoring and controlling the panel over USB.

This isn’t [Glen]’s first time interfacing to vintage video mixing and switching, and as many of us know it’s sometimes tricky work to interface to existing hardware. We covered his earlier video switcher project using hardware that was not nearly as easy to work with as this one.

Flipper Zero Hacker Tool Gets UI Editor For Custom Apps

[Mikhail] released a handy GUI editor/generator tool for the Flipper Zero multipurpose hacker tool, making layouts and UI elements much easier and more intuitive to craft up.

Those who decide to delve into rolling their own applications or add-ons will find this a handy resource, especially as it generates the necessary code for the visual elements. It’s not limited to placing icons, either. Boxes, lines, dots, text, and more can be freely laid out to get things looking just right.

To use it, simply drag and drop icons of various sizes into the screen area. Non-icon UI elements like frames, lines, text, and others can be placed with a click using the buttons. To move elements around, click the SELECT button first, then drag things as needed. To fine-tune positioning (or change the text of a string) a selected element’s properties can be accessed and modified to the right of the simulated screen. When things look good, switch to the CODE tab and copy away to use it in your Flipper application.

Unfamiliar with the Flipper Zero? It’s a kind of wireless multitool; a deeply interesting device intended to make wireless exploration and experimentation as accessible as its dolphin mascot is adorable.

Cardboard Game Tokens Become Shiny Click-Clacks With DIY Treatment

Tabletop games and cardboard tokens go hand-in-hand for a good reason: they are economical and effective. However, their tactile attributes leave a little to be desired. There’s something really great about high-quality pieces possessing a shiny, pleasing smoothness and click-clack handling that cardboard simply can’t deliver, but that all changes with [Dzhav]’s simple method for converting cardboard tokens into deluxe versions of themselves with a little work and a resin coating.

The result is a token with a crystal-clear, smooth, and slightly-convex coating of hardened resin on it. They feel (and sound) like plastic, rather than cardboard. The resin used is a two-part clear jewelry resin, used for casting things like pendants. It benefits from a long working time and unlike UV-cured resin (like the SLA 3D printer resin) it won’t be affected by light.

Careful application of resin relies on surface tension to prevent messes.

Like with most things, good results come from careful preparation and technique. [Dzhav] suggests preparing the tokens by sanding the edges completely smooth with fine sandpaper, then using a black marker to color them. Then, tokens are coated one side at a time with a paintbrush and correctly-mixed resin: while holding a token down with a toothpick, resin is brushed right to (but not over) the edges. Then, additional resin can be dropped in the center of the token, and gravity and surface tension will work together to ensure an even coating that doesn’t drip.

After the resin has had plenty of time to cure, the tokens are flipped over and the process repeated. The end result are tokens with both sides coated in a nice, smooth, ever-so-slightly-convex shield of resin.

They look fantastic, and sound even better. Turn up your volume and play the two-second video embedded below to listen for yourself. And when you’re ready for another gamer that didn’t settle for what was in the box, check out this redesigned Catan version.

Continue reading “Cardboard Game Tokens Become Shiny Click-Clacks With DIY Treatment”

Making 3D Print Time-lapses With Old Earphones And A Few Spare Parts

The trick to producing great 3D printing time-lapse animations is to ensure that the extruder has moved out of the frame each time a photo is taken — which usually requires OctoPrint to be controlling both the camera and printer. But [NirL] managed to bodge up a system to get the same result with a spare limit switch, a resistor, his mobile phone, and an old set of earbuds. Not bad for some spare parts and a little extra G-Code.

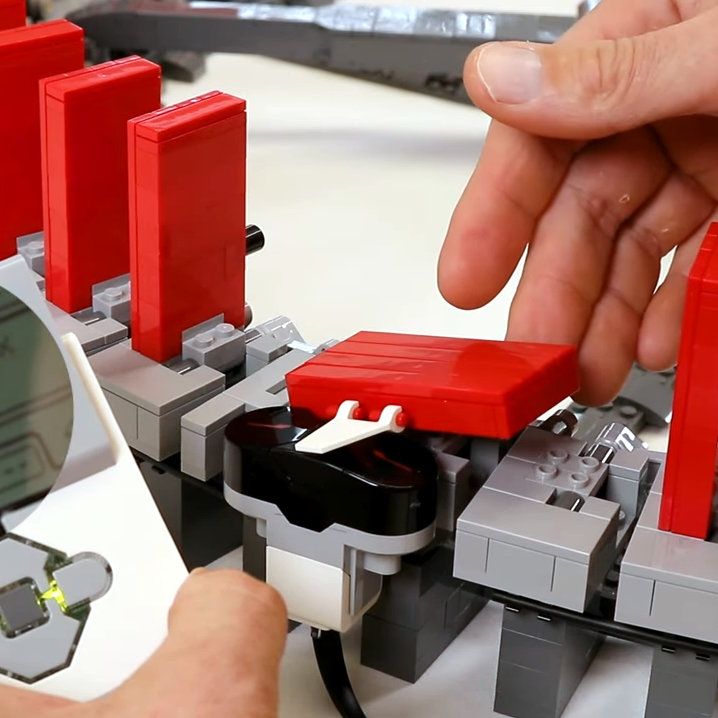
The print head hits a remote shutter button during a brief parking action after each layer.

Inserting custom G-Code to park the print head at regular intervals takes care of standardizing the printer’s movements; there’s even a post-processing extension in Cura that makes this easy. As for triggering the camera, [NirL] was inspired by the remote shutter button on a selfie stick. By positioning a physical switch in such a way that the print head pushes it every time it (briefly) parks, a photo gets taken for every layer. Essentially the same thing Octolapse does, just with fewer parts.

To create the DIY remote shutter button, [NirL] used a spare limit switch, resistor, and cannibalized an old set of earbuds for the cable and 4-conductor 3.5 mm audio plug. Most phones and camera apps trigger the shutter when they receive a Vol+ signal through the audio plug, which is done by connecting MIC and GND through a 240 Ohm resistor.

In this way a photo is snapped for every layer, giving [NirL] all that is needed to assemble a smooth animation. Sure, it ties up a mobile phone for the duration of the print, but for just a few spare parts it does the job. You can see the project in action in the video, embedded just under the page break.

As mentioned, the usual way to implement effortless time-lapses is by using the Octolapse plugin for OctoPrint, which creates silky smooth animations without the typical blur of time-lapses.

Continue reading “Making 3D Print Time-lapses With Old Earphones And A Few Spare Parts”

VR Sickness: A New, Old Problem

Have you ever experienced dizziness, vertigo, or nausea while in a virtual reality experience? That’s VR sickness, and it’s a form of motion sickness. It is not a completely solved problem, and it affects people differently, but it all comes from the same root cause, and there are better and worse ways of dealing with it.

If you’ve experienced a sudden onset of VR sickness, it was most likely triggered by flying, sliding, or some other kind of movement in VR that caused a strong and sudden feeling of vertigo or dizziness. Or perhaps it was not sudden, and was more like a vague unease that crept up, leaving you nauseated and unwell.

Just like car sickness or sea sickness, people are differently sensitive. But the reason it happens is not a mystery; it all comes down to how the human body interprets and reacts to a particular kind of sensory mismatch.

Why Does It Happen?

The human body’s vestibular system is responsible for our sense of balance. It is in turn responsible for many boring, but important, tasks such as not falling over. To fulfill this responsibility, the brain interprets a mix of sensory information and uses it to build a sense of the body, its movements, and how it fits in to the world around it.

These sensory inputs come from the inner ear, the body, and the eyes. Usually these inputs are in agreement, or they disagree so politely that the brain can confidently make a ruling and carry on without bothering anyone. But what if there is a nontrivial conflict between those inputs, and the brain cannot make sense of whether it is moving or not? For example, if the eyes say the body is moving, but the joints and muscles and inner ear disagree? The result of that kind of conflict is to feel sick.

Common symptoms are dizziness, nausea, sweating, headache, and vomiting. These messy symptoms are purposeful, for the human body’s response to this particular kind of sensory mismatch is to assume it has ingested something poisonous, and go into a failure mode of “throw up, go lie down”. This is what is happening — to a greater or lesser degree — by those experiencing VR sickness.

Continue reading “VR Sickness: A New, Old Problem”