There’s something about light fixtures that attracts makers like moths to a flame. [danthemakerman] wanted something with a more configurable light output and built this Sculptural and Customizable Plywood Lamp.
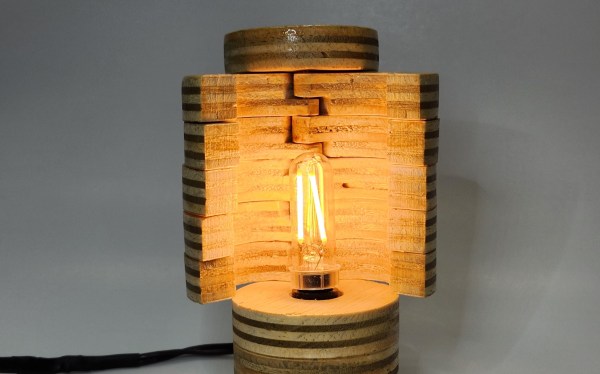
In his detailed build log, [danthemakerman] describes how he wanted something “sort of like an analog dimmable light.” By using a stack of split plywood donuts hinged on a brass rod, he can vary the output and shape of the lamp. These shutters allow the lamp to go from bright to nightlight without using any electrical dimming components.
The plywood was rough cut on a bandsaw before being turned on a lathe. The light cover sections were then hollowed out with a Forstner bit and split in half. The tricky bit is the overlap of the cut on the hinge side of the shutters. Cutting the piece exactly in half would’ve required a lot more hardware to make this lamp work than what was achieved by patient woodworking.
If you’d like to see more ways to make light fixtures with plywood, check out this Hexagonal Lamp, these Upcycled Plywood and Glass Lamps, or this Laser-cut Sphere Lampshade that Packs Flat.