We’ve seen a huge influx of bespoke portable computers over the last couple of years thanks to availability of increasingly powerful single-board computers. The vast majority of these have been ARM powered using something like the Raspberry Pi 4, and naturally, run Linux. Only a handful have run on x86 hardware, usually because whoever built it wanted to be able to run Windows.
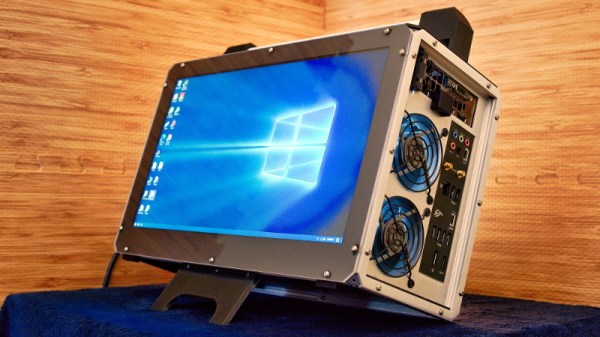
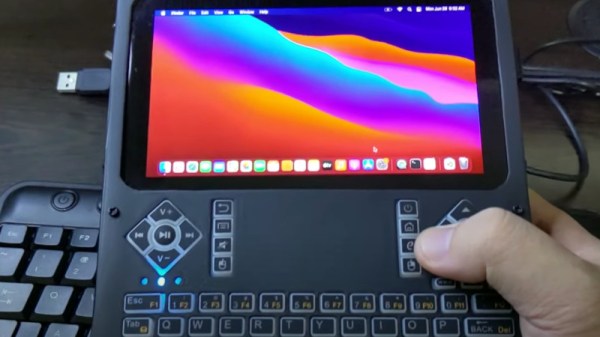
But this handheld x86 Hackintosh running the latest Mac OS on the LattePanda Alpha is truly something unique. Creator [iketsj] claims it to be a world’s first, and after a bit of searching, we’re inclined to agree. While others have installed Mac OS on the LattePanda to create Hackintosh laptops, this would indeed appear to be the first handheld computer to utilize this particular hardware and software blend.
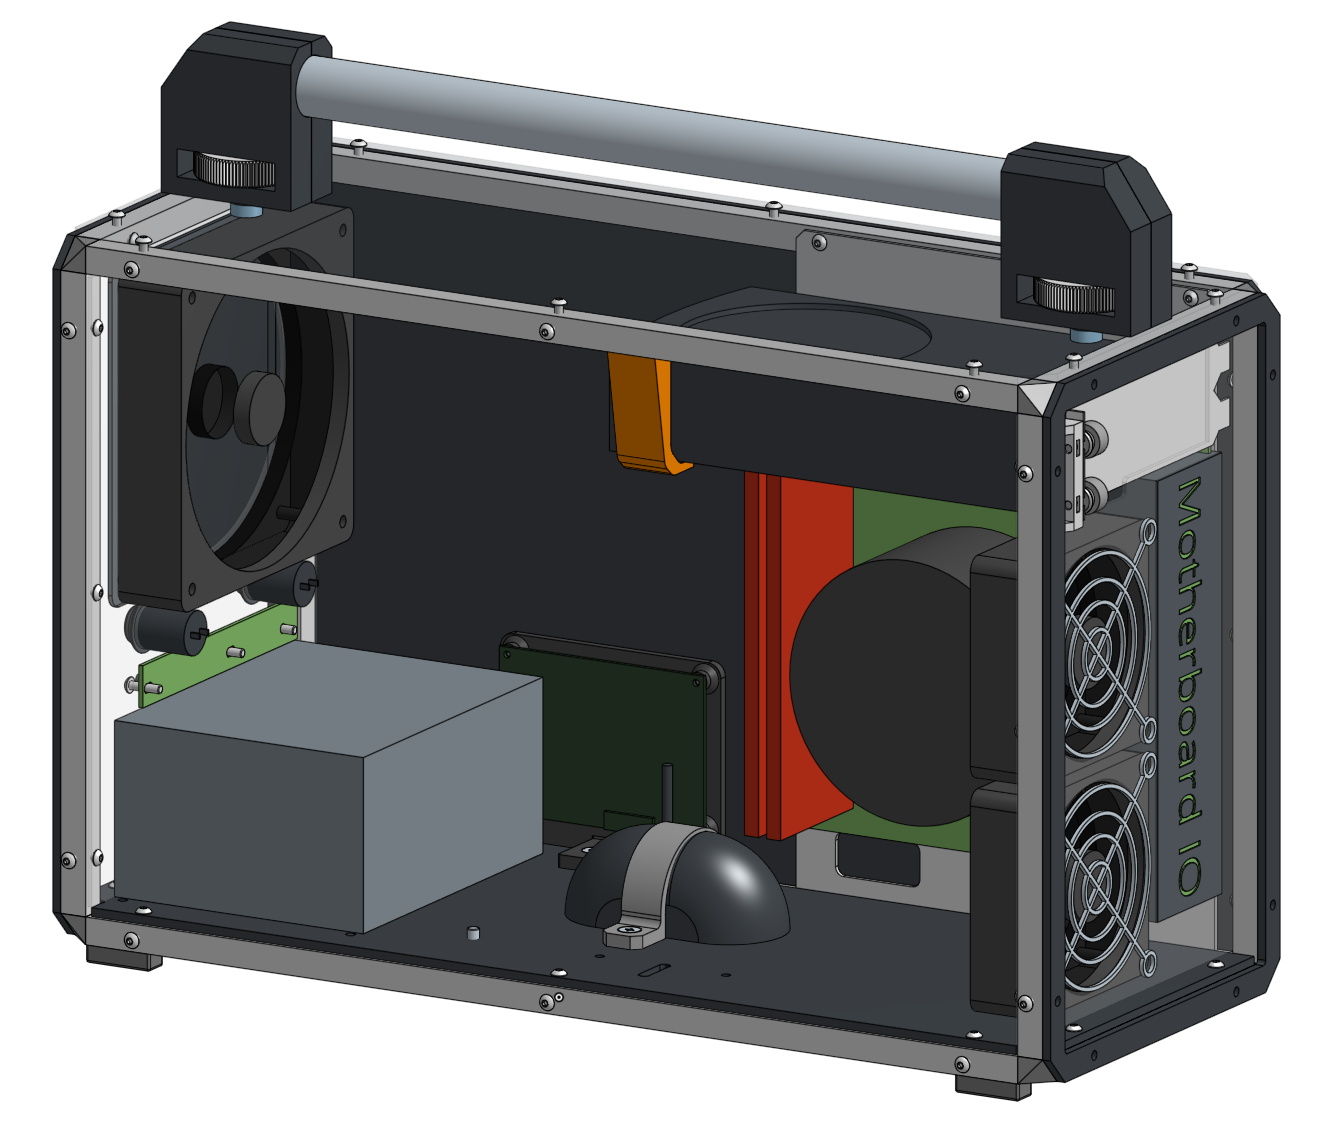
 Like other custom portables we’be seen, this one starts with a 3D printed enclosure. The overall design reminds us a bit of the YARH.IO we covered last year, and even borrows the trick of reusing the membrane and PCB of one of those miniature keyboard/pointer combos. Which in this case ends up being especially important, as in keeping with Apple’s own portable Mac OS machines, the screen on this handheld doesn’t support touch.
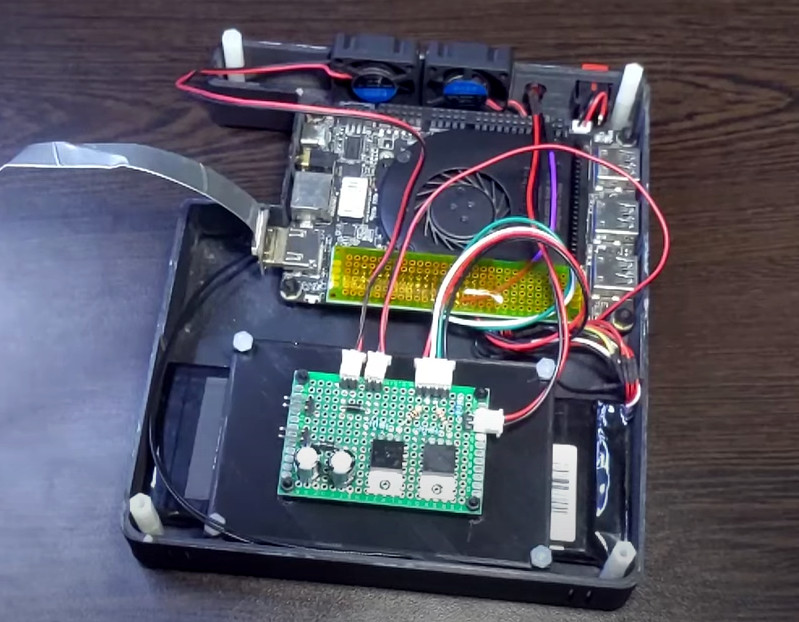
We especially like how the integrated Arduino on the LattePanda is being used in conjunction with some MOSFETs to control power to the handheld’s LCD, keyboard, and fans. While it sounds like the fans are currently running at full throttle, [iketsj] mentions he does intend on adding automatic speed control in the future. A dedicated “chassis controller” like this makes a lot of sense, and is something we imagine will only become more common as these portable builds become increasingly complex.
Now that we’ve seen a custom portable computer running Mac OS, are we due to see a whole new wave of cyberdecks sporting Cupertino’s software in the future? Maybe not. As [iketsj] points out at the end of this video, Apple’s switch from x86 to their own in-house silicon will almost certainly mean the death of the Hackintosh project within the next few years, bringing a fascinating era of computer hacking to a close.
Continue reading “Handheld Hackintosh Runs Mac OS On LattePanda”