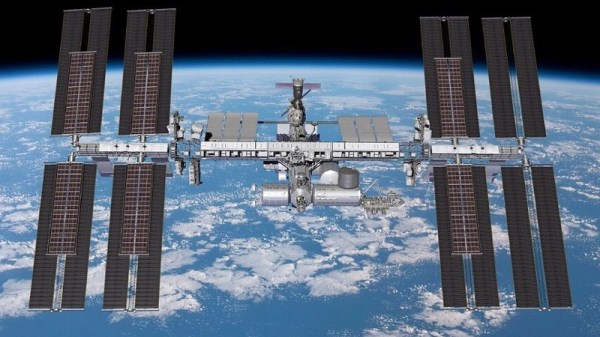
Astronauts are currently installing the first of six new solar arrays on the International Space Station (ISS), in a bid to bolster the reduced power generation capability of the original panels which have now been in space for over twenty years. But without the Space Shuttle to haul them into orbit, developing direct replacements for the Stations iconic 34 meter (112 foot) solar “wings” simply wasn’t an option. So NASA has turned to next-generation solar arrays that roll out like a tape measure and are light and compact enough for the SpaceX Dragon to carry them into orbit.
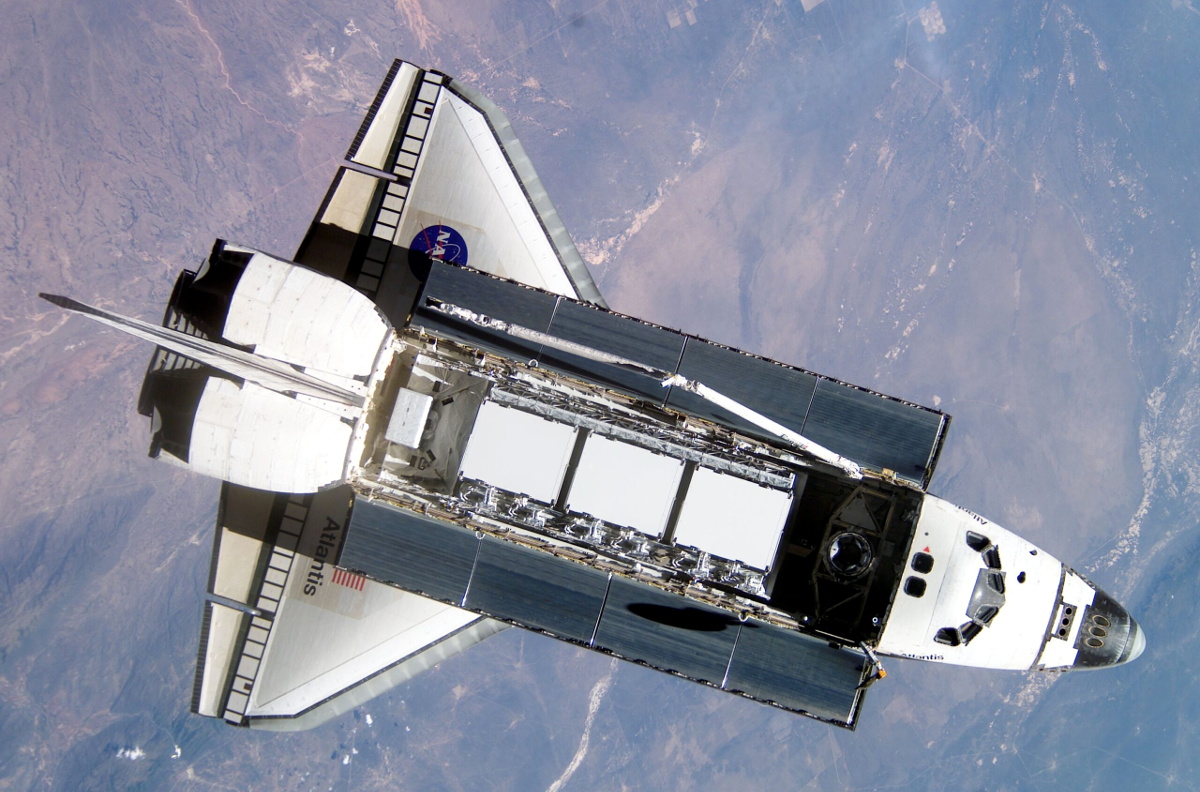
Considering how integral the Space Shuttle was to its assembly, it’s hardly a surprise that no major modules have been added to the ISS since the fleet of winged spacecraft was retired in 2011. The few small elements that have been installed, such as the new International Docking Adapters and the Nanoracks “Bishop” airlock, have had to fit into the rear unpressurized compartment of the Dragon capsule. While a considerable limitation, NASA had planned for this eventuality, with principle construction of the ISS always intended to conclude upon the retirement of the Shuttle.
But the International Space Station was never supposed to last as long as it has, and some components are starting to show their age. The original solar panels are now more than five years beyond their fifteen year service life, and while they’re still producing sufficient power to keep the Station running in its current configuration, their operational efficiency has dropped considerably with age. So in January NASA announced an ambitious timeline for performing upgrades the space agency believes are necessary to keep up with the ever-increasing energy demands of the orbiting laboratory.
Continue reading “ISS Gets Roll-Out Solar Panels In Post-Shuttle Fix”