Have you ever wanted to develop a playable game small enough to fit into a disk’s 512 byte boot sector? How about watching somebody develop a program in assembly for nearly two hours? If you answered yes to either of those questions, or ideally both of them, you’re going to love this project from [Queso Fuego].
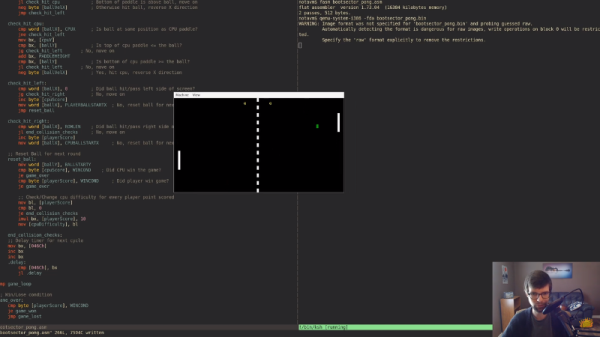
Whether you just want to check out the public domain source code or watch along as he literally starts from a blank file and codes every line for your viewing pleasure, chances are good that you’ll pick up a trick or two from this project. For example, he explains how all of the “graphics” in the game are done in 80 x 25 text mode simply by setting the background color of character cells without printing any text to them.
We really like the presentation in the video after the break, which was recorded over the course of multiple days, judging by the changing light levels in the background. As he types out each line of code, he explains what its function is and gives any background information necessary to explain how it will fit into the larger program. If you’ve ever wondered if you had what it takes to program in ASM, watching this video is a great way to decide.
[Queso Fuego] mentions that this project, and his research into this sort of low-level programming, came about due to the social distancing boredom that many of us are feeling. While we’re certainly not advocating for him to kept locked in his home permanently, with projects like this, you’ve got to admit it seems like a win for the rest of us.
Continue reading “Boot Sector Pong As A Crash Course In Assembly”