The Amazing Technicolor Parts Organizer

It wouldn’t be much of an exaggeration to say that anyone reading these words has struggled at one time or another to keep an ever growing collection of electronic bits and bobs from descending into absolute chaos. Tossing them all into plastic bins is at least a start down the road to long-term organization, but they still needed to be sorted and inventoried if you want to avoid the wasted time and money of buying parts you forgot you already had.

For his latest project, [Zack Freedman] decided to finally tackle the personal parts collection that he’s ended up lugging around for the last several years. The first half of the battle was just figuring out what he actually had, what he was likely to need down the line, and getting it all sorted out so he didn’t have to keep rummaging through a big pile to find what he needed. But it’s not enough to get organized, you also need to stay organized.

Which is why he then turned his attention to how all these newly sorted components would actually be stored going forward. He already had a trio of Harbor Freight bin organizers, but as one expects from that fine retailer, they were only marginally suitable for the task at hand. So [Zack] designed a 3D printed faceplate that could snap onto the original plastic bin. The new fronts made them easier to grab and featured an opening to accept a laser-etched plastic label.

To give them a little visual flair, he decided to print the faceplates using rainbow gradient filament. To prevent them from being random colors, he used the relatively obscure sequential slicing option so his Prusa i3 would print each faceplate in its entirety before moving over to the next one on the bed. This took far longer than doing them in parallel (especially since he had access to multiple printers), but makes for a much nicer aesthetic as the color smoothly transitions between each bin on the wall. It also has a practical benefit, as you can tell at a glance if any of the bins have found themselves in the wrong spot.

If you really want to go off the deep end, we’ve seen hackers light individual bins with RGB LEDs tied into a searchable inventory system. But for most hobbyists, simply learning when to purge would be more practical.

Continue reading “The Amazing Technicolor Parts Organizer”

Voice Controlled RGB LEDs Go Big

When we see RGB LEDs used in a project, they’re often used more for aesthetic purposes than as a practical source of light. It’s an easy way to throw some color around, but certainly not the sort of thing you’d try to light up anything larger than a desk with. Apparently nobody explained the rules to [Brian Harms] before he built Light[s]well.

Believe it or not, this supersized light installation doesn’t use any exotic hardware you aren’t already familiar with. Fundamentally, what we’re looking at is a WiFi enabled Arduino MKR1000 driving strips of NeoPixel LEDs. It’s just on a far larger scale than we’re used to, with a massive 4 x 8 aluminum extrusion frame suspended over the living room.

Onto that frame, [Brian] has mounted an undulating diffuser made of 74 pieces of laser-cut cardstock. Invoking ideas of waves or clouds, the light looks like its of natural or even biological origin while at the same time having a distinctively otherworldly quality to it.

The effect is even more pronounced when the RGB LEDs kick in, thanks to the smooth transitions between colors. In the video after the break, you can see Light[s]well work its way from bright white to an animated rainbow. As an added touch, he added Alexa voice control through Arduino’s IoT Cloud service.

While LED home lighting is increasingly becoming the norm, projects like Light[s]well remind us that we aren’t really embracing the possibilities offered by the technology. The industry has tried so hard to make LEDs fit into the traditional role of incandescent bulbs, but perhaps its time to rethink things.

Continue reading “Voice Controlled RGB LEDs Go Big”

Teaching A Pocket Logic Analyzer (Many) New Tricks

A few years ago, low-cost pocket digital oscilloscopes aimed at the hacker and maker crowd started hitting the market and gained quite a following. While few would consider them to be a replacement for a proper bench scope, they’re cheap and convenient enough that it’s hard to complain. Manufacturers are apparently looking to expand on the concept, as we’re now seeing similarly priced and sized logic analyzers pop up from the usual sources.

[Gabriel Valky] got his hands on a sub-$100 USD model known as the LA104, and decided that the stock software didn’t quite deliver. So he started a project to create a new open source firmware for the affordable gadget that greatly expands its core functionalities. The code has even been ported to a few of those digital oscilloscopes, as it turns out (perhaps unsurprisingly) that they aren’t too far removed internally.

Controlling addressable LEDs with the LA104.

In the video after the break, [Gabriel] shows off some impressive radio tricks by adding a small CC1101 transceiver to the mix. This allows his modified LA104 to scan for and decode popular RF protocols in the 300 – 900 MHz range. His software even allows for the received packets to be modified and re-transmitted, which he demonstrates by pushing a fake temperature signal into a wireless weather station.

But that’s just the beginning. A perusal of the GitHub page for his replacement firmware shows just how many features have already been packed into this project. For example it can be used to control WS2812 LED strips, generate arbitrary PWM signals, log data from temperature sensors, interface with MIDI devices, and scan for I2C devices. Many of these functions can be controlled on the computer by utilizing a modern browser and WebUSB.

The replacement firmware that [Gabriel] has come up with for the LA104 is really an incredible accomplishment, and elevates an already intriguing piece of kit. Being able to pack all of these functions into something small and cheap enough you can toss into a bag is a very compelling prospect for hackers on the go.

Continue reading “Teaching A Pocket Logic Analyzer (Many) New Tricks”

Raspberry Pi Helps Racer Master The Track

Looking to give himself a competitive edge, racer [Douglas Hedges] wanted to come up with a system that could give him real-time feedback on how his current performance compared to his previous fastest lap time. Armed with a Raspberry Pi and some Python libraries, he set out to add a simple telemetry system to his car. But as is often the case with these kind of projects, things just started snowballing from there.

The Raspberry Pi based data acquisition system.

At the most basic level, his system uses GPS position and speed information to light up a strip of RGB LEDs on the dashboard: green means he’s going faster than the previous best lap, and red means he isn’t. Any interface more complex than that would just be a distraction while he focuses on the track. But that doesn’t mean the Raspberry Pi can’t collect data for future review after the race is over.

With the basic functionality in place, [Douglas] turned his attention to collecting engine performance data. It turned out the car already had some pre-existing equipment for collecting metrics such as the air-fuel ratio and RPM, which he was able to connect to the Raspberry Pi thanks to its use of a well documented protocol. On top of that he added a Labjack U3 data acquisition system which let him pull in additional information like throttle position and coolant temperature. Grafana is used to visualize all of this data after the race, though it sounds like he’s also considering adding a cellular data connection vehicle data can be streamed out in real-time.

In the past we’ve seen onboard data collection systems make real-world races look more like their virtual counterparts, but it seems like the solution [Douglas] has come up with is more practical in the heat of the moment.

Continue reading “Raspberry Pi Helps Racer Master The Track”

3D Printed Video Terminal Dials C For Cyberpunk

Created for the Disobey 2020 hacker conference in Finland, this Blade Runner inspired communications terminal isn’t just for decoration. It was part of an interactive game that required attendees to physically connect their conference badges up and “call” different characters with the functional keypad on the front of the unit.

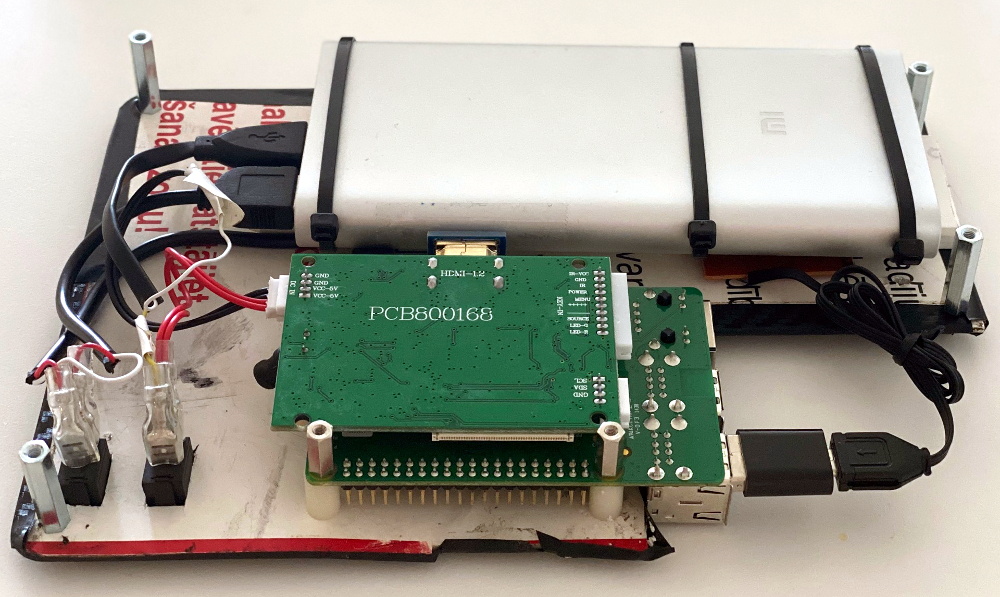
[Purkkaviritys] was in charge of designing the 3D printed enclosure for the device, which he says takes an entire 2 kg roll of filament to print out. Unfortunately he wasn’t as involved in the electronics side of things, so we don’t have a whole lot of information about the internals beyond the fact that its powered by a Raspberry Pi 4, features a HyperPixel 4.0 display, and uses power over Ethernet so it could be easily set up at the con with just a single cable run.

A look at the custom keypad PCB.

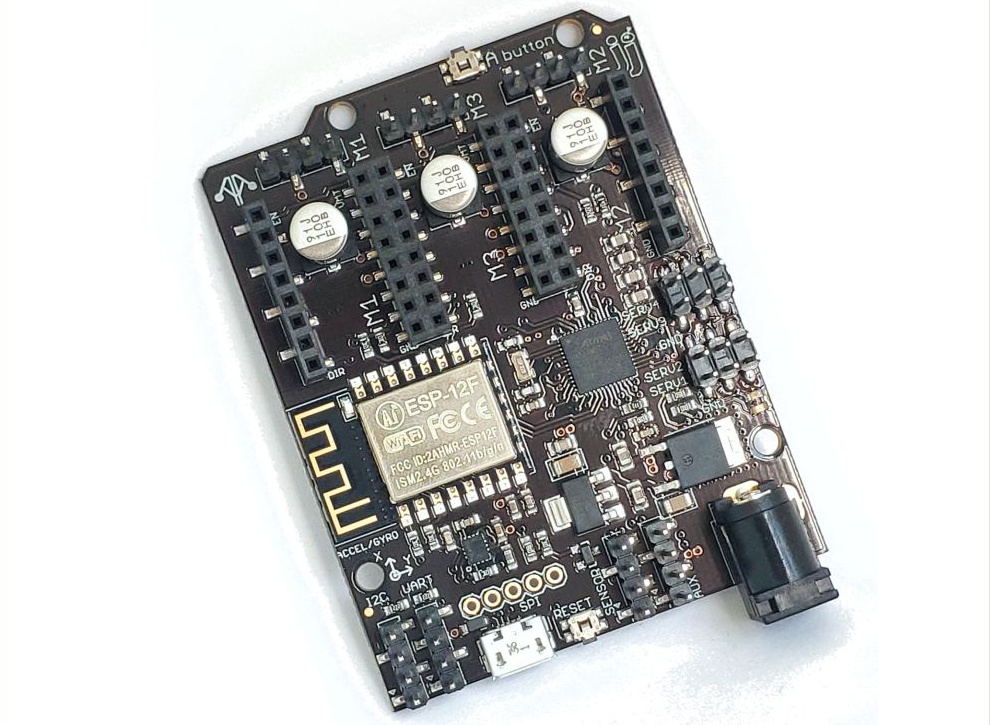
The keypad is a custom input device using the Arduino Micro and Cherry MX Blue switches with 3D printed keycaps to get that chunky payphone look and feel. [Purkkaviritys] mentions that the keypad is also responsible for controlling the RGB LED strips built into the sides of the terminal, and that the Raspberry Pi toggles the status of the Caps, Scroll Lock, and Num Lock keys to select the different lighting patterns.

Naturally we’d like to see more info on how this beauty was put together, but given that it was built for such a specific purpose, it’s not like you’d really need to duplicate the original configuration anyway. Thanks to [Purkkaviritys] you have the STL files to print off our own copy of the gloriously cyberpunk enclosure, all you’ve got to do now is figure out how to make video calls with it.

Continue reading “3D Printed Video Terminal Dials C For Cyberpunk”

Sliding Screen Has Wheels, Will Travel

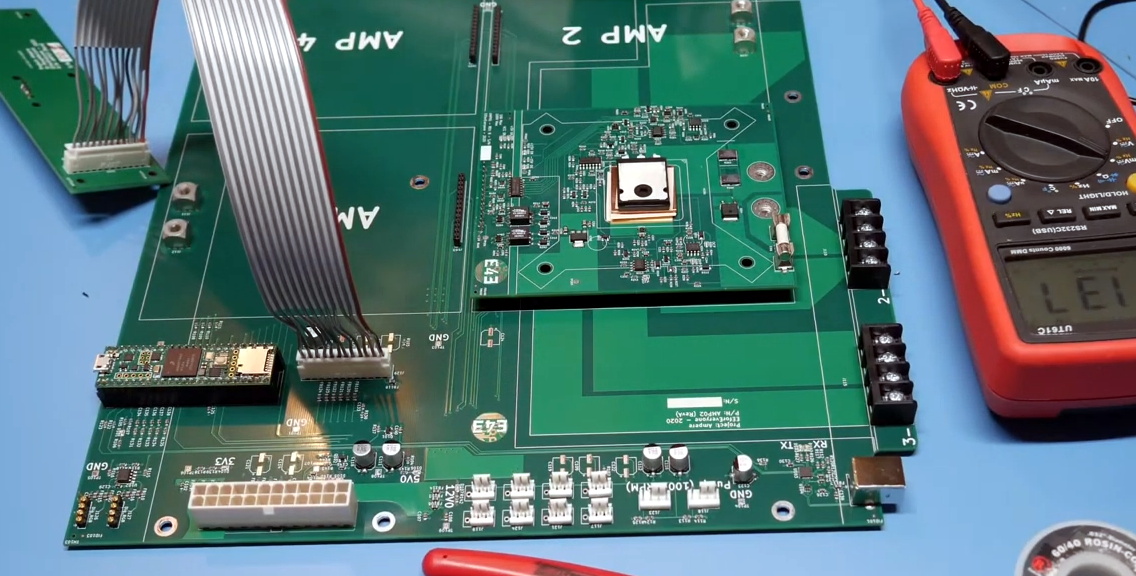
For a recent event, [MakerMan] was tasked with creating an interactive display that could move back and forth along an image of the Moscow skyline to highlight different points of interest. The end result is certainly gorgeous, but since this is Hackaday, we were more excited to see all the behind the scenes video of how it was built.

As with many of his projects, this one started with little more than scrap parts. Two metal I-beams were welded together to make a track, and a wheeled cart was fashioned to ride on it. Using a belt and pulley system that’s not unlike a scaled up version of what you might see on a desktop 3D printer, the motor in the cart is able to move the arrangement back and forth with minimal slop.

Installing the motor and pulley in the cart.

The cart actually holds all of the electronics in the project, including the power supplies, MA860H motor controller, a pair of endstop switches, and the Arduino that pulls it all together. A drag chain is used to keep the wires tight to the side of the rail without getting tangled up in anything.

[MakerMan] doesn’t explain much of the software side of this one, though we suppose he might only have been contracted to develop the hardware. But towards the end of the video you can see how the cart, now with large touch screen display mounted on top, moves back and forth when the appropriate commands are sent to the Arduino.

We’re not really sure what application such a contraption would have for the average hacker, but that doesn’t mean we can’t be jealous. There’s just something about huge illuminated screens that just speaks to us.

Continue reading “Sliding Screen Has Wheels, Will Travel”

Teardown: BlackBerry Smart Card Reader

Years before Steve Jobs showed off the first iPhone, the BlackBerry was already the must-have accessory for mobile professionals. Back then, nobody was worried about watching movies or playing the latest games on their mobile devices, they just wanted a secure and fast way to send and receive email on the go. For that, the BlackBerry was king.

Fast forward to today, and the company is just a shell of what it once was. They don’t even bother making their own hardware anymore. Over the last several years they’ve opted to partner with a series of increasingly obscure manufacturers to produce a handful of lackluster Android phones so they still have something to sell to their dwindling userbase. Anyone excited about the new 5G BlackBerry being built by Texas start-up OnwardMobility? Did you even know it was in the works before now?

A DoD Common Access Card

But this article isn’t about BlackBerry phones. It’s about something that’s even more irrelevant to consumers: the BlackBerry Smart Card Reader. Technically, this little device isn’t dependent on the phones of the same name, but it makes sense that Research In Motion (which eventually just renamed itself to BlackBerry Limited) would market the gadget under the brand of their most popular product. Though as you might expect, software was available to allow it to work with the BlackBerry phone that you almost certainly owned if you needed a dedicated smart card reader.

For those who might not be aware, a smart card in this context is a two-factor authentication token contained in an ID card. These are used extensively by organizations such as the Department of Defense, where they’re known as Common Access Cards, that require you to insert your ID card into a reader before you can log into a secure computer system. This sleek device was marketed as a portable reader that could connect to computers over USB or Bluetooth. Worn around your neck with the included lanyard, the battery-powered reader allowed the card itself to remain on the user’s body while still being readable by nearby devices.

Civilians will recognize the basic technology from modern “Chip and PIN” debit and credit cards, but we’ve never had to stick one of those into our laptop just to log in. To be sure, the BlackBerry Smart Card Reader was never intended for the average home computer user, it was sold to companies and organizations that had tight security requirements; which just so happened to be the same places that would likely already be using BlackBerry mobile devices.

Of course, times and technology change. These devices once cost $200 apiece and were purchased in vast quantities for distribution to trusted personnel, but are now all but worthless. Even in new and unopened condition, they can be had for as little as $10 USD on eBay. For that price, it’s certainly worth taking a peek inside. Perhaps the hacker community can even find new applications for these once cutting-edge devices.

Continue reading “Teardown: BlackBerry Smart Card Reader”