Custom Control Panels With Photogrammetry

One of the best applications for desktop 3D printing is the creation of one-off bespoke components. Most of the time a halfway decent pair of calipers and some patience is all it takes to model up whatever part you’re after, but occasionally things get complex enough that you might need a little help. If you ever find yourself in such a situation, salvation might be just a few marker scribbles away.

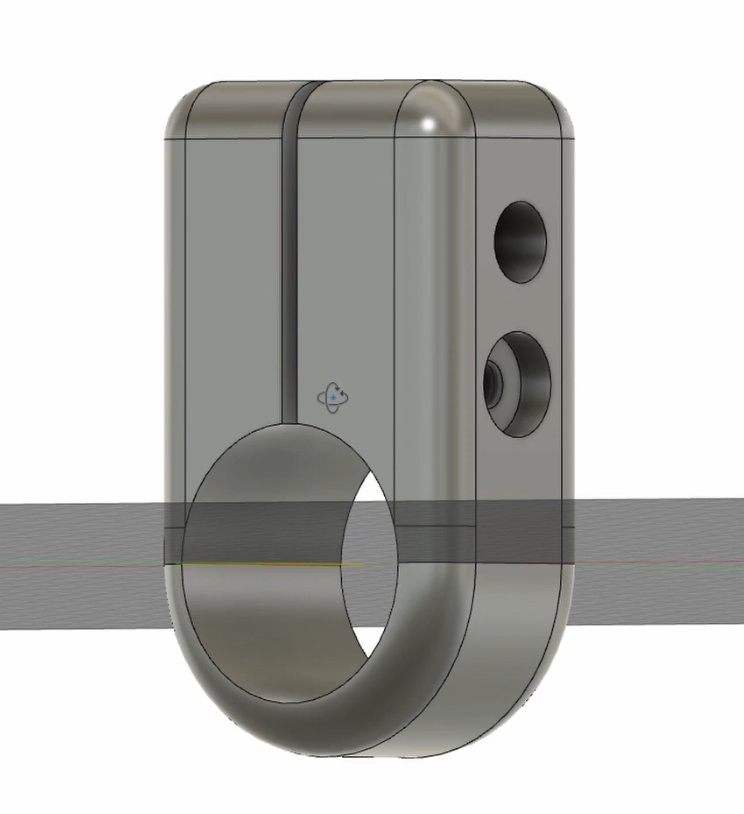
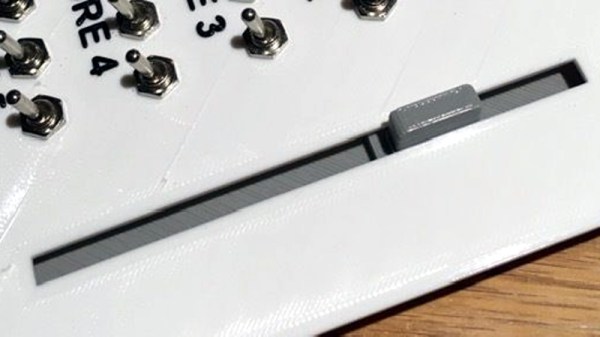
As [Mangy_Dog] explains in a recent video, he wanted to model a control panel for a laser cutter he’s been working on, but thought the shapes involved were a bit more than he wanted to figure out manually. So he decided to give photogrammetry a try. For the uninitiated, this process involves taking as many high-resolution images as possible of a given object from multiple angles, and letting the computer stitch that into a three dimensional model. He reasoned that if he had a 3D model of the laser’s existing front panel, it would be easy enough to 3D print some replacement parts for it.

That would be a neat enough trick on its own, but what we especially liked about this video was the tip that [Mangy_Dog] passed along about increasing visual complexity to improve the final results. Basically, the software is looking for identifiable surface details to piece together, so you can make things a bit easier for it by taking a few different colored markers and drawing all over the surface like a toddler. It might look crazy, but all those lines give the software some anchor points that help it sort out the nuances of the shape.

Unfortunately the markers ended up being a little more permanent than [Mangy_Dog] had hoped, and he eventually had to use acetone to get the stains off. Certainly something to keep in mind. But in the end, the 3D model generated was accurate enough that (after a bit of scaling) he was able to design a new panel that pops right on as if it was a factory component.

Hackaday readers may recall that when we last heard from [Mangy_Dog] he was putting the finishing touches on his incredible “Playdog Blackbone” handheld gaming system, which itself is a triumph of mating 3D printed components with existing hardware.

Continue reading “Custom Control Panels With Photogrammetry”

Now Even Your Business Card Can Run Linux

It takes a lot of work to get a functional PCB business card that’s thin, cheap, and robust enough to be practical. If you can even blink a few LEDs on the thing and still hand them out with a straight face, you’ve done pretty well for yourself. So you can imagine our surprise when [George Hilliard] wrote in to tell us about his $3 business card computer that boots into a functioning Linux environment. If this were a bit closer to April, we might have figured it was just a joke…

Of course it helps that, as an embedded systems engineer, [George] literally does this kind of thing for a living. Which isn’t to say it was easy, but at least he keeps close enough tabs on the industry to find a suitable ARM solution at a price that makes sense, namely the Allwinner F1C100s. This diminutive chip offers both RAM and CPU in a single package, which greatly simplifies the overall design and construction of the card.

With a root filesystem that weighs in at just 2.4 MB, the environment on the card is minimal to say the least. There’s no networking, limited I/O, and forget about running any heavy software. But it does boot in about six seconds, and [George] managed to pack in a MicroPython interpreter and a copy of the classic Unix dungeon crawler rogue.

Oh yeah, and it also has his resume and some samples of his photography onboard. It is, after all, a business card. All the user has to do is plug it into the USB port of their computer and wait for the virtual serial port to pop up that will let them log into the system running on the card. It also shows up as a USB Mass Storage device for recipients who might not be quite as adept at the command line.

In addition to the high-level documentation for this project, [George] has also prepared a deeper write-up that goes into more technical detail for anyone who might be looking to follow in his footsteps. Thanks to all of the source code that he’s made available, it should be a lot easier for the next person to get their own disposable pocket computer up and running.

We’ve seen all manner of electronic business cards over the years, but never anything quite like this. Which, of course, is quite the point. If you’re ever given a business card that doubles as a computer running a full-fledged operating system on it, you aren’t likely to forget it anytime soon.

AMD Introduces New Ryzen Mini PCs To Challenge Intel

For the majority of hacker and maker projects, the miniature computer of choice these last few years has been the Raspberry Pi. While the availability issues that seem to plague each new iteration of these extremely popular Single Board Computers (SBCs) can be annoying, they’ve otherwise proven to be an easy and economical way to perform relatively lightweight computational tasks. Depending on who you ask, the Pi 4 is even powerful enough for day-to-day desktop computing. Not bad for a device that consistently comes in under a $50 USD price point.

Intel NUC compared to the Raspberry Pi

But we all know there are things that the Pi isn’t particularly well suited to. If your project needs a lot of computing power, or you’ve got some software that needs to run on an x86 processor, then you’re going to want to look elsewhere. One of the best options for such Raspberry Pi graduates has been the Intel Next Unit of Computing (NUC).

NUCs have the advantage of being “real” computers, with upgradable components and desktop-class processors. Naturally this means they’re a bit larger than the Raspberry Pi, but not so much as to be impractical. If you’re working on a large rover for example, the size and weight difference between the two will be negligible. The same could be said for small form-factor cluster projects; ten NUCs won’t take a whole lot more space than the same number of Pis.

Unfortunately, where the Intel NUCs have absolutely nothing on the Raspberry Pi is price: these miniature computers start around $250, and depending on options, can sail past the $1,000 mark. Part of this sharp increase in price is naturally the vastly improved hardware, but we also can’t ignore that the lack of any strong competition in this segment hasn’t given Intel much incentive to cut costs, either. When you’re the only game in town, you can charge what you want.

But that’s about to change. In a recent press release, AMD announced an “open ecosystem” that would enable manufacturers to build small form-factor computers using an embedded version of the company’s Ryzen processor. According to Rajneesh Gaur, General Manager of AMD’s Embedded Solutions division, the company felt the time was right to make a bigger push outside of their traditional server and desktop markets:

The demand for high performance computing isn’t limited to servers or desktop PCs. Embedded customers want access to small form factor PCs that can support open software standards, demanding workloads at the edge, and even display 4K content, all with embedded processors that have a planned availability of 10 years.

Continue reading “AMD Introduces New Ryzen Mini PCs To Challenge Intel”

Advancing The State Of Cyberdeck Technology

It’s somewhat rare to be able to witness the birth and subsequent evolution of a technology, at least on a short enough time scale to appreciate it, but right now we’re lucky enough to see it happening within the burgeoning community of cyberdeck builders. We’ve seen an absolute explosion of cyberdeck projects in the last year or so, but this latest entry from [Tinfoil_Haberdashery] truly pushes the state of the art forward. Short of actually transmitting your consciousness into the Matrix, we’re not sure how much closer you could get to William Gibson’s original vision.

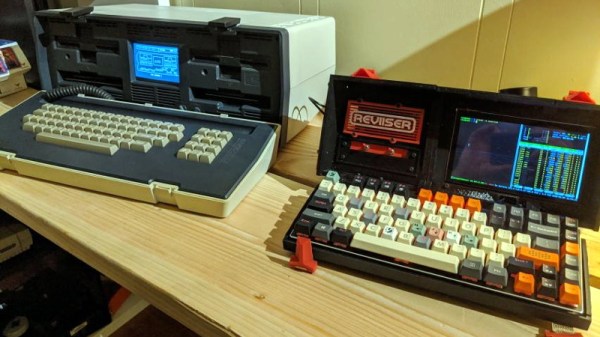
The design is based around a split ergonomic keyboard, with an Intel NUC in the center and a 1920×1200 IPS panel on a tilting mount off to one side. Since the display started its life as a DSLR monitor it doesn’t have a touch panel, but those who’ve yet to master a mouse-free workflow will be happy to know there’s a touch pad built into the lid of the NUC. Thanks to a clever dovetail joint, the deck also separates in half if you want to put some more space between your hands, or just to make the whole thing slightly less intimidating while carrying it on your back through the Sprawl.

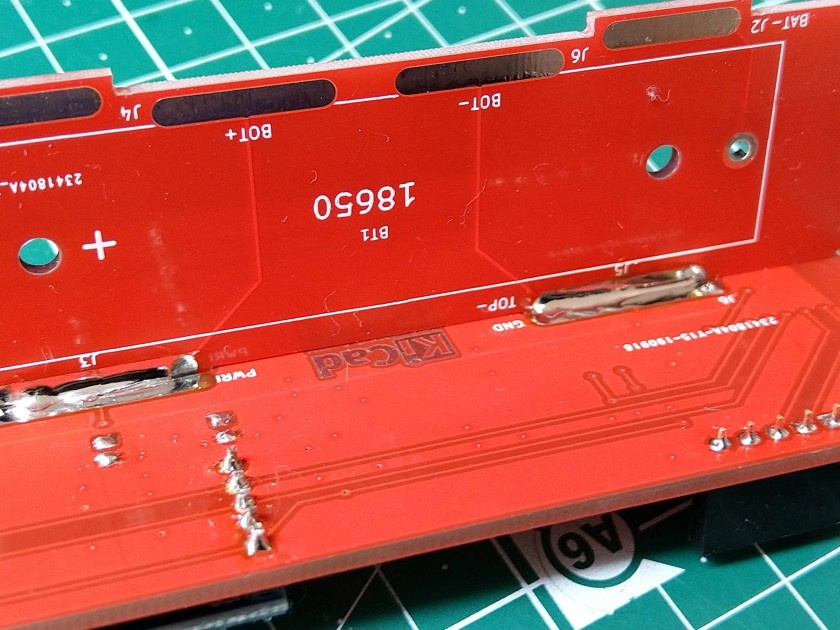
Power is provided by a custom 18650 battery pack running at 18 V that [Tinfoil_Haberdashery] (naturally) assembled with a homemade spot welder. He’s included both buck and boost converters so the cyberdeck can be powered with a wide array of voltages should he find himself in need of some juice in the field. To maximize battery life he’s also worked in a relay to cut power to the monitor when the NUC is sleeping, and there’s a physical master switch that can completely disconnect everything for long periods of inactivity.

The very first cyberdeck featured on Hackaday was built by [Tinfoil_Haberdashery], and we’re glad to see he’s not resting on his laurels. While that first deck was certainly impressive in its own right, this build takes inspiration from the incredible work we’ve seen from other hardware hackers and raises the bar on what’s possible from this dedicated community.

Motorizing A Plasma Cutter On The Cheap

A hand-held plasma cutter is an excellent tool to have if you are working with sheet metal, but it’s not particularly well suited to making long or repetitive cuts. Which is why [workshop from scratch] worked his usual scrapheap magic and built his own motorized track for making perfectly straight cuts.

Most of the frame, and even the small truck that rides on it, is made out of square stock in various sizes. A couple of bearings are enough to make sure the movement is smooth and doesn’t have too much slop. Motion is provided by a long threaded rod and two nuts, which are welded to the side of the truck.

If you had the patience (and forearm strength) you could just put a crank on the rod and be done with it, but in this case [workshop from scratch] used the motor, gearbox, and chuck from an old electric drill to grab onto the threaded rod and do the spinning for him. He rigged up an enclosure for the side of the rack that holds the motor, DC power supply, and motor controller, along with a couple of switches and a knob to control the speed.

A modification allows him to enable the plasma cutter with one of the switches on the panel, which gives the setup a much more complete feel than just putting a zip tie on the trigger. With this design, the plasma cutter itself can still be removed from the mount and used normally. You can even remove the motorized component with a few bolts if you just wanted to do manual cuts on the bed.

In the video after the break, the keen-eyed viewer may notice a few familiar pieces of gear in the background, such as the hydraulic bench vise we covered earlier in the year. As the name of the channel implies, [workshop from scratch] is all about building the workshop tools that many take for granted, and they’ve all been phenomenally fascinating projects. While we admire the gumption it takes to try and build a lathe out of scrap granite slabs, there’s something to be said for DIY tools that end up looking nearly as good as commercial offerings.

Continue reading “Motorizing A Plasma Cutter On The Cheap”

Boeing’s Starliner Fails To Reach Space Station

After a decade in development, the Boeing CST-100 “Starliner” lifted off from pad SLC-41 at the Cape Canaveral Air Force Station a little before dawn this morning on its first ever flight. Officially referred to as the Boeing Orbital Flight Test (Boe-OFT), this uncrewed mission was intended to verify the spacecraft’s ability to navigate in orbit and safely return to Earth. It was also planned to be a rehearsal of the autonomous rendezvous and docking procedures that will ultimately be used to deliver astronauts to the International Space Station; a capability NASA has lacked since the 2011 retirement of the Space Shuttle.

Liftoff at 6:36 AM Eastern

Unfortunately, some of those goals are now unobtainable. Due to a failure that occurred just 30 minutes into the flight, the CST-100 is now unable to reach the ISS. While the craft remains fully functional and in a stable orbit, Boeing and NASA have agreed that under the circumstances the planned eight day mission should be cut short. While there’s still some hope that the CST-100 will have the opportunity to demonstrate its orbital maneuverability during the now truncated flight, the primary focus has switched to the deorbit and landing procedures which have tentatively been moved up to the morning of December 22nd.

While official statements from all involved parties have remained predictably positive, the situation is a crushing blow to both Boeing and NASA. Just days after announcing that production of their troubled 737 MAX airliner would be suspended, the last thing that Boeing needed right now was another high-profile failure. For NASA, it’s yet another in a long line of setbacks that have made some question if private industry is really up to the task of ferrying humans to space. This isn’t the first time a CST-100 has faltered during a test, and back in August, a SpaceX Crew Dragon was obliterated while its advanced launch escape system was being evaluated.

We likely won’t have all the answers until the Starliner touches down at the White Sands Missile Range and Boeing engineers can get aboard, but ground controllers have already started piecing together an idea of what happened during those first critical moments of the flight. The big question now is, will NASA require Boeing to perform a second Orbital Flight Test before certifying the CST-100 to carry a human crew?

Let’s take a look at what happened during this morning’s launch.

Continue reading “Boeing’s Starliner Fails To Reach Space Station”

Movie-Style Hacking With A Wall Of Glowing Hex

Over the years, the media has managed to throw together some pretty ridiculous visual depictions of computer hacking. But perhaps none have gone as far down the road of obfuscation as The Matrix, where the most experienced hackers are able to extract information from a display of cascading green glyphs like a cyberpunk version of reading tea leaves. It’s absolutely ridiculous, with zero basis in reality.

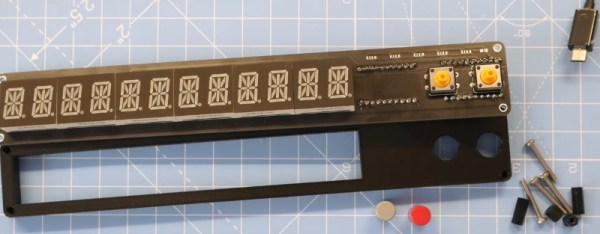
Well, maybe not anymore. Taking a page from these outlandish visions of hacking, [Erik Bosman] has constructed a dedicated hex dump display out of fourteen segment alphanumeric LEDs that looks like it could be pulled from a movie set. But make no mistake, it’s more than just a pretty face. By cleverly varying the brightness of the individual characters, he’s managed to make his so-called “hexboard” completely usable despite the fact that everything’s the same color.

While he says the project is not quite at 100% yet, he’s already released the firmware, computer-side software, and even the PCB design files for anyone who might want to build their own version. Though as you might imagine, it’s quite a tall order.

The display is broken up into segments holding eight Houkem-5421 LED modules apiece, each with its own STM32F030F4 and two TC7258E LED controllers. The bill of materials on this one is a bit intimidating, but when the end result look this good it’s hard to complain.

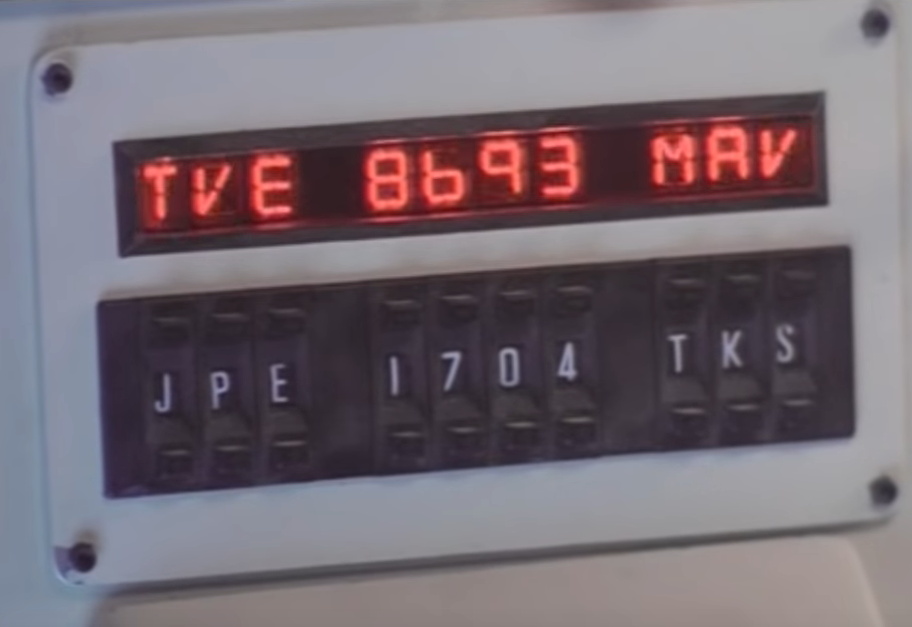
To build a somewhat smaller version that also features a more retro vibe, you might consider doing something similar by chaining together vintage LED “bubble” displays.