2019 Cornell Cup Winners Include Autonomous Boat, Flapping UAV, And Leaping Rover

For college-aged engineers and designers, finding a problem they’re truly passionate about early on could very well set the trajectory for an entire career. This is precisely the goal of the Cornell Cup, a competition that tasks applicants with solving a real-world problem in a unique and interesting way. From what we saw this is definitely working, as teams showed up with ornithopter-based quadcopters, robotic dinghies, forest fire sniffers, and high-jumping rovers.

With such an open ended approach, individual entries have a tendency to vary wildly, running the gamut from autonomous vehicles to assistive technology. No team feels pressured to pursue a project they aren’t truly invested in, and everyone’s the better for it.

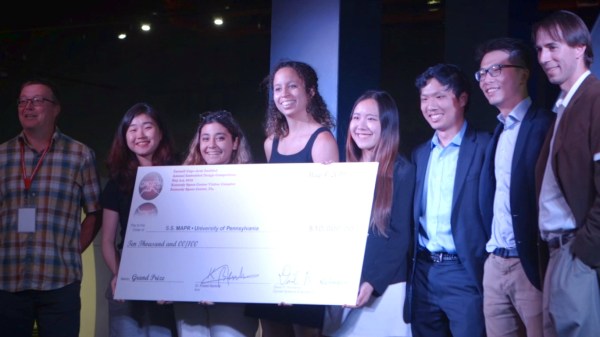
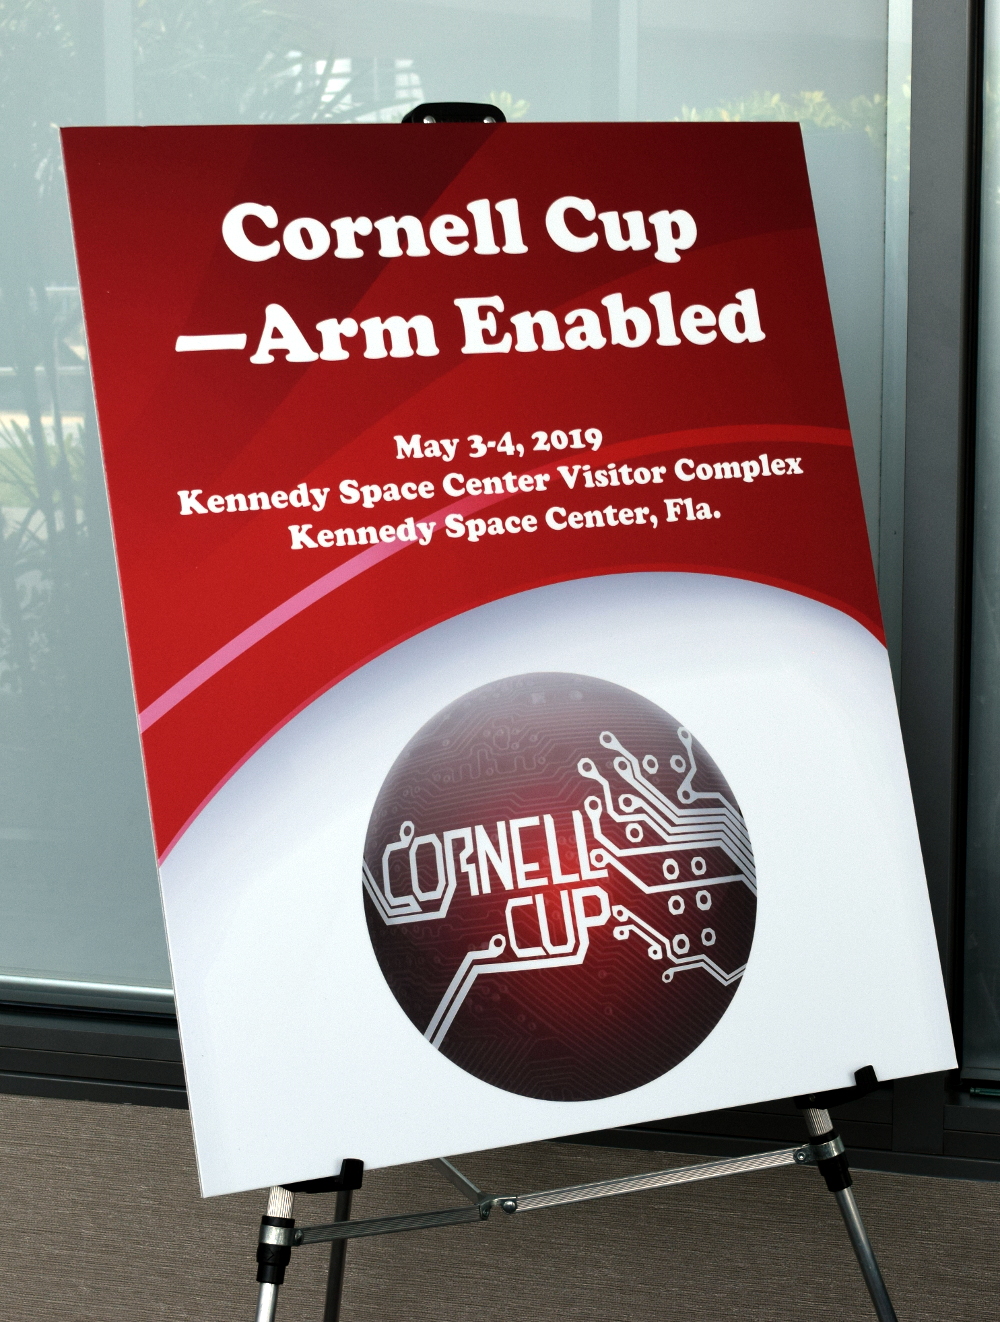
Given such lofty goals, Hackaday was proud to sponsor the 2019 Cornell Cup. Especially as it so closely aligns with the product design focus of this year’s Hackaday Prize. Designing something which solves a real-world problem is definitely part of the formula when the goal is to reach large scale production. And after seeing the entries first-hand during the Finals at Kennedy Space Center, we think every one of them would be a fantastic entry into the Hackaday Prize.

I don’t envy the judges who ultimately had to narrow it down to just a few teams to take home their share of the nearly $20,000 awarded. Join me after the break for a closer look at the projects that ended up coming out on top.

Continue reading “2019 Cornell Cup Winners Include Autonomous Boat, Flapping UAV, And Leaping Rover”

A Customizable Open Source Mechanical Numpad

Mechanical keyboards with reduced key counts are all the rage these days, but while those streamlined input devices might look cool on your desk, there are times when the traditional number pad or navigation keys are quite handy. Rather than just going without, [Mattia Dal Ben] decided to put together his own mechanical auxiliary input device for when the main board just isn’t cutting it.

[Mattia] is calling his creation the YamPAD, which stands for Yet Another Mechanical numPAD. One of the major goals for the project is to produce a design that’s easy for others to replicate and customize. His PCB has a socket designed to fit an Arduino Pro Micro, which combined with the QMK firmware, offers a wide array of configuration options. All that’s left is to add in the Cherry MX switches and some 1N4148 diodes.

But if you want to take things a little further, [Mattia] has that covered as well. The PCB design has provisions for RGB LED back-lighting should you find yourself in need of crunching some numbers in the dark. There’s even a spot for a 0.91″ OLED display if you really want to take things to the next level.

As of right now, the YamPAD is just a bare PCB, but [Mattia] is planning to design a 3D printed enclosure for it soon. The sketches he’s done so far depict a printed case which we think bears more than a passing resemblance to a Wii Fit Balance Board, but of course being a fully open source project, you’ll be free to design your own case based on the PCB’s dimensions. It would be interesting to see what other kind of customization the community might come up with once the design is finalized.

If you like the idea of the YamPAD, you might also want to check out the kbord we covered back in 2017. If you want to see the full keyboard done in this DIY open hardware style, there are already some choice entries into the field.

Wii Nunchuk Gets A Built-in Raspberry Pi Zero

The Wii controller will likely go down in history as the hacker’s favorite repurposed input device, and there’s no question that the Raspberry Pi is the community’s top pick in terms of Linux single board computers. So it should come as little surprise that somebody has finally given us the cross-over episode that the hacking community deserves: the PiChuk, a Pi Zero inside of Nintendo’s motion-sensing “nunchuk”.

Veterans of Wii Sports might be wondering how the hero of our story, a hacker by the name of [keycaps], managed to pull off such a feat. The Pi Zero is small, but it’s not that small. The trick is that the case of the nunchuk has been extended by way of a new 3D printed bottom half.

There’s more than just a Pi Zero along for the ride, as well. [keycaps] has manged to sneak in a 750 mAh LiPo and an Adafruit Powerboost, making the device a completely self-contained system. Interestingly, the original nunchuk PCB remains more or less untouched, with just a couple of wires connected to the Pi’s GPIO ports so it can read the button and stick states over I2C.

We know you’re wondering why [keycaps] went through the trouble of breaking out the HDMI port on the bottom. It turns out, the PiChuk is being used to drive a Vufine wearable display; think Google Glass, but without the built-in computing power. The analog stick and motion sensing capabilities of the controller should make for a very natural input scheme, as far as wearable computers go.

So not only could the PiChuk make for an awesome wireless input device for your next project, it’s actually a pretty strong entry into the long line of wearable computing devices based on the Pi. Usually these have included a DIY version of the distinctive Google Glass display, but offloading that onto a commercially available version is certainly a lot easier.

Open Hardware E-Ink Display Just Needs An Idea

Its taken awhile, but thanks to devices like the Amazon Kindle, the cost of e-ink displays are finally at the point where mere mortals such as us can actually start using them in our projects. Now we’ve just got to figure out how to utilize them properly. Sure you can just hook up an e-ink display to a Raspberry Pi to get started, but to truly realize the potential of the technology, you need hardware designed with it in mind.

To that end, [Mahesh Venkitachalam] has created Papyr, an open hardware wireless display built with the energy efficiency of e-ink in mind. This means not only offering support for low-energy communication protocols like BLE and Zigbee, but keeping the firmware as concise as possible. According to the documentation, the end result is that Papyr only draws 22 uA in its idle state.

So what do you do with this energy-sipping Bluetooth e-ink gadget? Well, that part is up to you. The obvious application is signage, but unless you’re operating a particularly well organized hackerspace, you probably don’t need wireless dynamic labels on your part bins (though please let us know if you actually do). More likely, you’d use Papyr as a general purpose display, showing sensor data or the status of your 3D printer.

The 1.54 inch 200×200 resolution e-ink panel is capable of showing red in addition to the standard grayscale, and the whole thing is powered by a Nordic nRF52840 SoC. Everything’s provided for you to build your own, but if you’d rather jump right in and get experimenting, you can buy the assembled version for $39 USD on Tindie.

Bare Metal Programming With Only Three Buttons

For anyone who’s seen a 1970’s era microcomputer like the Altair 8800 doing its thing, you’ll know the centerpiece of these behemoths is the array of LEDs and toggle switches used as input and output. Sure, computers today are exponentially more capable, but there’s something undeniably satisfying about developing software with pen, paper, and the patience to key it all in.

If you’d like to get a taste of old school visceral programming, but aren’t quite ready to invest in a 40 year old computer, then [GClown25] might have the answer for you. He’s developed a pocket sized “computer” he’s calling the BIT4 that can be programmed with just three tactile switches. In reality it’s an ATMega4809 running C code, but it does give you an idea of how the machines of yesteryear were programmed.

In the video after the break, [GClown25] demonstrates the BIT4 by entering in a simple binary counter program. With a hand-written copy of the program to use as a reference, he steps through the memory addresses and enters in the command and then the value he wishes to operate on. After a few seconds of frantic button pushing, he puts the BIT4 into run mode and you can see the output on the array of LEDs along the top edge of the PCB.

All of the hardware and software is open source for anyone who’s interested in building their own copy, or perhaps just wants to take a peak at how [GClown25] re-imagined the classic microcomputer experience with modern technology. Conceptually, this project reminds us of the Digirule2, but we’ve got to admit the fact this version isn’t a foot long is pretty compelling.

Continue reading “Bare Metal Programming With Only Three Buttons”

Improving A Conference Badge With 3D Printing

The obsession with over-the-top-hardware conference badges means that we as attendees get to enjoy a stream of weird and wonderful electronic gadgets. But for the folks putting these conferences on, getting a badge designed and manufactured in time for the event can be a stressful and expensive undertaking. To keep things on track, the designs will often cut corners and take liberties that you’d never see in commercial products. But of course, that’s part of their charm.

As a case in point, the OLED display on the 2019 KiCon badge is held on with just four soldered header pins, and can easily be bent or even snapped off. So [Jose Ignacio Romero] took it upon himself to develop a 3D printable mount which integrates with the PCB and gives the display some mechanical support. Any KiCon attendees who are looking to keep their badge in peak fighting condition for the long haul might want to start warming their extruders.

The design of this upgrade was made all the easier thanks to the fact that the KiCon badge is (naturally) open hardware. That meant [Jose] could import the PCB files directly into FreeCAD and have a virtual model of the badge to work with. This let him check the clearances and position of components without having to break out the calipers and measure the real thing.

Playing around with the virtual assembly, [Jose] quickly realized that the mounting holes in the OLED display don’t actually line up with the holes in the PCB; potentially why the screen didn’t get mounted on the final hardware. Once this misalignment was characterized, he was able to factor it into his design: the PCB side gets screwed down, and the screen snaps into printed “nubs” on the top of the mount.

Hackaday Editor-in-Chief [Mike Szczys] was on hand for KiCon 2019, and was kind enough to share the experience with those of us who couldn’t make it in person, including his own bout of hacking this very same badge.

A 32-bit Boost For Your 3D Printer

It might not be the kind of thing you’ve given much thought to, but if you’ve ever used a desktop 3D printer, it was almost certainly being controlled by an 8-bit CPU. In fact, the common RAMPS controller is essentially just a motor driver shield for the Arduino Mega. Surely we can do a bit better than that in 2019?

For his entry into this year’s Hackaday Prize, [Robert] is working on a 32-bit drop-in replacement board which would allow 3D printer owners to easily upgrade the “brain” of their machines. Of course, there are already a few 32-bit control boards available on the market, but these are almost exclusively high-end boards which can be tricky to retrofit into an older machine. It should also go without saying that they aren’t cheap.

With this board, [Robert] is hoping to create a simpler upgrade path for 8-bit printer owners. Being small and cheap is already a pretty big deal, but perhaps equally importantly, his board is running the open source Marlin firmware. Marlin powers the majority of 8-bit desktop 3D printers (even if their owners don’t necessarily realize it) so sticking with it means that users shouldn’t have to change their software configuration or workflow just because they’ve upgraded their controller.

The board is powered by a 72 MHz STM32F103 chip, and uses state-of-the-art Trinamic TMC2208 stepper drivers to achieve near silent operation. The board has an automatic cooling fan to help keep itself cool, and with an XT60 connector for power, it should even be relatively easy to take your printer on the go with suitably beefy RC batteries.