Before DOOM would run on any computing system ever produced, and indeed before it even ran on its first computer, the game that would run on any computer of the pre-DOOM era was Zork. This was a text-based adventure game first published in the late 70s that could run on a number of platforms thanks to a virtual machine that interpreted the game code. This let the programmers write a new VM for each platform rather than porting the game every time. [smbakeryt] wanted to see how far he could push this design and got the classic game running on one of the oldest computers ever produced.
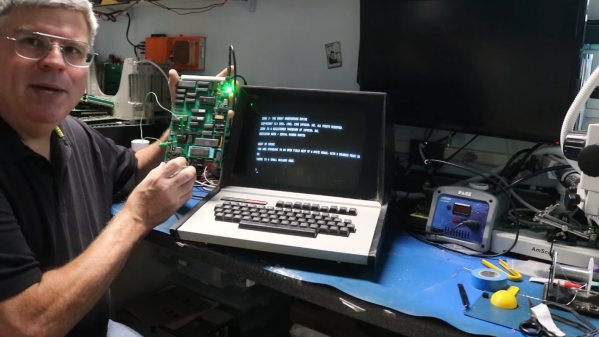
The computer in question is the ubiquitous Intel 4004 processor, the first commercially available general-purpose microprocessor produced. This was a four-bit machine and predates the release of Zork by about eight years. As discussed earlier, though, the only thing needed to get Zork to run on any machine is the Z-machine for that platform, so [smbakeryt] got to work. He’s working on a Heathkit H9 terminal, and the main limitation here is the amount of RAM needed to run the game. He was able to extended the address bus to increase the available memory in hardware, but getting the Z-machine running in software took some effort as well. There’s a number of layers of software abstraction here that’s a bit surprising for 70s-era computing but which make it an extremely interesting challenge and project.
As far as [smbakeryt]’s goal of finding the “least amount of computer” that would play Zork, we’d have a hard time thinking of anything predating the 4004 that would have any reasonable user experience, but we’d always encourage others to challenge this thought and [smbakeryt]’s milestone. Similarly, DOOM has a history of running on machines far below the original recommended minimum system requirements, and one of our favorites was getting it to run on the NES.