If you’ve ever set a telescope up in your backyard, you probably learned how quick any kind of lighting ruins your observation. In fact, a recent study found that every year, about 10% of the stars that were visible the previous year disappear in the mishmash of light scattering through the atmosphere. A company called StealthTransit has a solution: blink the lights in a controlled way. They have an animated video explaining the concept.
The technology, named DarkSkyProtector, assumes there is LED lighting and that the light’s owner (or manufacturer) will put a simple device in line that causes the LED to blink imperceptibly. As you might guess, the telescope — presumably some giant observatory uses a GPS receiver to synchronize and then images only when the LED lights all turn off. That presumes, of course, that you have a significant number of lights under control.
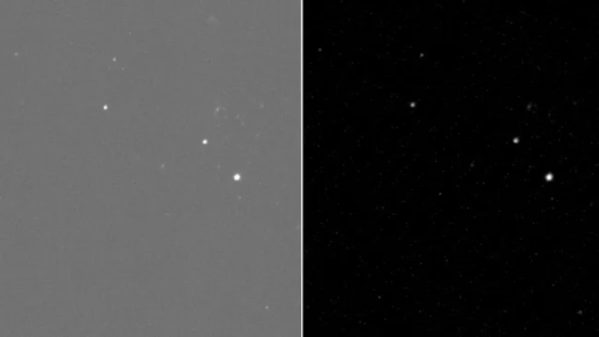
It is hard to imagine every city and home having astronomy-safe lighting. However, we can imagine a university installing a lighting system on its campus to protect night viewing. The system underwent a test in the Caucasus mountains using a 24-inch telescope and was apparently quite successful with a shutter rate of about 150 Hz. We weren’t clear if each LED control module has to have a GPS-disciplined time source, but it seems like you’d have to. However, the post talks about how the bulbs wouldn’t cost more to make than conventional ones, so maybe they don’t have anything fancy in them.
You can see satellites in the day with some tech tricks. Want to check out observatories? Hit the road. Or, get time on a telescope with Skynet University.