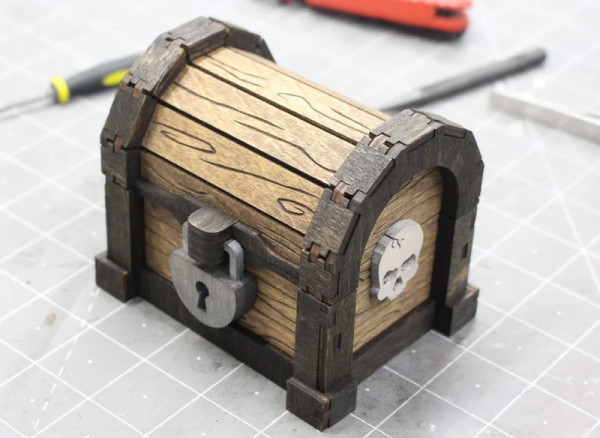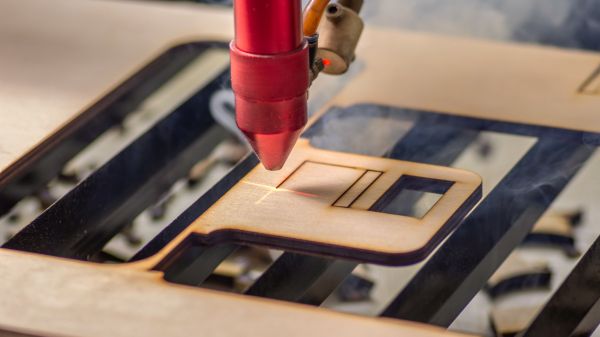
Nothing beats a laser cutter and a sheet of Baltic birch plywood or MDF when it comes to making quick, attractive enclosures. Burning out all the pieces and fitting them together with finger joints is super satisfying — right up until you realize that you didn’t quite get the kerf allowance right, and your pieces don’t fit together very nicely. If only there was a way to automate kerf measurement.
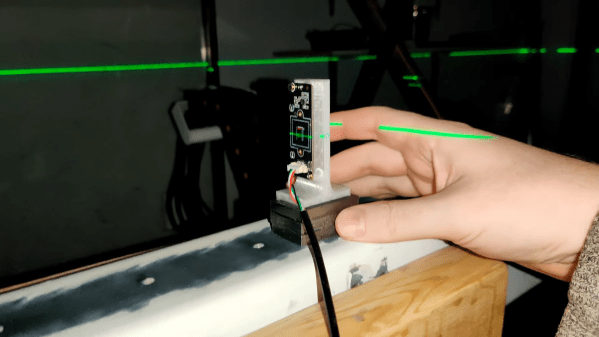
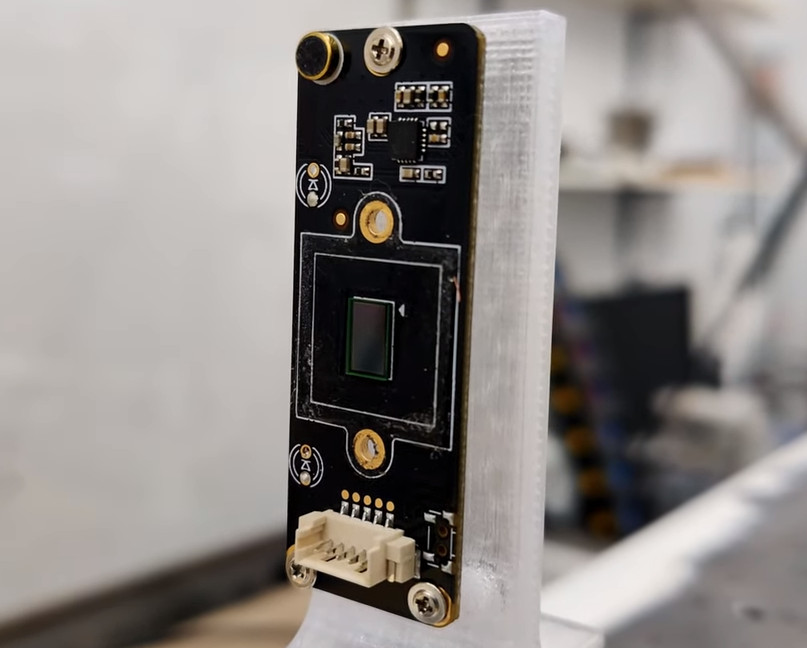
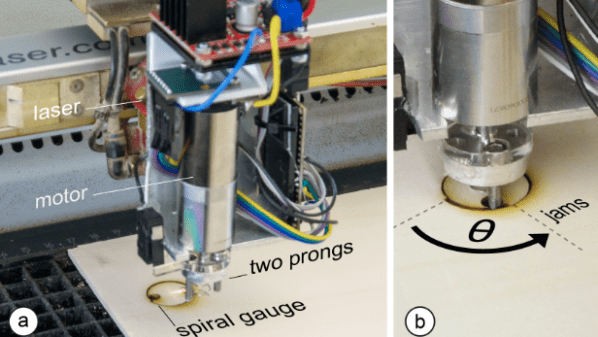
There is, in the form of Kerfmeter. It comes to us by way of the lab of [Patrick Baudisch] at the University of Potsdam, where they’ve come up with a clever way to measure the kerf of a laser cutter right during the cutting session. With the Kerfmeter mounted directly to the laser cutter head, a small test artifact based on an Archimedean spiral is cut into a corner of the workpiece. Pins on a small motor engage with the object and turn it until it jams in its hole; the wider the kerf, the greater the angle. Once the kerf is calculated, the rest of the design can be dilated by the proper amount to achieve a perfect fit. The video below shows it better than words can explain it.
What we like about this is its simplicity — all it involves is a motor and a microcontroller, plus a little software. It seems much faster than using a traditional kerf gauge, not to mention more precise. And while it does use up a little bit of material, the test pattern is really pretty small, all things considered. Seems like a reasonable trade-off to us. Still, if you want to figure out your kerfs the old-fashioned way, we’ve got you covered.
Continue reading “Kerfmeter Measures Laser Cutter Kerf Allowances On The Fly”