Whenever the topic of fusion power comes up, someone will say it’s only 10 years away from commercialization in an excited tone, and someone older or more cynical will point out that it’s been 10 years away since Eisenhower was president. So it’s with a certain-sized crystal of sodium chloride that we share the news here that the US-based Commonwealth Fusion Systems is applying to feed 400MWe into the grid there by the early 2030s.
The early 2030s is, notably, less than ten years from now.
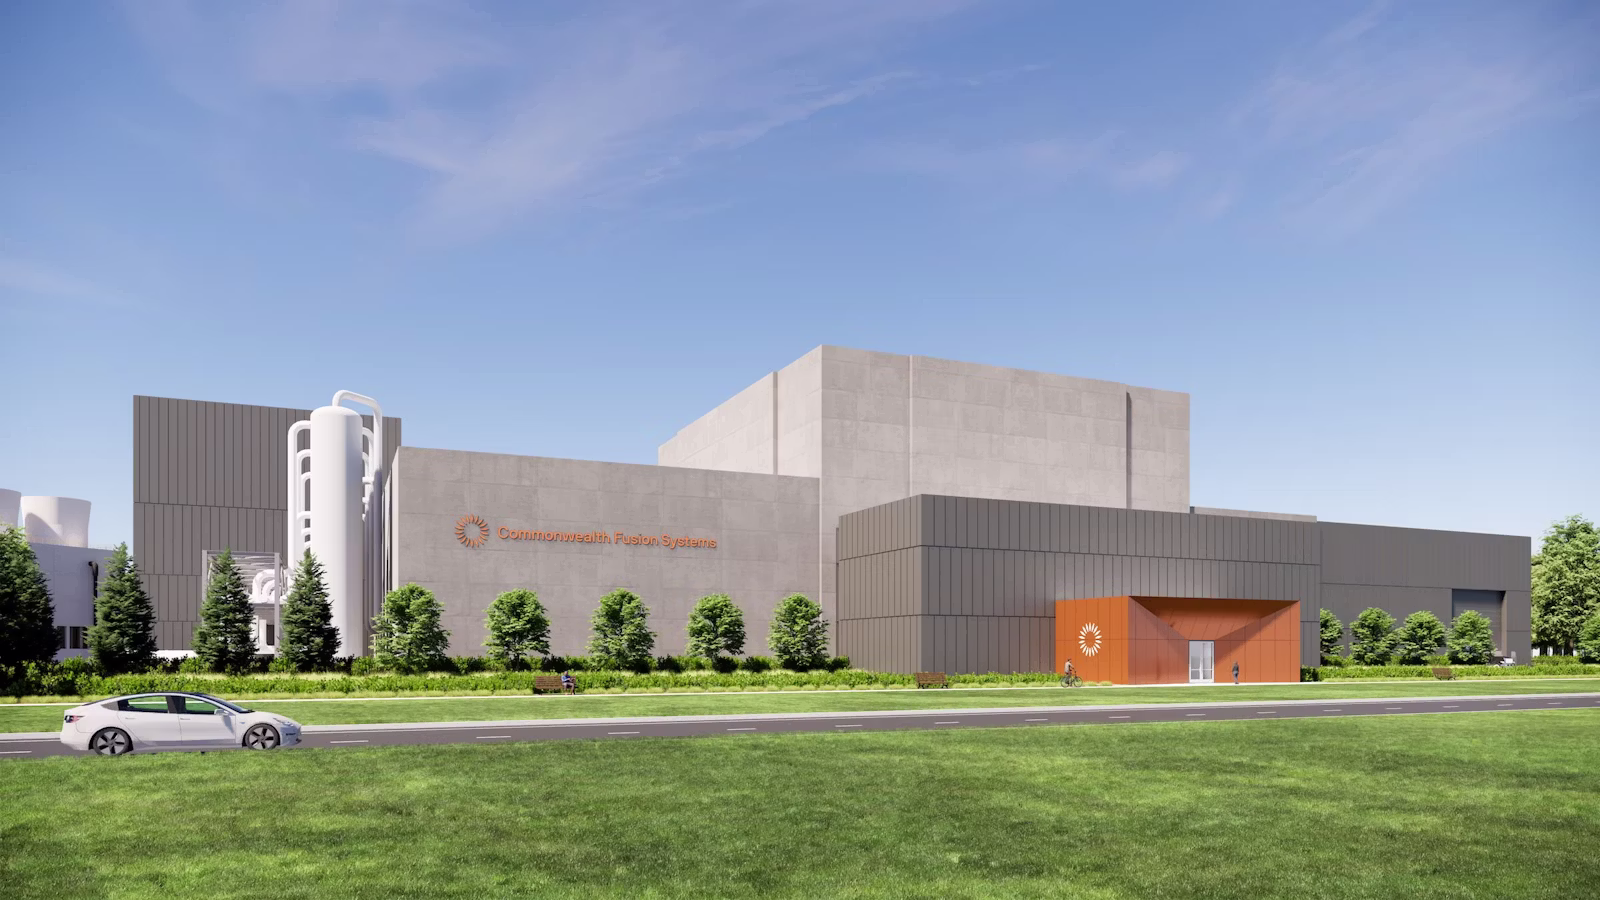
Commonwealth Fusion Systems isn’t a bunch of nobodies out to suck up venture capital; they’re a talented group of researchers from MIT’s well-known plasma laboratory out to suck up lots of venture capital and hopefully build reactors along the way. So far, the second part is going better than the first: they’ve raised a couple billion dollars, which has let them make great strides in building their SPARC reactor– like crafting the big magnet we told you about in 2021. As that article describes, SPARC is the precursor to the later, larger ARC reactor they hope to hook to the grid in slightly under a decade. Alas, SPARC remains under construction as of this writing. ARC is evidently in the final planning stages, with a physical location determined and grid-tie applied for at the “Fall Line Fusion Power Station” in Virginia.
CFS’s reactors are of the Tokamak type that has been favoured at universities since the 1970s. From China to Europe’s ITER who are also planning to produce power before another decade passes— though not, notably, into a power grid. While promising, Tokamaks aren’t the only game in town, either– steampunk startup General Fusion started making plasma last year, though while if it works it has some big advantages, that one is probably the traditional “ten years away” still.
What do you think? Will fusion power be in the grid before humans make it back to the moon? Add the flying-car potential of eVTOL and we might finally get close to the future we were promised.