Like pretty much every other large gathering, the Midwest and East Coast RepRap Festivals had to be put on hold during the height of the COVID-19 pandemic. But now that the United States is cautiously returning to something that looks a lot like normal, both Festivals have now confirmed they will be back to full-scale live events for 2022.
After experimenting with a virtual event and a scaled-down show in 2021, the Midwest RepRap Festival (MRRF) will be returning to the Elkhart County 4H Fairgrounds in Goshen, Indiana from June 24th to the 26th. No tickets will be required for attendees or exhibitors, everyone is welcome to just show up and have a good time. There will however be sponsorship opportunities for anyone who wants to support this long-running event.
 Summer already booked up? In that case, the East Coast RepRap Festival (ERRF) will be taking place from October 8th to the 9th at the APG Federal Credit Union Arena in Bel Air, Maryland. Tickets cost $10 for both exhibitors and attendees, though anyone under 17 gets in for free. Even though ERRF only confirmed their 2022 plans recently, it looks like there are only a few sponsor spots still left open.
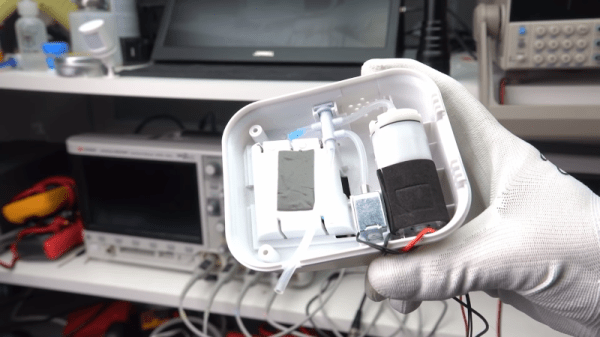
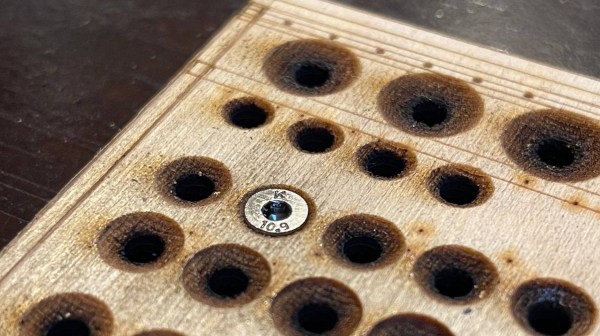
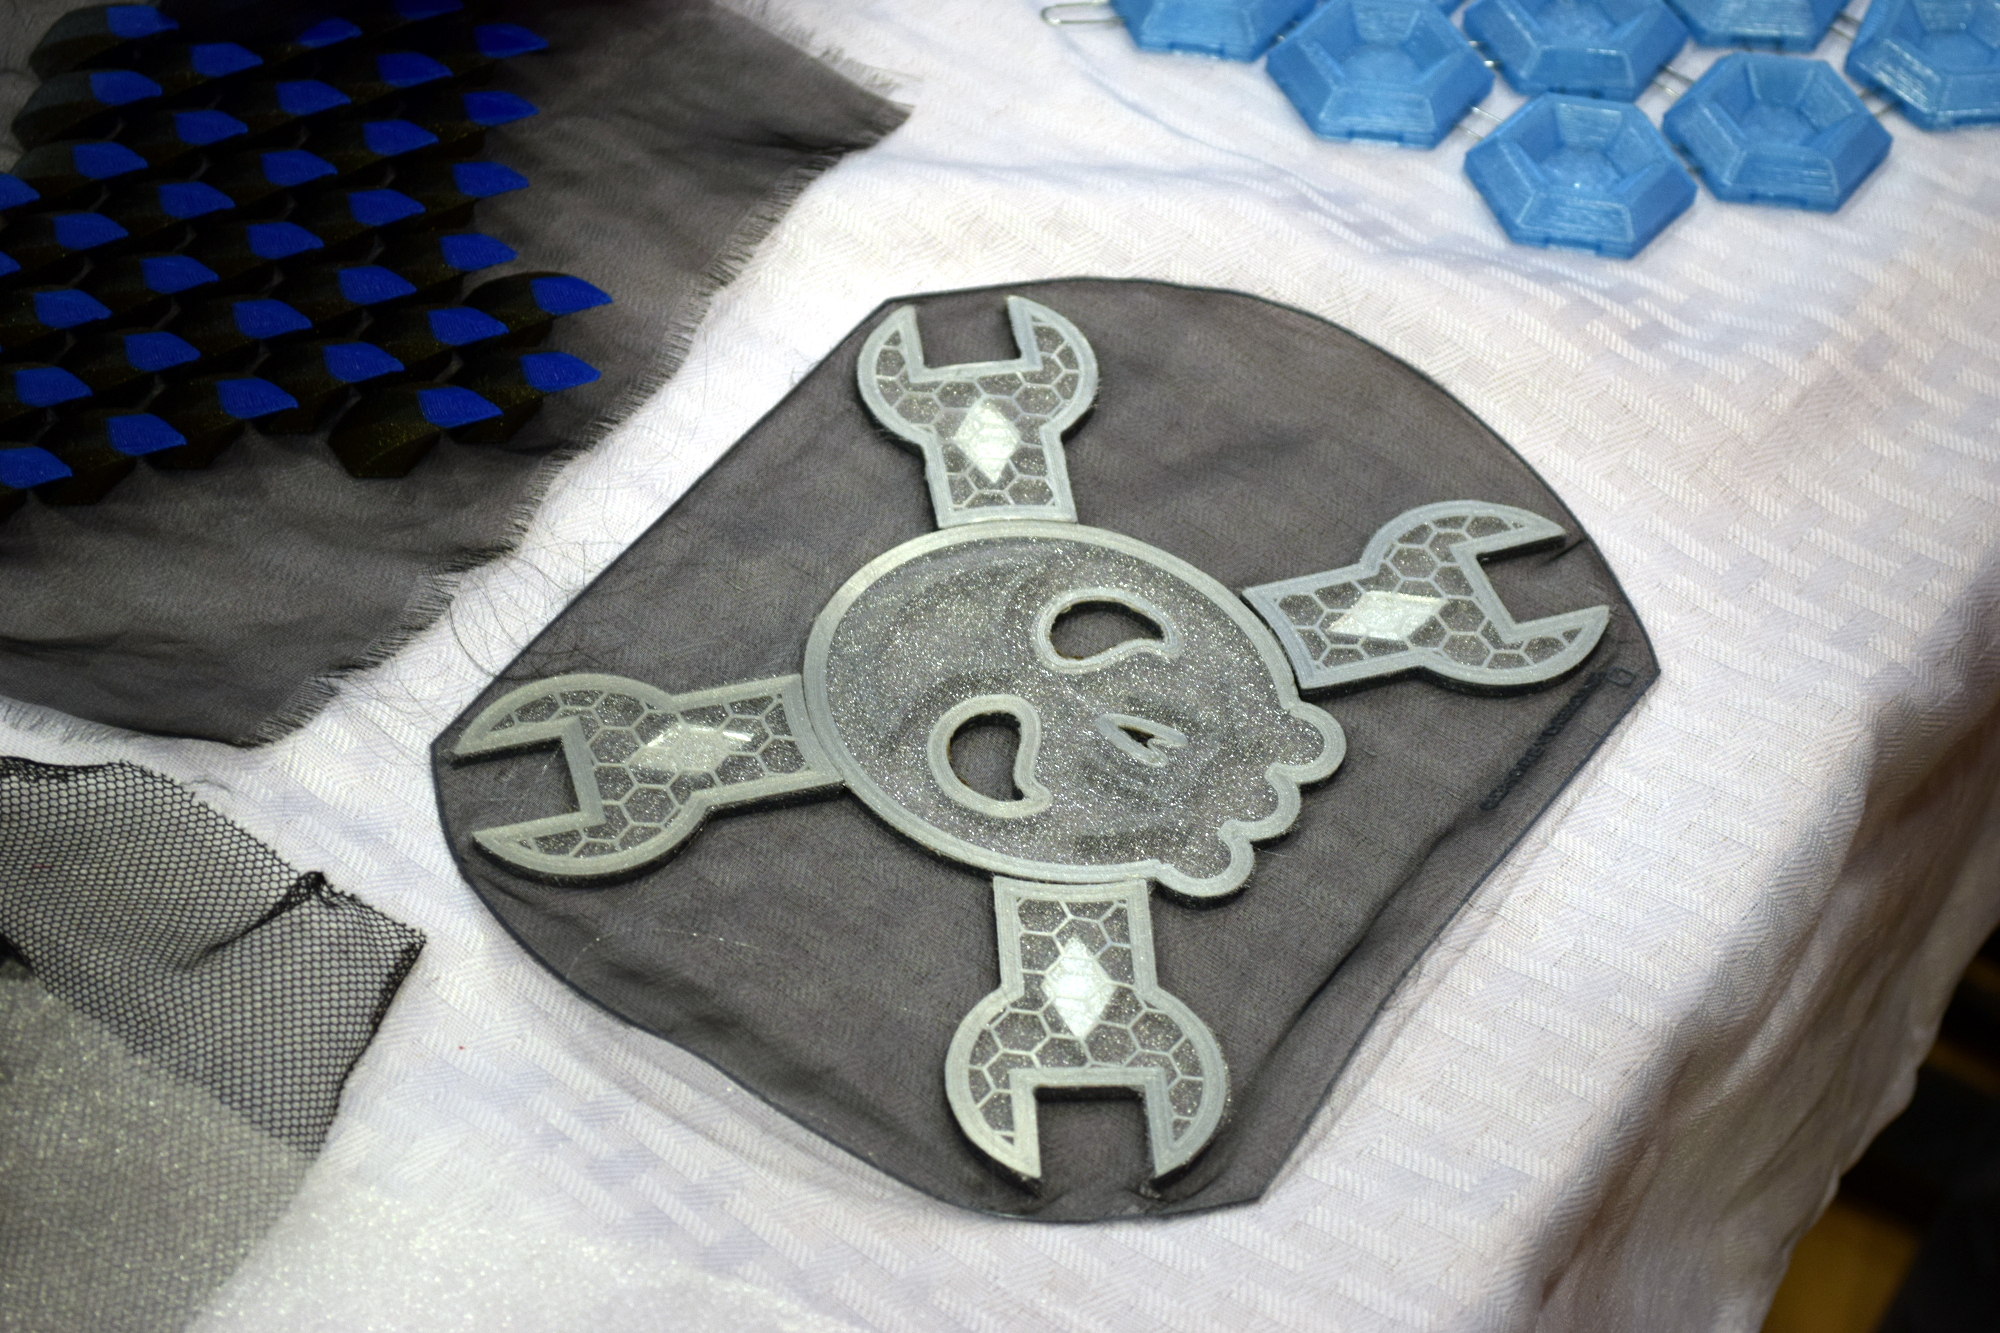
Hackaday has attended both events in the past, and we’ve always come back blown away by the incredible variety of printers, projects, and products on display. It seems like there wouldn’t be that many different ways to show off melted plastic, but trust us, these folks always manage to surprise you. Given the amount of time that’s passed since either event was able to operate at normal capacity, we predict these 2022 Festivals are going to be smash hits that you won’t want to miss if you’re even remotely interested in 3D printing.