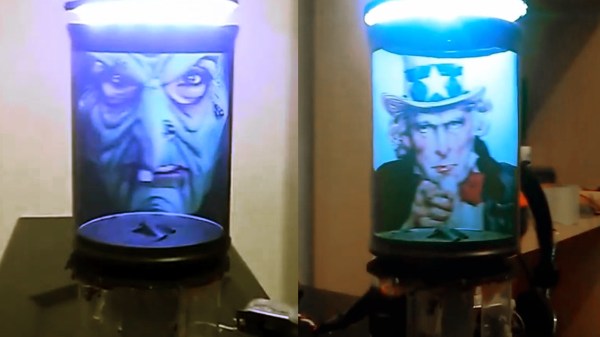
It’s easy to think that devices which generate thousands of volts of electricity must involve relatively modern technology, but the fact is, machines capable of firing sparks through open air predate Edison’s light bulb. Which means that recreating them with modern tools, construction techniques, and part availability, is probably a lot easier than most people realize. The fascinating machine [Jay Bowles] put together for his latest Plasma Channel video is a perfect example, as it’s capable of developing 6,000 volts without any electronic components.
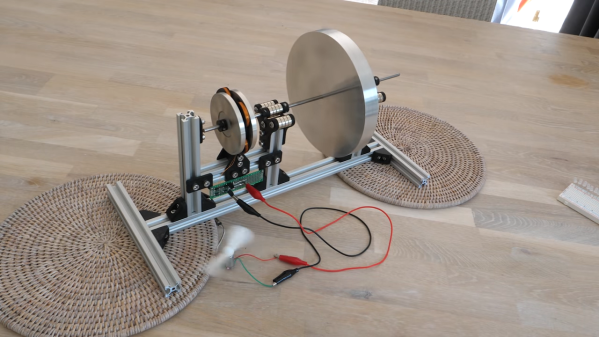
Now as clever as [Jay] might be, he can’t take credit for the idea on this one. That honor goes to Lord Kelvin, who came up with this particular style of electrostatic generator back in 1867. Alternately called “Kelvin water dropper” or “Lord Kelvin’s Thunderstorm”, the machine is able to produce a high voltage charge from falling water without using any moving parts.
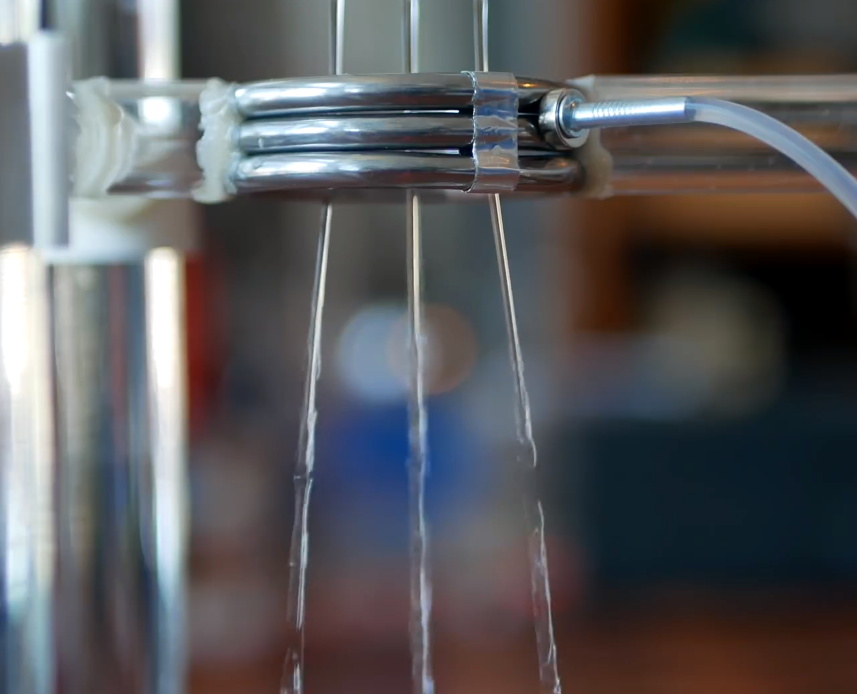
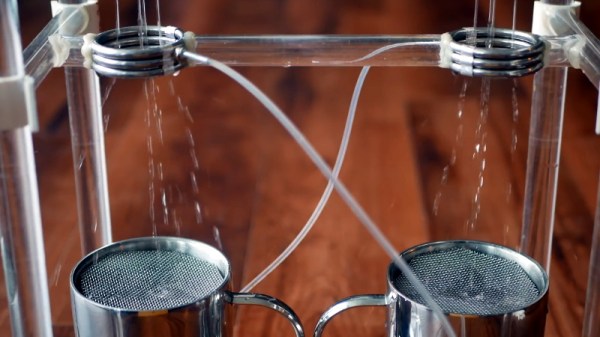
Our very own [Steven Dufresne] wrote an in-depth look at how these devices operate, but the short version is that a negative and positive charge is built up in two sets of metallic inductor rings and buckets, with the stream of water itself acting as a sort of wire to carry the charge up to the overhead water reservoir. As [Jay] demonstrates the video, you’ll know things are working when the streams of water become attracted to the inductors they are passing through.
Rather than connecting a separate spark gap up to the water “receivers” on the bottom of his water dropper, [Jay] found the handles on the metal mugs he’s using worked just as well. By moving the mugs closer and farther away he can adjust the gap, and a second adjustment lets him move the vertical position of the inductors. It sounds like it takes some fiddling to get everything in position, but once it’s working, the whole thing is very impressive.
Of course if you’re looking to get serious with high voltage experiments, you’ll want to upgrade to some less whimsical equipment pretty quickly. Luckily, [Jay] has shown that putting together a reliable HV supply doesn’t need to be expensive or complicated.
Continue reading “Lord Kelvin’s Contraption Turns Drips Into Sparks”