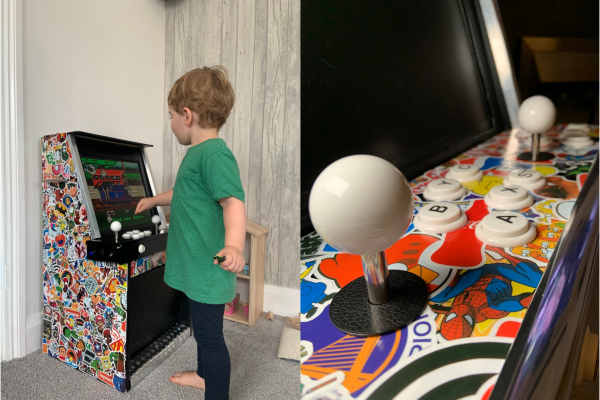
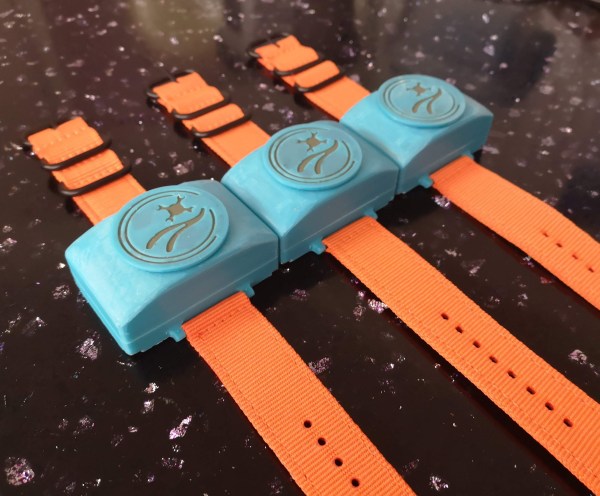
Not everybody has $6500 to toss into a Tesla Powerwall (and that’s a low estimate), but if you want the benefits of battery storage for your house, [Matt]’s modular “microbattery” storage system might be right up your alley. With a build-as-you-go model, virtually any battery can be placed on the grid in order to start storing power from a small solar installation or other power source.
The system works how any other battery installation would work. When demand is high, a series of microinverters turn on and deliver power to the grid. When demand is low, the batteries get charged. The major difference between this setup and a consumer-grade system is that this system is highly modular and each module is networked together to improve the efficiency of the overall system. Its all tied together with a Raspberry Pi that manages the entire setup.
While all of the software is available to set this up, it should go without saying that working with mains power is dangerous, besides the fact that you’ll need inverters capable of matching phase angle with the grid, a meter that handles reverse power flow, a power company that is willing to take the power, and a number of building code statutes to appease. If you don’t have all that together, you might want to go off-grid instead.
[Jan Mrázek]’s success with 3D printing a solder paste stencil is awfully interesting, though he makes it clear that it is only a proof of concept. There are a lot of parts to this hack, so let’s step through them one at a time.
First of all, it turns out that converting a PCB solder paste layer into a 3D model is a bit of a challenge. A tool [Jan] found online didn’t work out, so he turned to OpenSCAD and wrote a script (available on GitHub) which takes two DXF files as input: one for the board outline, and one for the hole pattern. If you’re using KiCad, he has a Python script (also on GitHub) which will export the necessary data.
The result is a 3D model that is like a solder paste mask combined with a raised border to match the board outline, so that the whole thing self-aligns by fitting on top of the PCB. A handy feature, for sure. [Jan] says the model pictured here printed in less than 10 minutes. Workflow-wise, that certainly compares favorably to waiting for a stencil to arrive in the mail. But how do the actual solder-pasting results compare?
3D printed solder stencil on PCB, after applying solder paste.
[Jan] says that the printed stencil had a few defects but it otherwise worked fine for 0.5 mm pitch ICs and 0402 resistors, and the fact that the 3D printed stencil self-registered onto the board was a welcome feature. That being said, it took a lot of work to get such results. [Jan]’s SLA printer is an Elegoo Mars, and he wasn’t able to have it create holes for 0.2 mm x 0.5 mm pads without first modifying his printer for better X/Y accuracy.
In the end, he admits that while a functional DIY solder stencil can be 3D printed in about 10 minutes, it’s not as though professionally-made stencils that give better results are particularly expensive or hard to get. Still, it’s a neat trick that could come in handy. Also, a quick reminder that we stepped through how to make a part in OpenSCAD in the past, which should help folks new to OpenSCAD make sense of [Jan]’s script.
2019 was a great year for Hackaday. It marked the fifteenth year of the hacker community’s hive-brain, which is essentially forever in Internet Years, and we’re still laser-focused on bringing you the hacks that inspire you to create the hacks that inspire someone else to create the hacks of tomorrow. We’re immensely proud that Hackaday remains a must-read in the worldwide community of folks doing creative things with technology.
The part of Mike’s talk that I enjoyed the most, though, was his look back fifteen years ago to when Hackaday was just born. In the intervening 5,545 days, we’ve written more than 34,718 articles. (So much for “hack-a-day”, he says, doing the math.) We’re nearing our millionth comment. That’s a lot of Hackaday. So it’s fun to ask what has changed over this time, and track it through the memory of a hardware hacker.
Dig the old image styling! Groovy.
Back in 2008, Hackaday was a spry four-year-old, and we were featuring robot hacks where the brains and Internet connectivity were provided by WRT-54G routers, SMS connectivity was provided by hacking into a Nokia 3100, and the battery weighed more than the motors yet only lasted fifteen minutes. Today’s hacks toss in an ESP32, any old cheap SMS module, and an off-the-shelf Li-Ion battery pack and will run for days. Don’t even get me started on 3D printers. Or the ease of writing software for any of these machines. We’ve never lived in better times!
But that doesn’t mean that every project has to be a superconducting supercollider either; it’s equally important to showcase our simpler projects too, to give new people a foothold into the hacking scene. And it’s similarly crucial to show people how you failed, tried, and tried again before declaring victory. If all of our finished projects look like they were conjured out of thin air, it hides all of the learning that went into them, and that’s where a lot of the real gold is buried.
While we add features, media come and go, and the cutting edge becomes less and less distinguishable from magic, one thing remains constant: showing each other what we’re up to, sharing our best tips and tricks, and pushing forward the hacker state of the art. Long live Hackaday!
Even for those of us who follow space news closely, there’s a lot to keep track of these days. Private companies are competing to develop new human-rated spacecraft and assembling satellite mega-constellations, while NASA is working towards a return the Moon and the first flight of the SLS. Between new announcements, updates to existing missions, and literal rocket launches, things are happening on a nearly daily basis. It’s fair to say we haven’t seen this level of activity since the Space Race of the 1960s.
With so much going on, it’s no surprise that not many people have heard of the XS-1 Phantom Express. A project by the United States Defense Advanced Research Projects Agency (DARPA), the XS-1 was designed to be a reusable launch system that could put small payloads into orbit on short notice. Once its mission was complete, the vehicle was to return to the launch site and be ready for re-flight in as a little as 24 hours.
Alternately referred to as the “DARPA Experimental Spaceplane”, the vehicle was envisioned as being roughly the size of a business jet and capable of carrying a payload of up to 2,300 kilograms (5,000 pounds). It would take off vertically under rocket power and then glide back to Earth at the end of the mission to make a conventional runway landing. At $5 million per flight, its operating costs would be comparable with even the most aggressively priced commercial launch providers; but with the added bonus of not having to involve a third party in military and reconnaissance missions which would almost certainly be classified in nature.
Or at least, that was the idea. Flight tests were originally scheduled to begin this year, but earlier this year prime contractor Boeing abruptly dropped out of the program. Despite six years in development and over $140 million in funding awarded by DARPA, it’s now all but certain that the XS-1 Phantom Express will never get off the ground. Which is a shame, as even in a market full of innovative launch vehicles, this unique spacecraft offered some compelling advantages.
Hackaday editors Elliot Williams and Mike Szczys recount the past week in hardware hacking. There’s a new king of supercomputing and it’s everyone! Have you ever tried to count bees? Precision is just a cleverly threaded bolt away. And we dig into some of the technical details of the coronavirus response with a close look at PCR testing for the virus, and why ventilators are so difficult to build.
Take a look at the links below if you want to follow along, and as always tell us what you think about this episode in the comments!
Take a look at the links below if you want to follow along, and as always, tell us what you think about this episode in the comments!
Thanks to some clever Arduino-driven automation, [Gurpreet] can maintain a safe distance from his slide whistle while interacting with it. Slide whistles need two things — air coming in from the top, and actuation at the business end. The blowing force now comes from a focused fan like the ones that cool your printed plastic as soon as the hot end extrudes it. A stepper motor moves the slide up and down using a printed rack and pinion.
Here’s a smooth touch — [Gurpreet] added a micro servo to block and unblock the sound hole with a cardboard flap to make the notes more distinct. Check out the build video after the break, which includes a music video for “My Heart Will Go On”, aka the theme from Titanic. It’s almost like the ship herself is playing it on the steam whistles from the great beyond.
LILIN DVRs and cameras are being actively exploited by a surprisingly sophisticated botnet campaign. There are three separate 0-day vulnerabilities being exploited in an ongoing campaigns. If you have a device built by LILIN, go check for firmware updates, and if your device is exposed to the internet, entertain the possibility that it was compromised.
The vulnerabilities include a hardcoded username/password, command injection in the FTP and NTP server fields, and an arbitrary file read vulnerability. Just the first vulnerability is enough to convince me to avoid black-box DVRs, and keep my IP cameras segregated from the wider internet.