Stronger 3D Prints — Glue Or Carbon Fiber?

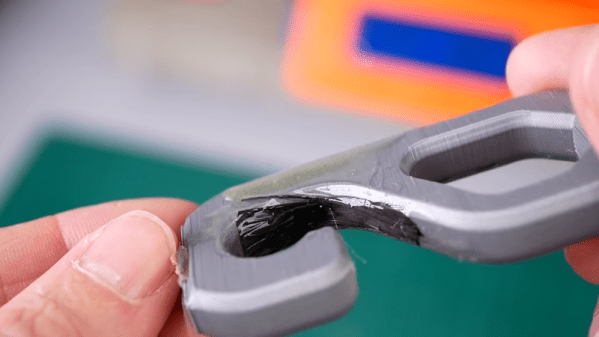
[CNCKitchen], like many others, is looking to make strong 3D prints. Using a high tech PLA bio copolyester compound, he printed a bunch of hooks in two different orientations. He used several different types of glue including epoxy and superglue. You can see the video of his results, below.

In addition to the glue, he used epoxy and bulk carbon fiber, again, in two different orientations. After several days of curing, he was ready to test.

Continue reading “Stronger 3D Prints — Glue Or Carbon Fiber?”

A VFD Wall Thermometer

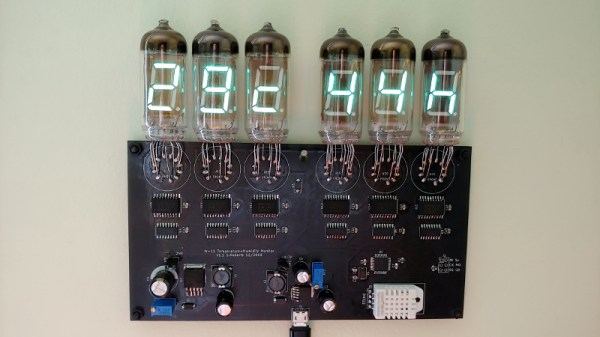
Want to build something using VFD tubes, but don’t need yet another clock project? In that case, this wall mounted temperature and humidity display created by [commanderkull] might be exactly what you’re looking for. With six IV-11 tubes, this display is a practical way to add some of that gorgeous blue-green glow to your home or office.

The USB powered display uses a XL6009 and an XL7015 to provide the 24 V and 1.8 V needed by the IV-11 tubes, respectively. Both of which can be disconnected with jumpers to shut down the tubes without powering off the entire device, a useful feature when programming and debugging the display’s ATmega328P microcontroller. Each tube is connected to the ATmega with an 74HC595 shift register and a UDN2981 driver. Temperature and humidity data is provided, perhaps unsurprisingly, by the exceptionally common DHT22 sensor.

If you are looking to build another clock with these style tubes, there’s certainly enough prior art out there to get you started. We’ve also seen faux VFDs that you could use for either project, just in case you aren’t looking to deal with the voltage requirements and relative rarity of the real thing.

[Ben Krasnow]’s Take On DIY Air Bearings

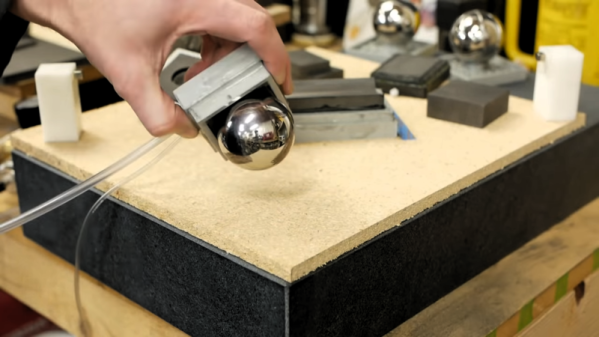
We’ve got to admit that watching [Ben Krasnow]’s new video on air bearings is tough. We found our eyes constantly checking the spherical air bearing in the foreground, which for the first eight minutes of the video just kept going. It was strangely hypnotic, and made it hard to concentrate on all the other cool stuff [Ben] was up to.

If the topic of air bearings seems familiar, it might be because we recently reported on DIY air bearings made from used EDM electrodes. [Ben] saw that too, and dusted off his old air bearing project. Literally, as it turns out, because the graphite blocks whose porosity and softness make them the perfect material for air bearings also makes for a dusty workshop. We’d recommend breathing protection of some sort while machining graphite. In addition to simple puck bearings, [Ben] came up with more complicated designs, including the aforementioned spherical bearing. He used the steel ball itself as a precision tool to grind the graphite out, first by coating it with abrasive and then by cutting grooves in it to act like a file. A cylindrical bearing was also cut, this time with sandpaper glued directly to the ground steel rod that would seat in the bearing.

[Ben]’s other innovation is vacuum preloading, where he applies both vacuum and pressure to the bearing plenum. The vacuum provides the force needed to capture the moving element while the pressure bears the load. It’s a careful balancing act, but it works well enough to capture the large steel ball and keep it turning effortlessly.

We really liked [Ben]’s take on air bearings, especially his thoughts on creating fully enclosed cylindrical bearings. Those could be useful for low-friction linear drives, and we look forward to seeing more on those.

Continue reading “[Ben Krasnow]’s Take On DIY Air Bearings”

FPGA 6800 Uses Python Toolbox

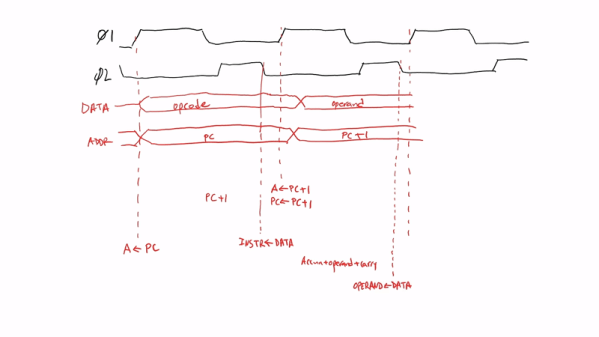
Usually, when you think of designing — or recreating — a CPU on an FPGA, you assume you’ll have to use Verilog or VHDL. There are other options, as well, but those are the biggest two players in FPGA configuration. [Robert Baruch] has a multipart series where he uses nMigen — a Python toolbox — to recreate a 6800 CPU like the one used in many vintage video games and pinball machines.

Unlike some tools that try to convert software written in some language to an FPGA configuration, nMigen uses Python as a scripting language to create code in FHDL. This is similar in concept to VHDL or Verilog, but gives up the event-driven paradigm, opting instead to allow designers to explicitly call out synchronous and combinatorial logic.

Continue reading “FPGA 6800 Uses Python Toolbox”

Magic-Angle Twisted Bilayer Graphene – Yes, That’s The Scientific Name

In the world of physics research, graphene has been gaining popularity as one of the most remarkable materials in the last 15 years. While it may appear unassuming in common household goods such as pencil leads, the material boasts a higher strength than steel and a higher flexibility than paper. On top of all that, it is also ultra-light and an excellent conductor of electric current and heat.

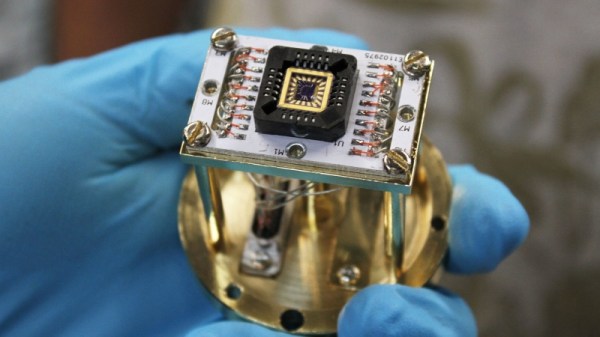
Recently, physicists from the Massachusetts Institute of Technology discovered that stacking two sheets of graphene and twisting a small angle between them reveals an entire new field of material science – twistronics. In a paper published in Nature, researchers have taken a look into this new material, known as the magic-angle twisted bilayer graphene. By modifying the graphene’s temperature, they were able to cause the material to shift from behaving like an insulator to transforming into a superconductor.

A graphic in the New York Times demonstrates some of the interesting properties that arise from stacking and twisting two sheets. Scientists have long known that graphene is a one-layer-thick honeycombed pattern of carbon atoms, but actually separating a single sheet of graphene has been fairly difficult. A low-tech method pioneered by two physicists at the University of Manchester involves using sticky tape to pull apart graphene layers until a single layer is left.

Small imperfections that arise from slightly misaligned sheets manifests in a pattern that allows electrons to hop between atoms in regions where the lattice line up, but unable to flow in regions that are misaligned. The slower moving electrons are thus more likely to interact with each other, becoming “strongly correlated”.

The technique for measuring the properties of this new twisted graphene is similarly low-tech. After a single layer of graphene is separated by sticky tape, the tape is torn in half to reveal two halves with perfectly aligned lattices. One of the sides is rotated by about 1.3 degrees and pressed onto the other. Sometimes, the layers would snap back into alignment, but other times they would end up at 1.1 degrees and stop rotating.

When the layers were cooled to a fraction of a degree above absolute zero, they were observed to become a superconductor, an incredibly discovery for the physicists involved in the experiment. Further studies showed that different permutations of temperature, magnetic field, and electron density were also able to turn the graphene into a superconductor. On top of this, the graphene was also able to exhibit a form of magnetism arising from the movement of electrons rather than the intrinsic properties of the atoms. With so many possibilities still unexplored, it’s certain that twistronics will reveal some remarkable findings pretty soon.

[Thanks Adrian for the tip!]

Drill Thrice, Solder Once

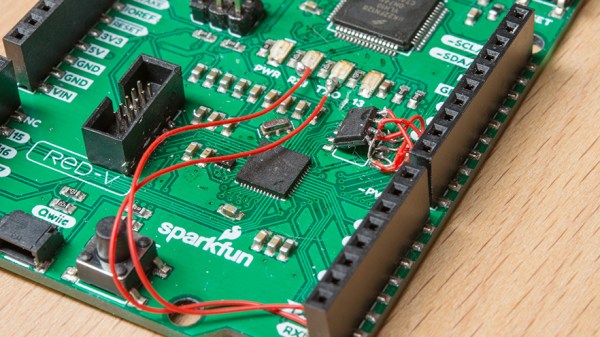
If you design printed circuit boards, then you will have also redesigned printed circuit boards. Nobody gets it right the first time, every time. Sometimes you can solder a scrap of 30gauge wire, flip a component 180°, or make a TO-92 transistor do that little pirouette thing where the legs go every-which-way. If you angered the PCB deities, you may have to access a component pad far from an edge. [Nathan Seidle], the founder of Sparkfun, finds himself in this situation, but all hope is not lost.

Our first thought is to desolder everything, then take a hot iron and tiny wires to each pad. Of course, this opens up a lot of potential for damage to the chip, cold joints, and radio interference. Accessing the pin in vivo has risks, but they are calculated. The idea is to locate the pin, then systematically drill from the backside and expose the copper. [Nate] also discovers that alcohol will make the PCB transparent so you can peer at the underside to confirm you have found your mark.

In a real, “fight fire with fire” idea, you can rework with flex PCBs or push your PCB Fu to the next level and use PCBs as your enclosure.

Breathe Easy With This Online Dust Sensor Box

It’s an unfortunate reality that for many of us, our air isn’t nearly as clean as we’d like. From smog to wildfires, there’s a whole lot of stuff in the air that we’d just as soon like to keep out of our lungs. But in order to combat this enemy, you first need to understand it. That means figuring out just what’s in the air you breathe, and how much of it. That’s where devices like the Dust Box from [The IoT GURU] can come in handy.

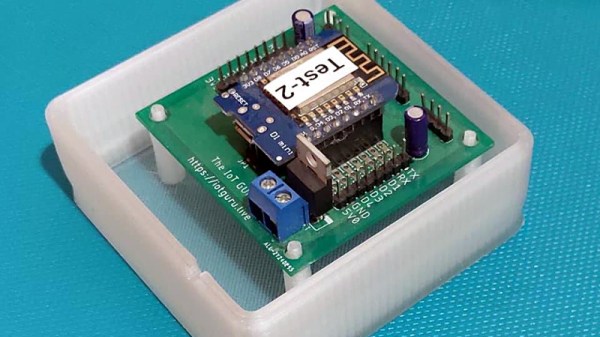
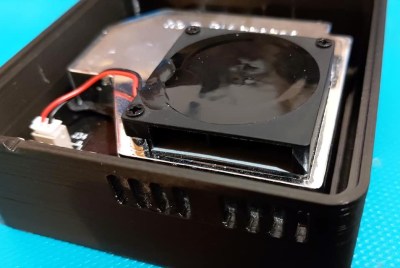
Inside the 3D printed enclosure is a Wemos D1 Mini ESP8266 development board, sitting on a custom breakout PCB. This board gives you some easy expandability to add your own sensors and hardware, though in this particular configuration, the Dust Box is using the BME280 sensor for general environmental monitoring and the SDS011 laser particle sensor to determine what’s in the air. Just plug it into a convenient USB power source, make sure it’s connected to the WiFi, and off it goes.

But where does all that lovely data end up? That’s up to you, but in this case, the [The IoT GURU] is pushing everything out to a web interface that allows the user to view yearly, monthly, and weekly historical data for each of the parameters the Dust Box can check. This is probably a bit more granular than most of us need, but it’s a good example of what’s possible should you need that much information.

For a similar project that allows you to take your sensors a bit farther off the beaten path, checkout FieldKit, which was recently crowned winner of the 2019 Hackaday Prize.