There’s no shortage of cheap weather stations on the market that pull in data from several wireless sensors running in the 433 to 900 MHz range and present you with a slick little desktop display, but that’s usually where the flow of information stops. Looking to bridge the gap and bring all that local climate data onto the Internet, [Jonathan Diamond] decided to reverse engineer how his weather station worked.
The first phase of this project involved an RTL-SDR receiver, GNURadio, and a sprinkling of Python. [Jonathan] was able to lock onto the signal and piece together the data packets that reported variables such as temperature, wind speed, and rainfall. Each one of these was a small puzzle in itself, and in the end, there’s still a few bits which he hasn’t quite figured out. But he at least had enough to move onto the next step.
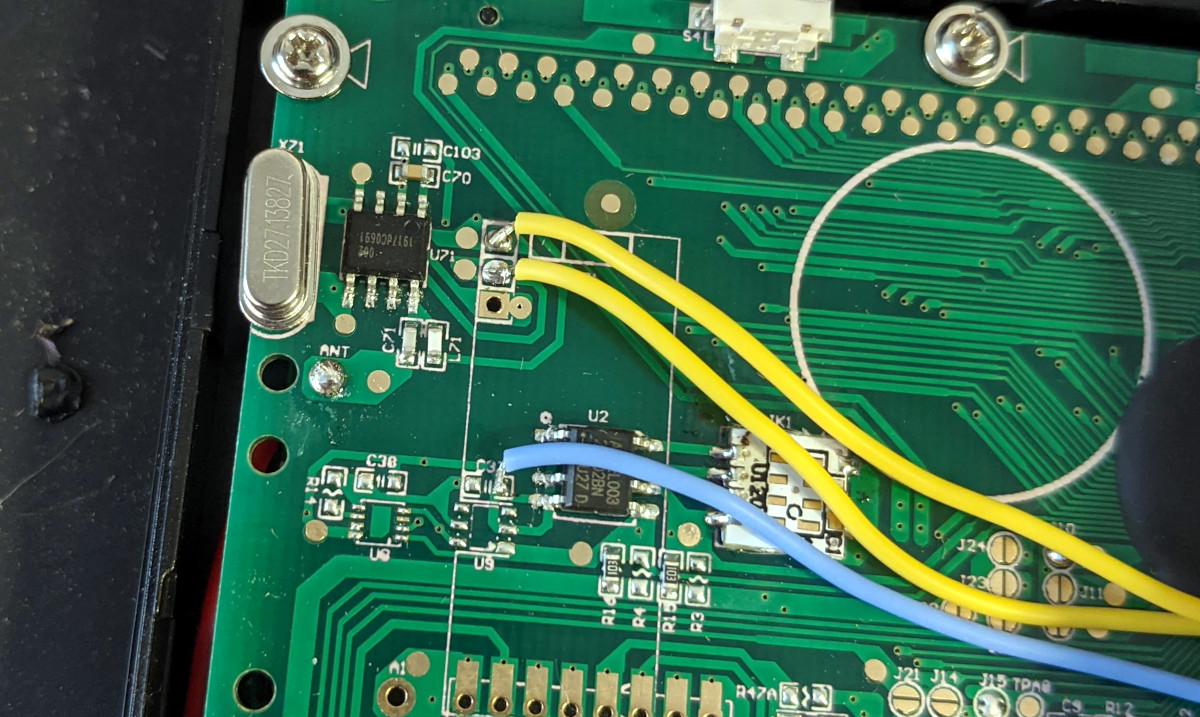
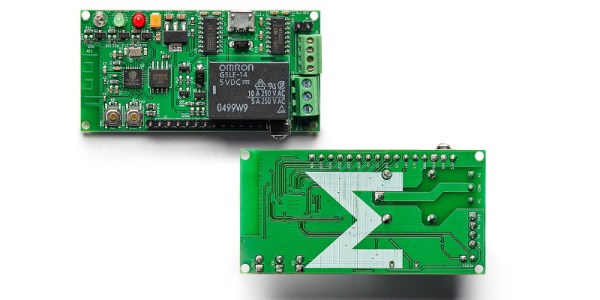
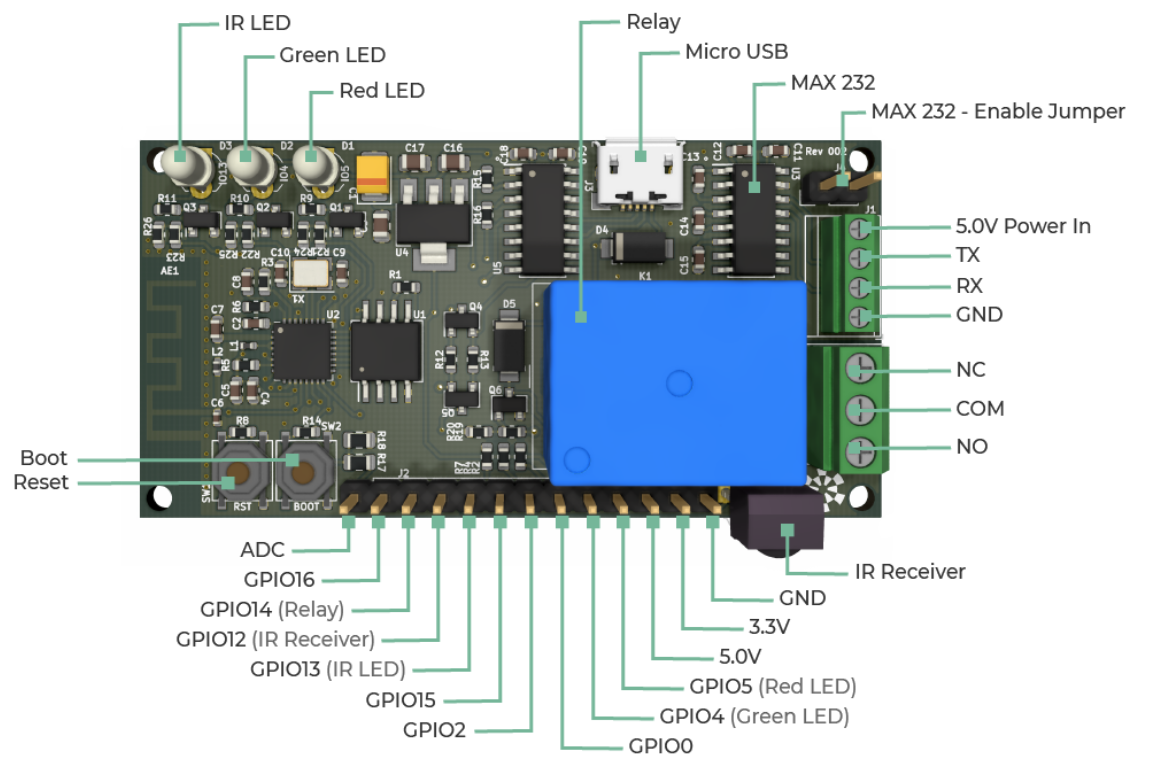
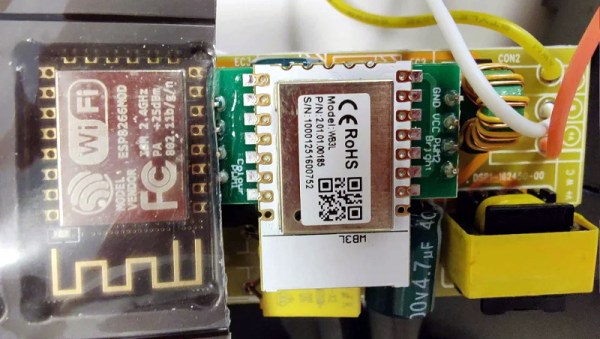
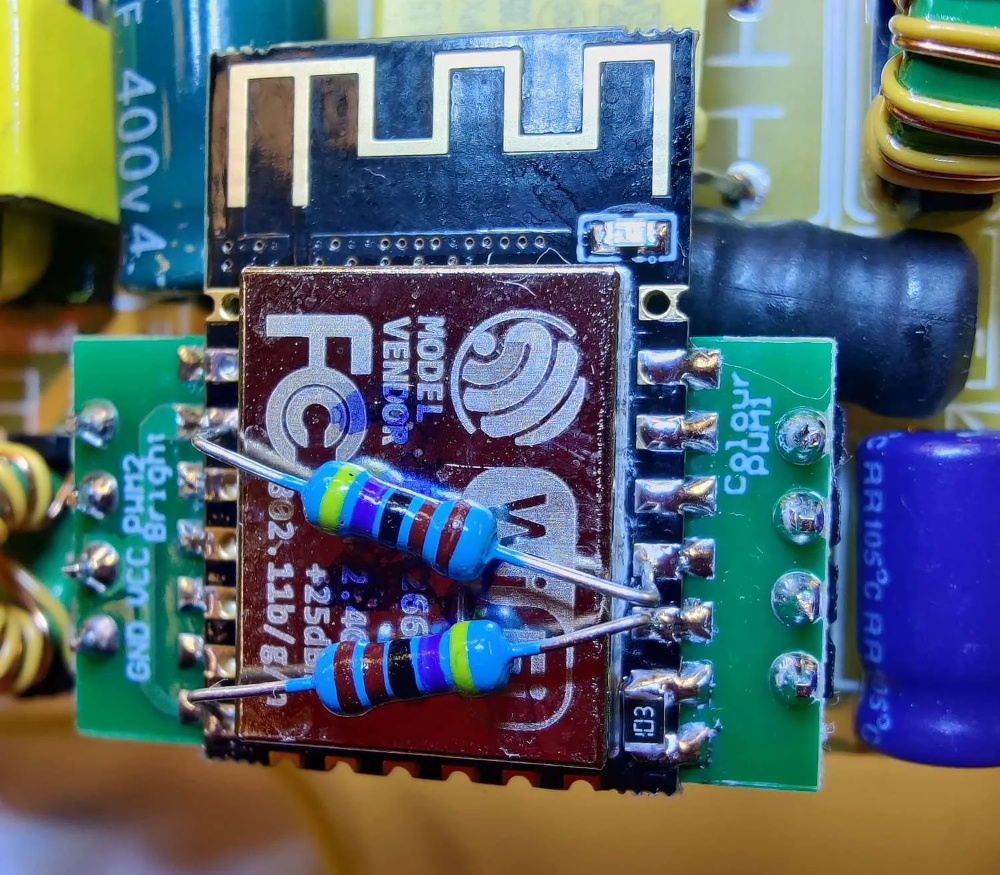
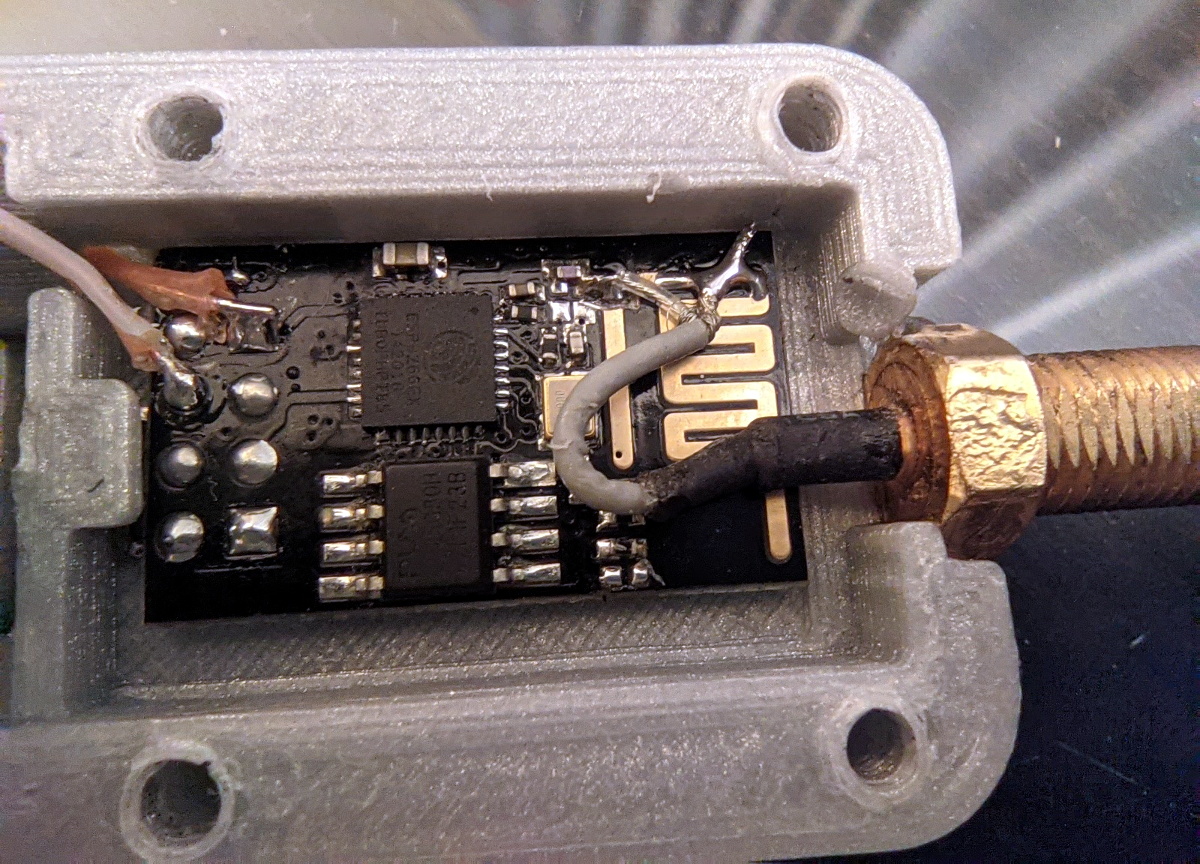
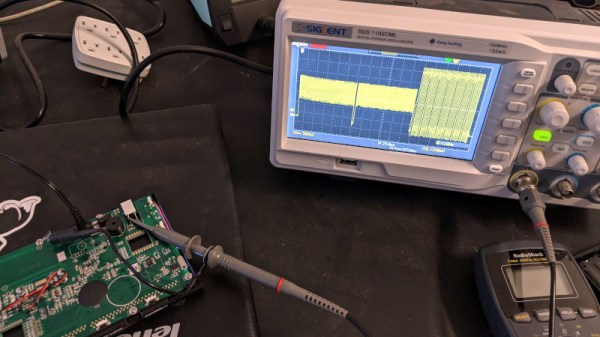
Now at this point, he could have pulled the data right out of the air with his RTL-SDR. But looking to push his skills to the next level, [Jonathan] decided to open up the base station and isolate its receiver. Since he already decoded the packets on the RF side, he knew exactly what he was looking for with his oscilloscope and logic analyzer. Once he was tapped into the feed coming from the radio, the final step was writing some code for the ESP8266 that could listen on the line, interpret the data packets, and push the resulting variables out over the network.
In this case, [Jonathan] decided to funnel all the data into Weather Underground by way of the Personal Weather Station API. This not only let him view the data through their web interface and smartphone application, but brought their hyperlocal forecasting technology into the mix at no extra charge. If you’re not interested in sharing your info with the public, it would be a trivial matter to change the firmware so the data is published to a local MQTT broker, or whatever else floats your proverbial boat.
If you’re really lucky, your own weather station may already have an ESP8266 onboard and is dumping all its collected data to the serial port. But if not, projects like this one that break down how to reverse engineer a wireless signal can be a great source of inspiration and guidance should you decide to try and crack the code.