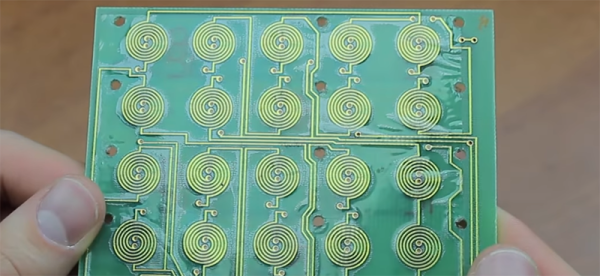
This two-decade old blinkenlights project (YouTube link, and also below the break) would look at home among current $1 soldering kits except for a few key differences. Firstly, it has the teardown artist’s name on the back and comes from an era when DIY circuit boards really meant doing things yourself including the artwork, etching, and drilling. The battery holders are our favorite feature. Instead of being a part on a BOM, this board has some wire loops soldered in place and relies on a pair of venerable LR44 alkaline cells instead of the CR2032s we all enjoy today.
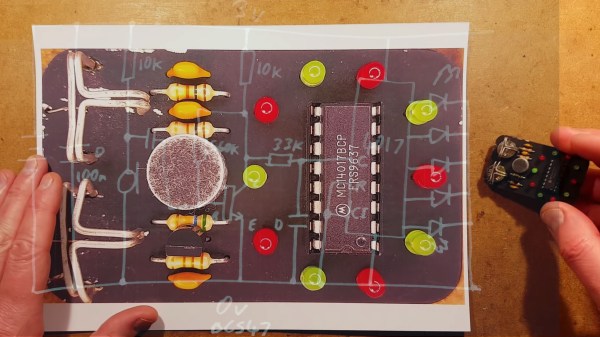
Given the age of the project, [Big Clive] is not revisiting his old masterpiece just for nostalgia, he is having to retrace his old circuit and do a teardown on his own work because the schematic was lost to time. We think there is value to revisiting old work like an archaeologist would approach an ancient necklace. Some of us used to comment our code religiously for fear that we would forget what went through our learning minds and need to be reminded of that rigor.
If you want another battery holder that doesn’t need a part number, check out one that leverages the semi-flexible nature of thin PCBs or fake the batteries altogether. Continue reading “Teardown The Things You Love”