Year on year, microcontrollers and development platforms are shipping with ever-increasing feature sets. In the distant past, if you wanted an analog to digital converter or a PWM driver, you had to tack extra ICs on to your design. Nowadays, it’s all baked in at the factory. Of course, you may still find yourself working with a platform that lacks capacitive touch inputs. That’s no problem, though – you can do it all without dedicated hardware anyway!
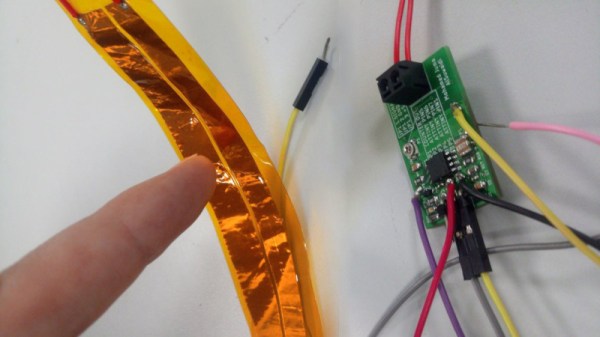
Capacitive touch sensing works by creating an RC oscillator, and allowing the user to affect the capacitance in the circuit through touch or proximity. By sensing the changes in the frequency of the oscillator, it’s possible to determine whether the object or pad is being touched or not. As the capacitance changes can be small, sometimes it’s desired to use a high frequency oscillator, and then pass the output through a frequency divider, which allows changes to be measured more easily by a slower microcontroller.
[Gabriel] does a great job of both explaining the theory involved, as well as presenting a practical way to achieve this with basic hardware. If you need to add touch sensitivity to an existing or otherwise limited platform, this is an easy way to go about doing it. There are definitely some interesting things you can do with the technology, after all.

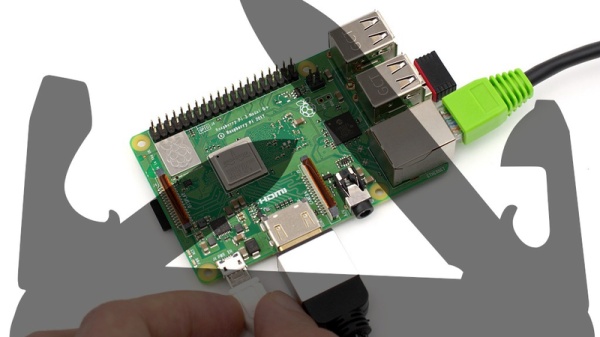
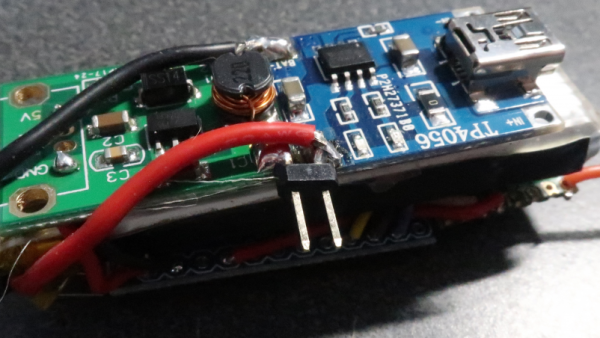
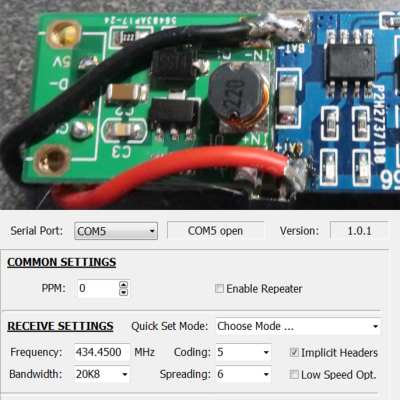 [Dave Akerman]’s interest in high-altitude projects means he is no stranger to long-range wireless communications, for which LoRa is amazingly useful. LoRa is a method of transmitting at relatively low data rates with low power over long distances.