Is there no occupation safe from the scourge of robotic replacement? First it was the automobile assemblers, then fast food workers, and now it’s the — mandolin players?
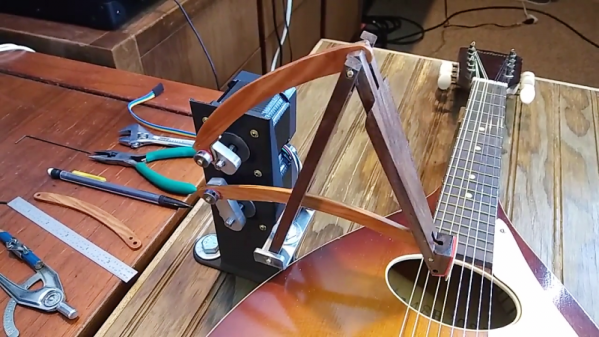
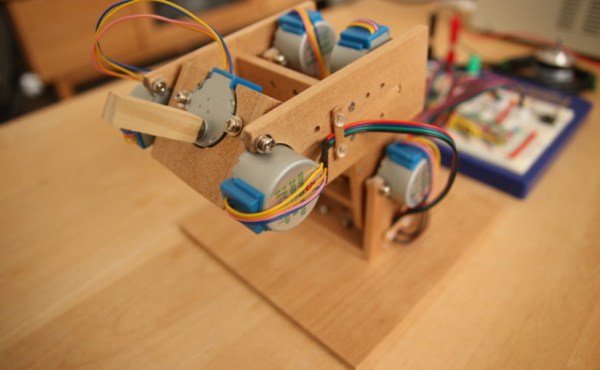
Probably not, unless [Clayton Darwin]’s mandolin playing pluck-bot has anything to say about it. The pick-wielding delta-ish robot can be seen in action in the video below, plucking out the iconic opening measures of that 70s prom-theme favorite, “Colour My World.” The robot consists of two stepper motors connected to a hinged wooden arm by two pushrods. We had to slow the video down to catch the motion, but it looks like [Clayton] has worked out the kinematics so that the pick can be positioned in front of any of the mandolin’s eight strings. A quick move of the lower stepper then flicks the pick across a string and plucks it. [Clayton] goes into some detail about how he built the motion-control part in an earlier video; he also proves that steppers are better musicians than we’ll ever be with a little “Axel F” break.
It’s only a beginning, of course, but the complexity of the kinematics just goes to show how simple playing an instrument isn’t. Unless, of course, you unleash an endless waterfall of marbles on the problem.


 He started with testing canola oil but found that it breaks down from contact with air and becomes rancid. So he purchased some transformer oil. First, testing its suitability for submerging circuits, he found that he couldn’t see any current above his meter’s 0.0 μA limit when applying 15 V no matter how close together he brought his contacts. At 1 cm he got around 2 μA with 230 VAC, likely from parasitic capacitance, for a resistance of 115 Mohm/cm.