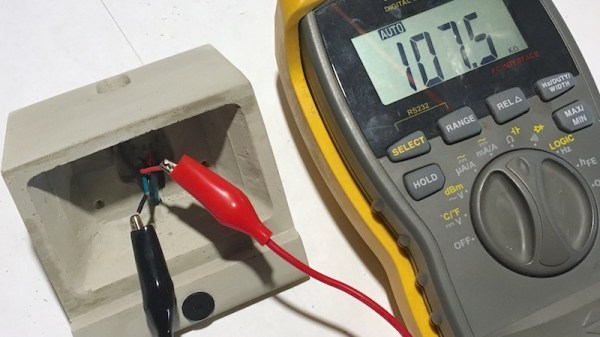
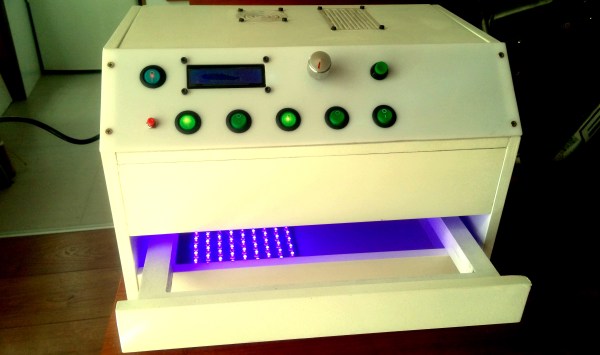
Hackaday Prize Entry: A Manual, CNC Pick And Place Machine

Everyone who wants a 3D printer probably already has one, and even laser cutters and CNC machines are making their way into garages and basements ’round the world. Pick and place machines are the next great frontier of personal manufacturing, and even though that’s a long way off, [Tegwyn]’s project for this year’s Hackaday Prize is bringing us that much closer to popping down 0201 LEDs reliably.

This project is a manual pick and place machine — otherwise known as ‘tweezers’. It’s a bit more complicated than that, because the entire idea behind [Tegwyn]’s build is to decouple a human’s fine motor skills from the ability to place components on a board. To do that, this project is using an off-the-shelf, blue light special CNC machine. There’s not much to it, just a bit of aluminum extrusion and some threaded rods. However, with the addition of a vacuum pump, a hollow needle, and a few manual controls to move the axes around, the operator has very fine control over where a resistor, cap, or LED goes.

There are a few neat additions to the, ‘put a vacuum pump on a CNC machine’ idea. This is a 4 axis machine, giving the user the ability to rotate the part around a pad. There’s also a microscope hooked up to a small monitor mounted to the machine. If you’re assembling hundreds of boards, this is not the machine you want. If, however, you only need a handful, don’t mind spending a few hours placing parts, and don’t want to go insane with tiny QFN packages, this is a great build and a great entry for the Hackaday Prize.

Continue reading “Hackaday Prize Entry: A Manual, CNC Pick And Place Machine”

Ourselves As Others See Us Through The Lens Of Traditional Media

When I presented myself at the SHACamp 2017 info desk bright and early on the first full day of the camp, I was surprised to find that I was to be assigned a volunteer along with my press badge. Because of the way our community is sometimes covered by the traditional media, it was necessary that any journalists touring the site have a helping hand to ensure that they respect the privacy of the attendees, gain permission from people likely to be in any photographs, and generally not be idiots about the whole Hacker thing. I pointed out that I was working for Hackaday and not The Sun, and that as an active hackspace member and former hackspace director I was very much a part of the community attending SHA 2017 who would simply be wasting the valuable time of any volunteer assigned to me. Fortunately for the next volunteer in line they agreed with my point of view, so one of the angels was spared a day of my breakneck walking pace and impenetrable British colloquialisms.

It’s interesting therefore a few weeks after the event, to investigate how it was portrayed through the eyes of people who aren’t coming as Hackaday is, from within the bubble. To take a look at that disconnect between what we know about our community and its events, and how the traditional media sometimes like to portray us. Are they imagining the set of a Hollywood “hacker” movie in which assorted geniuses penetrate the computer systems of various international institutions by the simple expedient of banging wildly at a keyboard for a few seconds, or will the reality of a bunch of like-minded technology enthusiasts gathering in a field for several days of tinkering and other fun activities be what makes their reports?

Continue reading “Ourselves As Others See Us Through The Lens Of Traditional Media”

A Diode By Any Other Name

As active devices go, it doesn’t get much simpler than a diode. Two terminals. Current flows in one direction and not in the other. Simple, right? Well, then there are examples with useful side effects like light emitting diodes. [GreatScott] points out that there are other useful diodes and, in particular, he posted a video covering Schottky and Zener diodes.

These special diodes have particular purposes. A Schottky diode has a very low voltage drop and fast switching speed. Zener diodes have application in simple voltage regulation.

Continue reading “A Diode By Any Other Name”

Control Thy LED

In a previous article, I discussed LEDs in general and their properties. In this write-up, I want to give some examples of driving LEDs and comparing a few of the most commonly used methods. There is no “one size fits all” but I will try and generalize as much as possible. The idea is to be able to effectively control the brightness of the LED and prolong their life while doing it. An efficient driver can make all the difference if you plan to deploy them for the long-haul. Let’s take a look at the problem and then discuss the solutions. Continue reading “Control Thy LED”

Color Sensor From An RGB LED And A Photocell

When you need to quantify the color of an object, you’ve got quite a few options. You can throw a Raspberry Pi camera and OpenCV at the problem and approach it through software, or you can buy an off-the-shelf RGB sensor and wire it up to an Arduino. Or you can go back to basics and build this reflective RGB sensor from an LED and a photocell.

The principle behind [TechMartian]’s approach is simplicity itself: shine different colored lights on an object and measure how much light it reflects. If you know the red, green, and blue components of the light that correspond to maximum reflectance, then you know the color of the object. Their sensor uses a four-lead RGB LED, but we suppose a Neopixel could be used as well. The photosensor is a simple cadmium sulfide cell, which measures the intensity of light bouncing back from an object as an Arduino drives the LED through all possible colors with PWM signals. The sensor needs to be white balanced before use but seems to give sensible results in the video below. One imagines that a microcontroller-free design would be possible too, with 555s sweeping the PWN signals and op-amps taking care of detection.

And what’s the natural endpoint for a good RGB sensor? A candy sorter, or course, of which we have many examples, from the sleek and polished to the slightly more hackish.

Continue reading “Color Sensor From An RGB LED And A Photocell”

Boredom + Lasers = Projector!

[Krazer], a post-doctoral researcher at MIT, loves him some lasers. When out of boredom one afternoon he hatched an idea for a laser projector, it grew until a few years later he wound up with this RGB laser for a projector — Mark IV no less.

In addition to 3D-printing the parts, the major innovation with this version is the ability to re-align the lasers as needed; tweaking the vertical alignment is controlled by a screw on the laser mounts while the horizontal alignment is done the same way on the mirror mounts. This simplifies the design and reduces the possibility of part failure or warping over time. An additional aluminium base epoxied to the projector aims to keep the whole from deforming and adds stability. With the help of a mirror for the final alignment — sometimes you must use what you have— the projector is ready to put on a show.

True to the spirit of the art [Krazer] used all open source software for this iteration, and sharing his designs means you can build your own for around $200. As always with lasers take extra precautions to protect your eyes! This 200mW setup is no joke, but that doesn’t mean fun and games are out of the question.

Retrocomputing With Open Source FPGAs

A few years ago, we saw the reverse engineering of the Lattice iCE40 bitstream, opening the door to a completely Open Source development tool chain for FPGAs. This was an astonishing amount of work from [Clifford Wolf], [Mathias Lasser], and [Cotton Seed], but since then we haven’t seen a whole lot from Project IceStorm. Now, that’s about to change, and in the coolest way possible. [hoglet] is retrocomputing on an ICE40 development board.

This is an implementation of the Acorn Atom on a myStorm BlackIce board. This board is basically just a Lattice iCE40 FPGA, a few support components, and a bunch of pin headers, some of which are in the not-so-handy Arduino pinout footprint. By porting some Acorn Atom implementations and a 6502 core to verilog, [hoglet] was able to stuff a cool old retrocomputer onto an Open Source FPGA development board. Video output is through a resistor DAC driving a VGA cable, and keyboard input is through PS/2.

Just about everything about this Open Source implementation of the Acorn works, and there’s still a lot left in the iCE40 FPGA. [hoglet] is able to run the 6502 core at 25MHz, which means just about every 6502-based system should be able to run on the BlackIce board.