
Once the secret design tool for aerospace designers, the heat pipe is a common fixture now thanks to the demands of PC CPU cooling. Heat pipes can transfer lots of energy from a hot side to a cold side and is useful when you need to cool something where having a fan near the hot part isn’t feasible for some reason. Unlike active cooling, a heat pipe doesn’t require any external power or pumps, either.
[James Biggar] builds his own heat pipes using copper tubing. You can see a video of one being made, below. There’s not much to it, just a copper pipe with some water in it. However, [James] gets the water boiling to reduce the pressure in the tube before sealing it, which is an interesting trick.
One limitation of his technique is that there is no internal wick. That means the tube can only be installed vertically. If you haven’t looked at heat pipes before, most of them do have a wick. The idea is that some working fluid is in the pipe. You select that fluid so that it boils at or below the temperature you want to handle. The hot vapor rushes to the cool side of the pipe (carrying heat) where you have a large heatsink that may have a fan or active cooling system. The vapor condenses and–in this case–drops back to the bottom of the tube. However, if there is a wick, capillary action will return the fluid to the hot end of the tube.
You might think that using water as the working fluid would limit you to 100°C, but remember, [James’] technique lowers the pressure in the tube. At a lower pressure, the water will boil at a lower temperature.
We’ve seen heat pipes and wine chillers used to cool a PC before. In fact, we’ve even seen them in builds of completely fanless PCs.


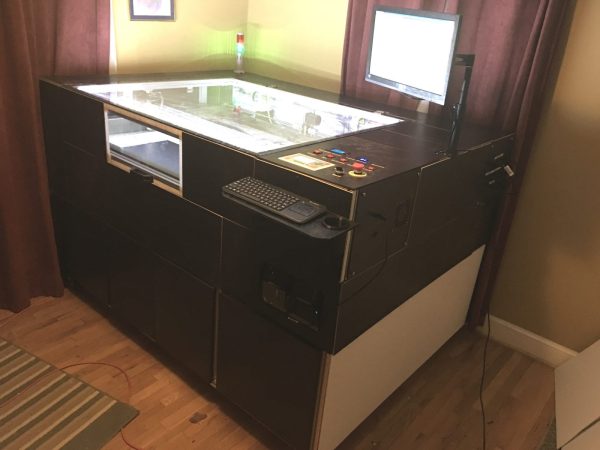
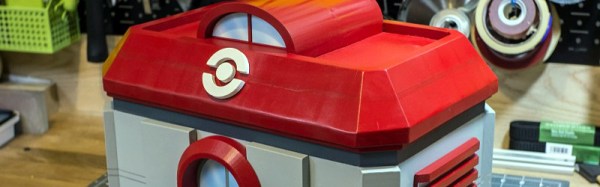
 Still, the housing has seen some careful design and attention to detail in its construction. He started with a 3D CAD model from which he created a set of 2D templates to print on paper and from which to cut the wood. As many of his dimensions as possible were taken from common wood stock to save machining time, and the structure was assembled using wood glue before being sanded and filled. Finally, the intricate parts such as the Pokémon logo were 3D printed, and spray painted. The result is a pretty good real-world replica of the Pokémon Center that you’d recognise if you were a player of the original games, and he reports it was a hit with gamers in his local park.


