If you’re building a cubesat, great, just grab a microcontroller off the shelf, you probably don’t need to worry about radiation hardening. If you’re building an experiment for the ISS, just use any old microcontroller. Deep space? That’s a little harder, and you might need to look into radiation tolerant and radiation hardened microcontrollers. Microchip has just announced the release of two micros that meet this spec, in both radiation-tolerant and radiation-hardened varieties.
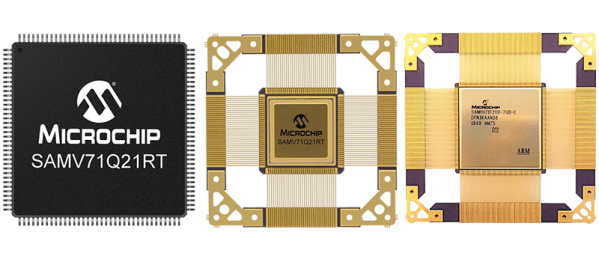
The new devices are the SAMV71Q21RT (radiation-tolerant) and the SAMRH71 (rad-hard), both ARM Cortex-M7 chips running at around 300 MHz with enough RAM to do pretty much anything you would want to do with a microcontroller. Peripherals include CAN-FD and Ethernet-AVB, analog front-end controllers, and the usual support for I2C, SPI, and other standards. This chip does it in space, and comes in a ceramic quad flat package with gold lead frames. These are beautiful devices.
Microchip has an incredible number of space-rated, rad-hard hardware; this is mostly due to their acquisition of Atmel a few years ago, and yes, it absolutely is possible to build a rad-hard Arduino Mega using the chip, space rated.
Of course, there are very, very, very few people who would actually ever need a rad-hard microcontroller; I would honestly expect this to be relevant to only one or two people reading this, and they too probably got the press release. If you’ve ever wanted to build something that goes to space, and you’d like to over-engineer everything about it, you now have the option for an ARM Cortex-M7.