Modern printers make it all that much more tempting to try and hack them — the hardware generally tends to be decent, but the firmware appears to be designed to squeeze as much money out of you as possible while keeping your annoyance level consistently high. That’s why it’s nice to see this exploit of the Canon imageCLASS MF74XCdw series (MF742Cdw/MF743Cdw) by [blasty], triggerable over a network connection, with a story for our amusement.
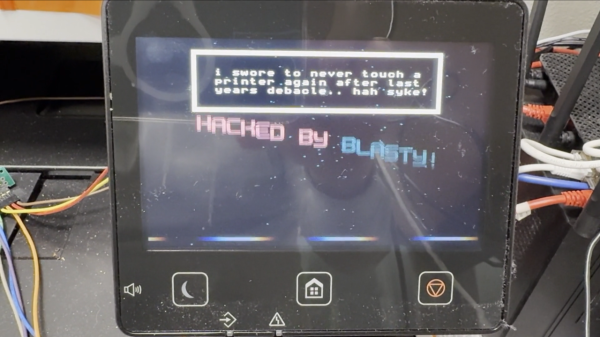
In this post, we get a tale of how this hack came out of a Pwn2Own Toronto challenge, notes on the hardware involved, and we’re shown the journey to a successful hack. The Canon printer OS is built without many of the protections, which makes playing with it easier than with more modernized targets, but it’s nevertheless not straightforward. Still, exploiting a couple things like the SOAP XML implementation and the UTF8 encoder nets you an ability to play nice animations on the display, and most certainly, control over the entirety of the hardware if you wanted it.
One of the most fun things about this hack is the GDB stub recently included in the repo. If you wanted to debug Canon printers for fun or profit, [blasty] brings you a GDB stub to do that comfortably, with a respectable README that even has porting notes for other Canon ImageCLASS printer models, should you lay your hands on a different machine of despair. WiFi connectivity appears to be enough for this hack, so you better make sure you don’t have your network-connected printers exposed on the Internet — not that you needed more reasons to avoid that.