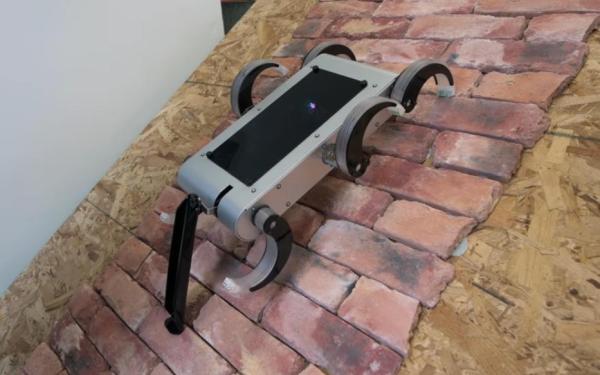
Take a dozen or so fish hooks, progressively embed them in plastic with a 3D printer and attach them to the feet of your hexapod and you’ve got a giant cockroach!

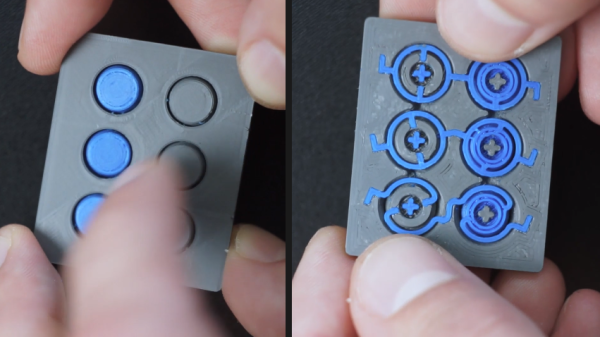
A team of researchers at Carnagie Mellon University came up with this ingenious hack which can easily be copied by anybody with a hexpod and a 3D printer. Here you can see the hooks embedded into the ends of a leg. This ‘Microspine technology’ enables their T-RHex robot to climb up walls at a slightly under-whelming 55 degrees, but also grants the ability to cling on severe overhangs.
Our interpretation of these results is that the robot needs to release and place each foot in a much more controlled manner to stop it from falling backwards. But researchers do have plans to help improve on that behavior in the near future.
Sensing and Closed Loop Control: As of now, T-RHex moves with an entirely open-loop, scripted gait. We believe that performance can be improved by adding torque sensing to the leg and tail actuators, which would allow the robot to adapt to large-scale surface irregularities in the wall, detect leg slip before catastrophic detachment,and automatically use the tail to balance during wall climbs.This design path would require a platform overhaul, but offers a promising controls-based solution to the shortcomings of our gait design.
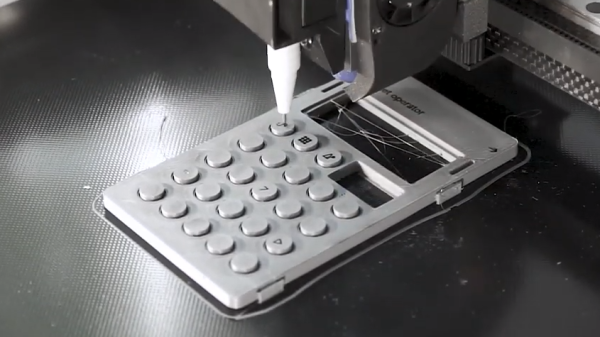
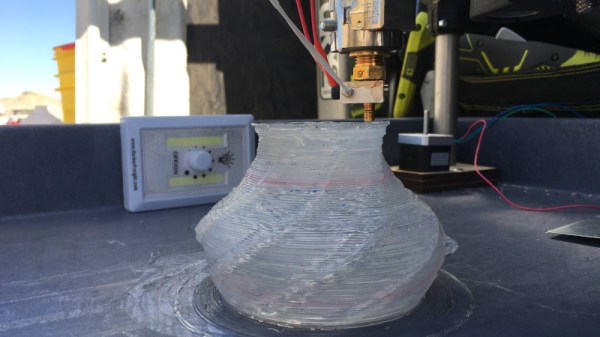
No doubt we will all now want to build cockroaches that will out perform the T-RHex. Embedding fish hooks into plastic is done one at a time. During fabrication, the printer is stopped and a hook is carefully laid down by human hand. The printer is turned on once again and another layer of plastic laid down to fully encapsulate the hook. Repeat again and again!
Your robot would need the aforementioned sensing and closed loop control and also the ‘normal’ array of sensors and cameras to enable autonomy with the ability to assess the terrain ahead. Good luck, and don’t forget to post about your projects (check out Hackaday.io if you need somewhere to do this) and tip us off about it! We’ve seen plenty of, sometimes terrifying, hexapod projects, but watch out that the project budget does not get totally out of control (more to be said about this in the future).
Continue reading “Fish Hooks Embedded In Robot Toes Make Them Climb Like Cockroaches” →