Regular readers of Hackaday have certainly seen the work of [Jeremy Cook] at this point. Whether you remember him from his time as a writer for this fine online publication, or recognize the name from one of his impressive builds over the last few years, he’s a bona fide celebrity around these parts. In fact, he’s so mobbed with fans at events that he’s been forced to employ a robotic companion to handle distributing his personalized buttons for his own safety.
 Alright, that might be something of a stretch. But [Jeremy] figured it couldn’t hurt to have an interesting piece of hardware handing out his swag at the recent Palm Bay Mini Maker Faire. Anyone can just put some stickers and buttons in a bowl on a table, but that’s hardly the hacker way. In the video after the break, he walks viewers through the design and construction of this fun gadget, which takes a couple unexpected turns and has contains more than a few useful tips which are worth the cost of admission alone.
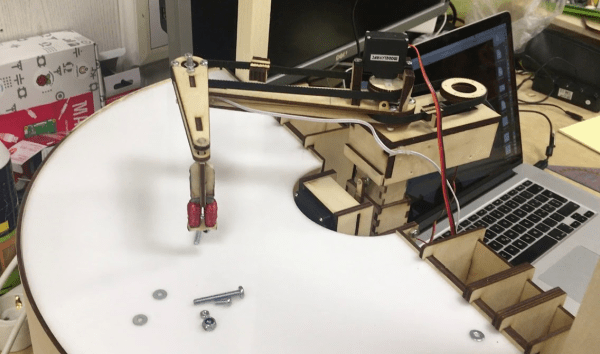
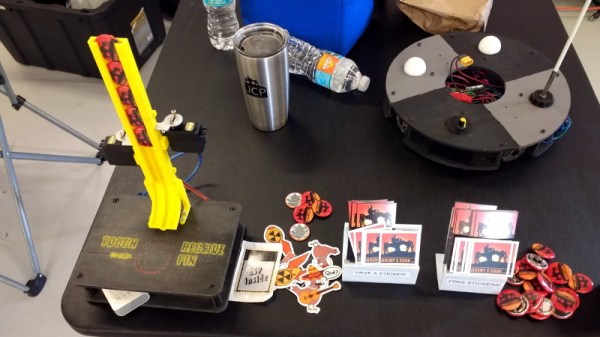
Outwardly the 3D printed design is simple enough, and reminds us of those track kits for Matchbox cars. As you might expect, getting the buttons to slide down a printed track was easy enough. Especially when [Jeremy] filed the inside smooth to really get them moving. But the goal was to have a single button get dispensed each time the device was triggered, but that ended up being easier said than done.
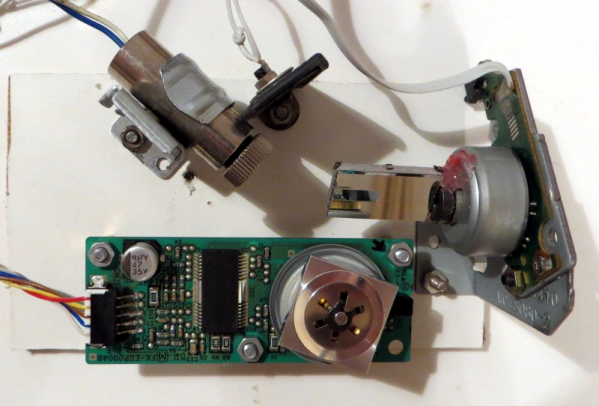
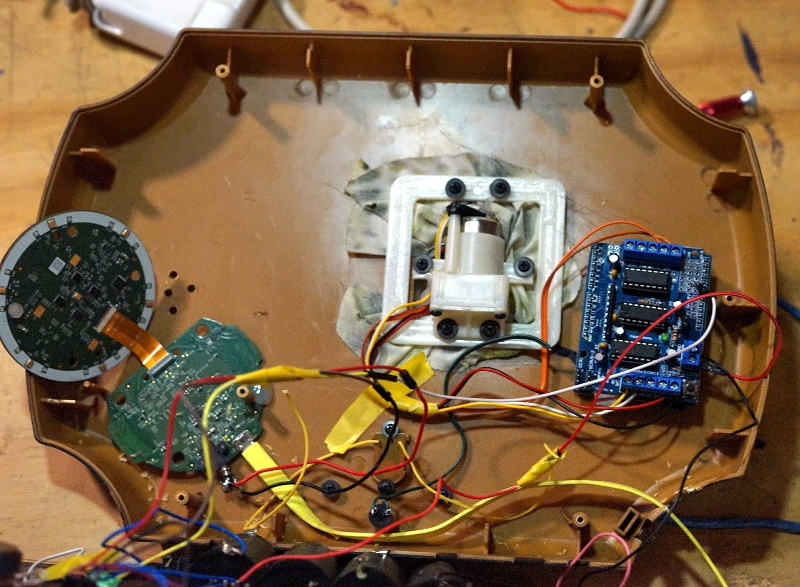
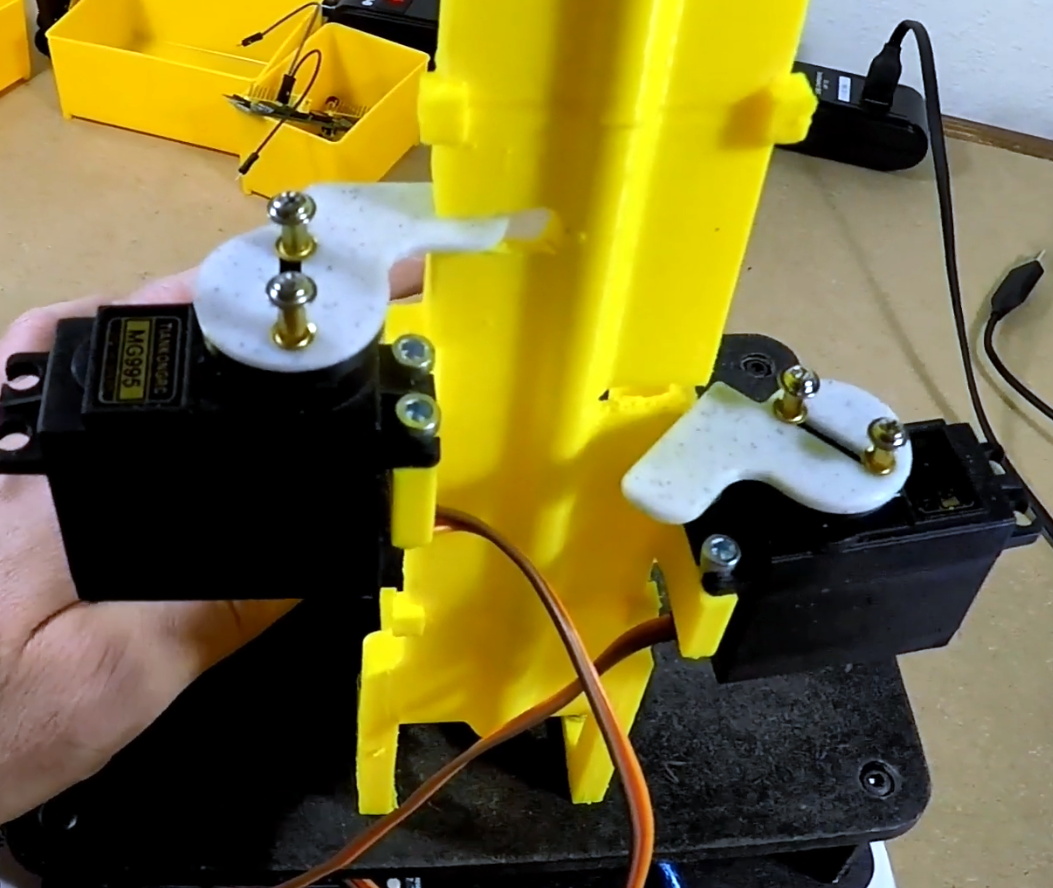
The first attempt used magnets actuated by two servos, one to drop the button and the other to hold up the ones queued above it. This worked fine…at first. But [Jeremy] eventually found that as he stacked more buttons up in the track, the magnets weren’t strong enough to hold them back and they started “leaking”. This is an excellent example of how a system can work perfectly during initial testing, but break down once it hits the real world.
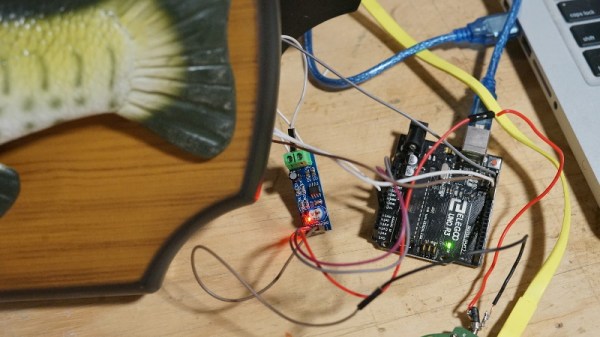
In this case, the solution ended up being relatively simple. [Jeremy] kept the two servos controlled by an Arduino and a capacitive sensor, but replaced the magnets with physical levers. The principle is the same, but now the system is strong enough to hold back the combined weight of the buttons in the chute. It did require him to cut into the track after it had already been assembled, but we can’t blame him for not wanting to start over.
Just like the arcade inspired candy dispenser, coming up with a unique way of handing out objects to passerby is an excellent way to turn the ordinary into a memorable event. Maybe for the next iteration he can make it so getting a button requires you to pass a hacker trivia test. Really make them work for it.