Taking a paper list to the grocery store seems like a good idea, at least until you get there and try to use it. Did you remember to bring a pen? Great. How about a clipboard so you don’t punch through the paper when crossing something off? Apps are easier to use for this, especially the ones with checkboxes, but you’ll still have to enter everything manually. Wouldn’t it be easier (and way more fun) to just scan the barcodes of stuff you need into a list before you chuck the packaging?
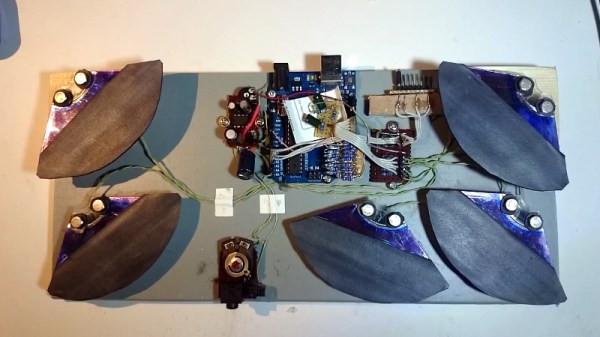
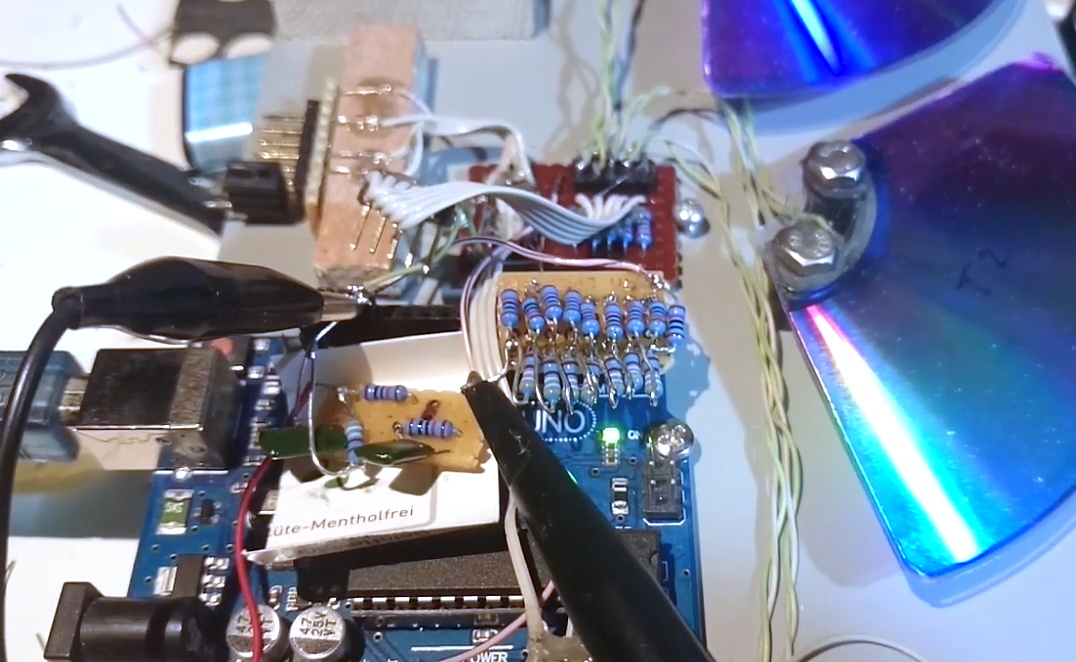
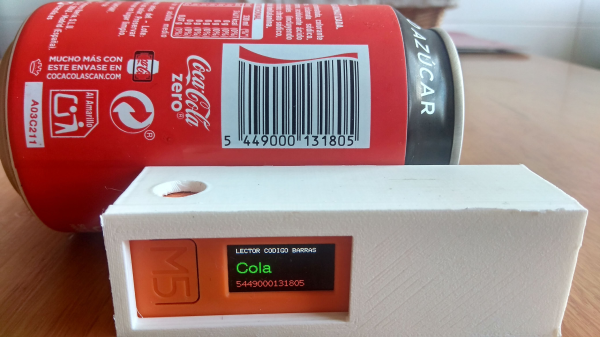
That’s exactly the idea behind [DavidE281]’s barcode scanner, which is designed to work with the Bring! app. All he has to do is scan a barcode, and the product ends up in a tidy list on his phone. It’s a simple build that’s based around the M5StickC, which is an ESP32 dev kit that has a small display and a 6-axis IMU along with some other goodies. [David] combined it with a 2D barcode scanner that has a serial port and designed a printed case that joins them together.
Here’s how it works: the M5Stick sends the barcode over MQTT to an external Raspberry Pi that’s running Home Assistant. The Pi does a lookup in a spreadsheet and sends the data to the Bring! app over a community-built API. At the same time, it sends the product name back to the M5Stick’s display to confirm that it was added to the list. Check out bite-sized demo video after the break.
Scanning barcodes is super fun. So why not use an IoT barcode scanner to keep track of everything you own?
Continue reading “Tiny Barcode Scanner Beeps Your Shopping List Together”