The Surprising Story Of The First Microprocessors

If you maintain an interest in vintage computers, you may well know something of the early history of the microprocessor, how Intel’s 4-bit 4004, intended for a desktop calculator, was the first to be developed, and the follow-up 8008 was the first 8-bit device. We tend to like simple stories when it comes to history, and inventions like this are always conveniently packaged for posterity as one-off events.

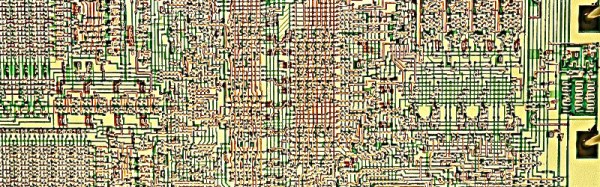
In fact the story of the development of the first microprocessors is a much more convoluted one than it might appear, with several different companies concurrently at the forefront of developments. A fascinating recent IEEE Spectrum piece from [Ken Shirriff] investigates this period in microprocessor design, and presents the surprising conclusion that Texas Instruments may deserve the crown of having created the first 8-bit device, dislodging the 8008 from its pedestal. Continue reading “The Surprising Story Of The First Microprocessors”

Staring At The Sun: Erasing An EPROM

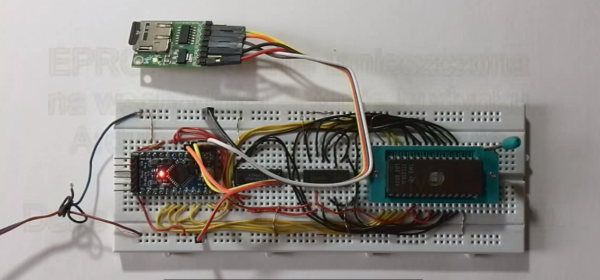
Flash memory is the king today. Our microcontrollers have it embedded on the die. Phones, tablets, and computers run from flash. If you need re-writable long term storage, flash is the way to go. It hasn’t always been this way though. Only a few years ago EPROM was the only show in town. EPROM typically is burned out-of-circuit in a programming fixture. When the time comes to erase the EPROM, just pop it under an ultraviolet (UV) bulb for 30 minutes, and you’re ready to go again. The EPROM’s quartz window allows UV light to strike the silicon die, erasing the memory.

The problem arises when you want to use an EPROM for long term storage. EPROM erasers weren’t the only way to blank a chip. The sun will do it in a matter of weeks. Even flourescent light will do it — though it could take years.

Continue reading “Staring At The Sun: Erasing An EPROM”

Complex, Beautiful Device Is Limited To Text-speak And Cat Pictures (WTF, LOL)

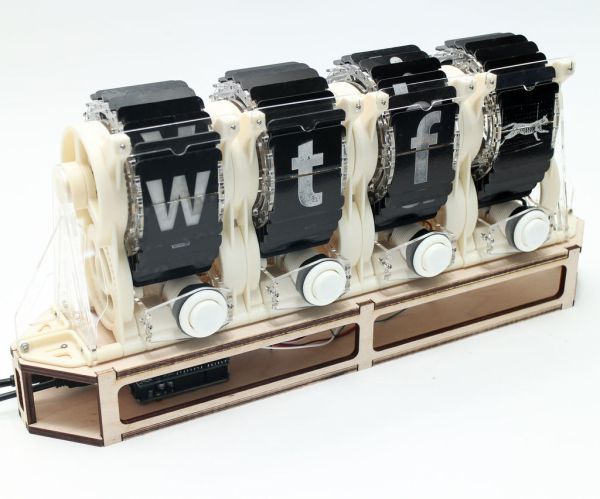
Beautifully documented, modular, and completely open-source, this split flap display project by [JON-A-TRON] uses 3D printing, laser cutting and engraving, and parts anyone can find online to make a device that looks as sharp as it is brilliantly designed. Also, it appears to be a commentary on our modern culture since this beautifully engineered, highly complex device is limited to communicating via three-letter combos and cat pictures (or cat video, if you hold the button down!) As [JON-A-TRON] puts it, “Why use high-resolution, multi-functional devices when you can get back to your industrial revolution roots?” Video is embedded below.

Continue reading “Complex, Beautiful Device Is Limited To Text-speak And Cat Pictures (WTF, LOL)”

Bring Doping, Microfluidics, Photovoltaics, And More Into The Home

Can you make a spectrometer for your home lab all from materials you have sitting around? We might not believe it from a less credible source, but this MIT course does indeed build a spectrometer from foam board using two razor blades as the silt cover and a writable CD as the diffraction grating. The coolest part is removing the metal backing of the CD.

mit_experiments_thumbHackaday reader [gratian] tipped us off about the course available from MIT courseware called Nanomaker. It boils down some fairly complicated experiments to the kind one can do in the home lab without involving thousands of dollars of lab equipment. The whole point is to demystify what we think of as complicated devices and topics surrounding photovoltaics, organic photovoltaics, piezoelectricity and thermoelectricity.
 

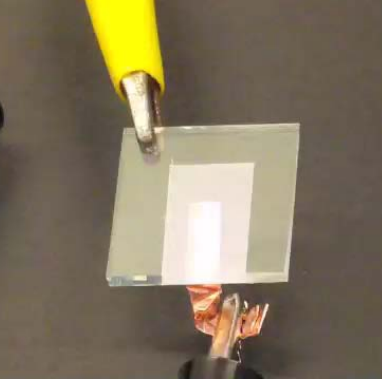
Spectrometers are used to analyze the wavelengths of a light source. Now that you have a measurement tool in hand it’s time to build and experiment with some light sources of your own. Here you can see an LED that is the topic of one of the course labs.

If you have a bit of background in chemistry this is a good step-by-step guide for getting into these types of experiments at home. It reminds us of some of the really cool stuff [Jeri Ellsworth] was doing in her garage lab, like making her own EL panels.

Continue reading “Bring Doping, Microfluidics, Photovoltaics, And More Into The Home”

Review: The RC2014 Z80 Computer

As hackers and makers we are surrounded by accessible computing in an astonishing diversity. From tiny microcontrollers to multi-processor powerhouses, they have become the universal tool of our art. If you consider their architecture though you come to a surprising realisation. It is rare these days to interface directly to a microprocessor bus. Microcontrollers and systems-on-chip have all the functions that were once separate peripherals integrated into their packages, and though larger machines such as your laptop or server have their processor bus exposed you will never touch them as they head into your motherboard’s chipset.

A few decades ago this was definitely not the case. A typical 8-bit microprocessor of the 1970s had an 8-bit data bus, a 16-bit address bus, and a couple of request lines to indicate whether it wanted to talk to memory or an I/O port. Every peripheral you connected to it had to have some logic to decode its address and select it when you wanted to use it, and all shared the processor’s bus. This was how those of us whose first computers were the 8-bit machines of the late 1970s and early 1980s learned the craft of computer hardware, and in a world of Arduino and Raspberry Pi this now seems a lost art.

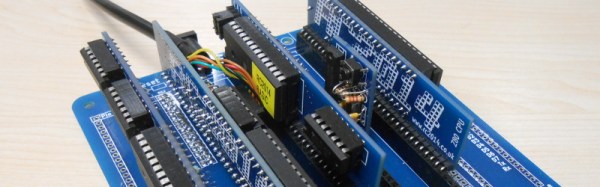
The subject of today’s review then provides a rare opportunity for the curious hardware hacker to get to grips with a traditional microprocessor bus. The RC2014 is a modular 8-bit computer in which daughter cards containing RAM, ROM, serial interface, clock, and Z80 processor are ranged on a backplane board, allowing complete understanding of and access to the workings of each part of the system. It comes with a ROM BASIC, and interfaces to a host computer through a serial port. There is also an ever-expanding range of further peripheral cards, including ones for digital I/O, LED matrixes, blinkenlights, a Raspberry Pi Zero for use as a VDU, and a small keyboard.

Continue reading “Review: The RC2014 Z80 Computer”

Amazing Meccano Pinball Machine Fully Functional Before Meeting Its Fate

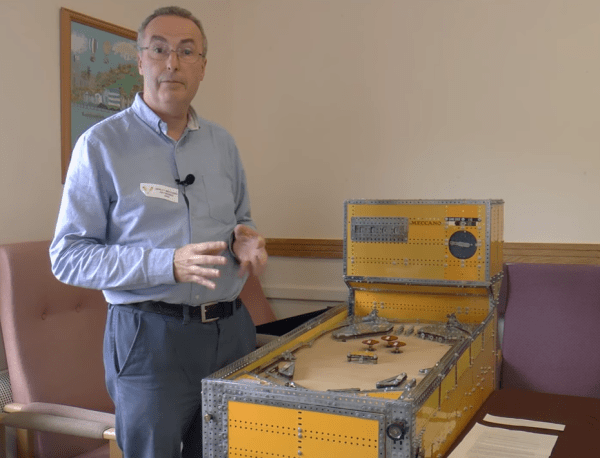
[Brian Leach] of the South East London Meccano Club has put an impressive amount of ingenuity into making his pinball machine almost entirely out of Meccano parts. He started in 2013 and we saw an earlier version of the table back in 2014, but it has finally been completed. It has all the trappings of proper pinball: score counter, score multiplier with timeout, standing targets, kickouts, pot bumpers, drop targets, and (of course) flippers and plunger.

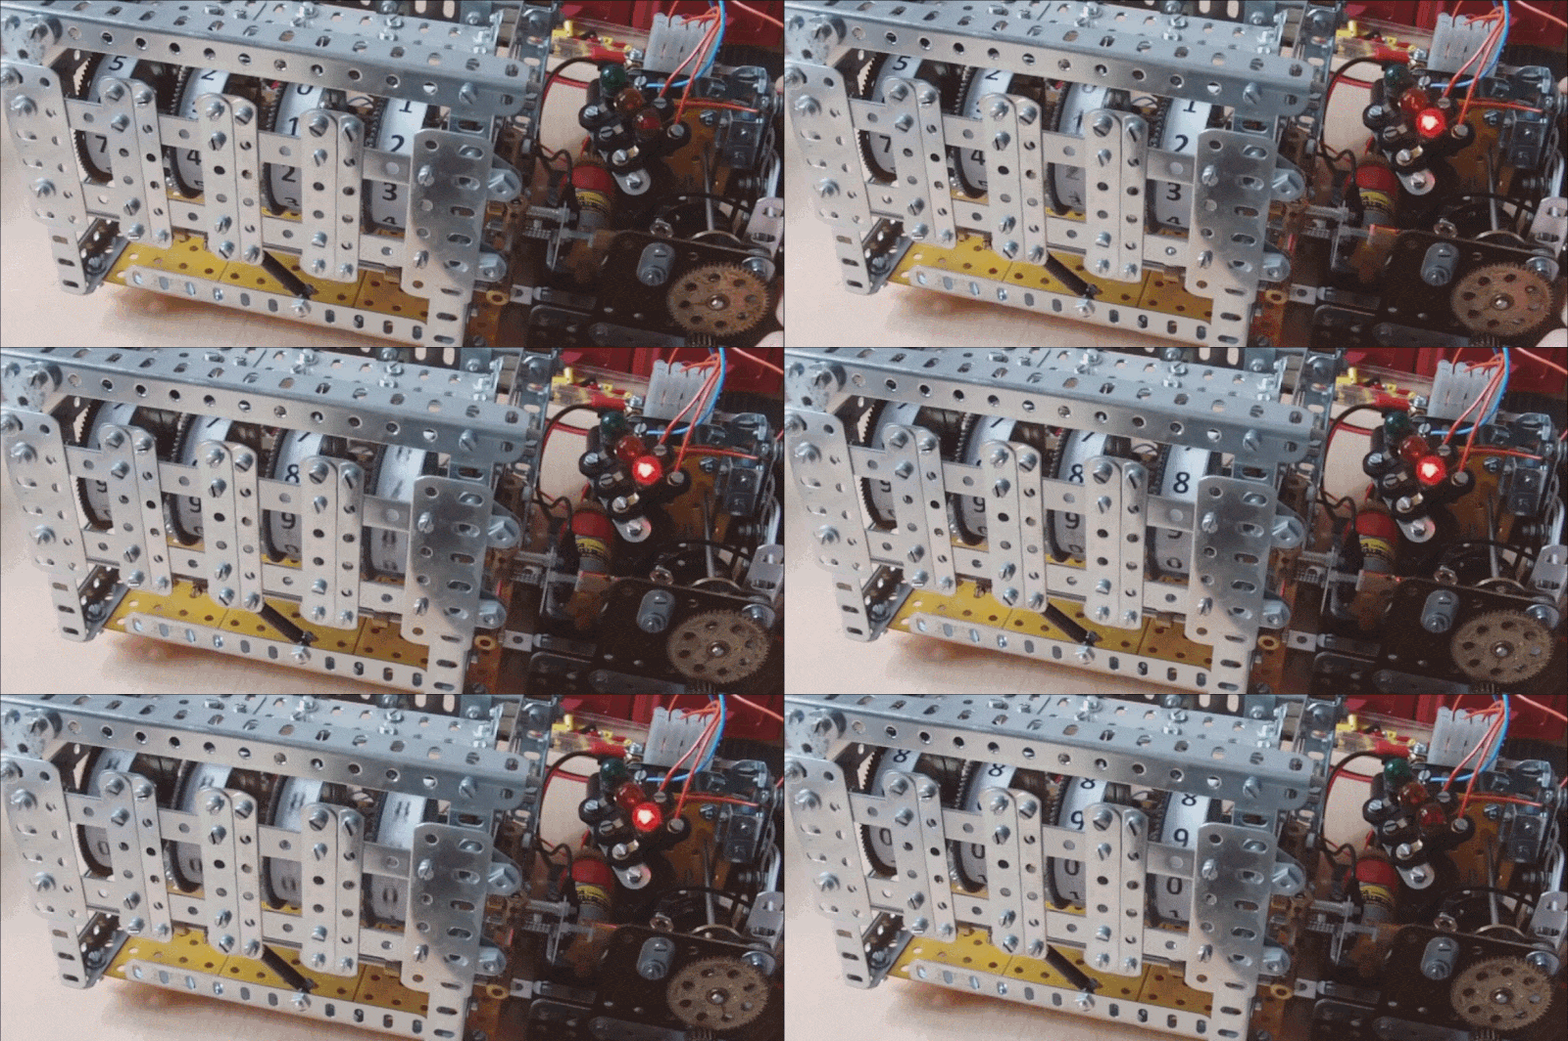
The video (embedded below) is very well produced with excellent closeups of the different mechanisms as [Brian] gives a concise tour of the machine. Some elements are relatively straightforward, others required workarounds to get the right operation, but it’s all beautifully done. For example, look at the score counter below. Meccano electromagnets are too weak to drive the numbers directly, so a motor turns all numbers continuously with a friction drive and electromagnets are used to stop the rotation at specific points. Reset consists of letting the numbers spin freely to 9999 then doing a last little push for a clean rollover to zero.

meccano-pinball-anim-wide

Continue reading “Amazing Meccano Pinball Machine Fully Functional Before Meeting Its Fate”

Vintage 16mm Film Editor Is Now Retro Arcade

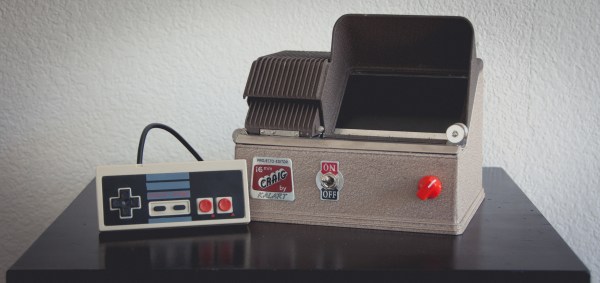
When [Douglas Welcome] found a disposed Kalart Craig 16 mm Projecto-Editor on the curb, he knew it was destined for retro-greatness. This vintage looking device was once used to view and cut 16 mm film strips, and still in mint condition, it was just too cool to pass up. With help of a similarly historic Raspberry Pi 1 Model B, and a little LCD screen, [Douglas] now turned the little box into an awesome retro arcade game console

Continue reading “Vintage 16mm Film Editor Is Now Retro Arcade”