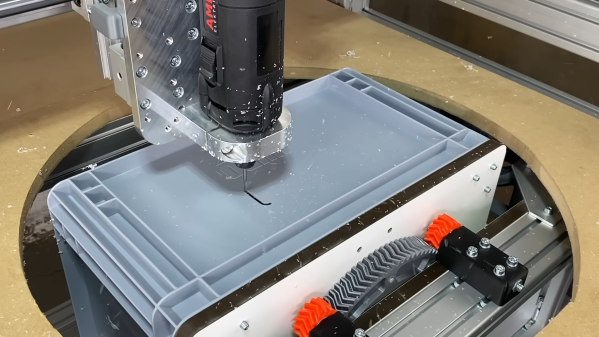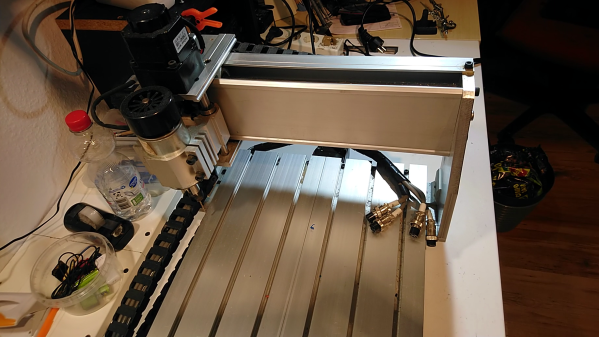
[joekutz] made an impulse purchase of a CNC machine. It was a 3040 CNC that looked reasonably complete and had an attractive price, what could possibly go wrong? As it happens, [joekutz] really didn’t know what he was in for. Sometimes the price is good, but you pay in other ways. But where some would see defeat, [joekutz] sees an opportunity to document the restoration.
The 3040 are relatively cheap and simple CNC machines that have been available from a variety of overseas retailers for years. They have 30 cm by 40 cm beds (hence the name) and while there are many variations, they all work about the same. [joekutz] expected that getting his up and running and converted to open source would be a fun weekend project, but it ended up taking far longer than that. In fact, it turns out that the machine was damaged in surprising and unexpected ways.
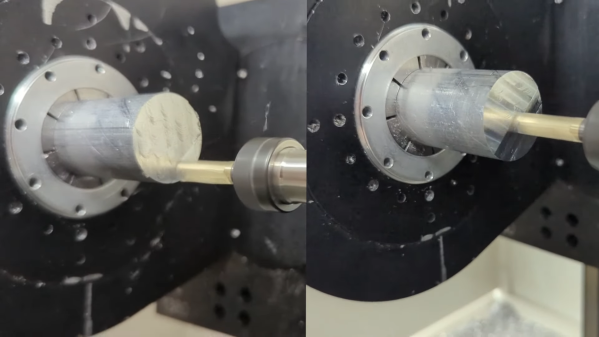
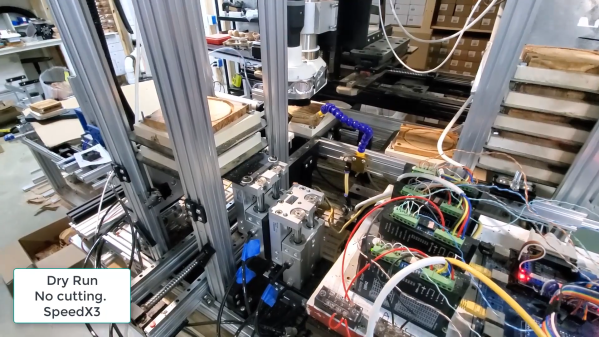
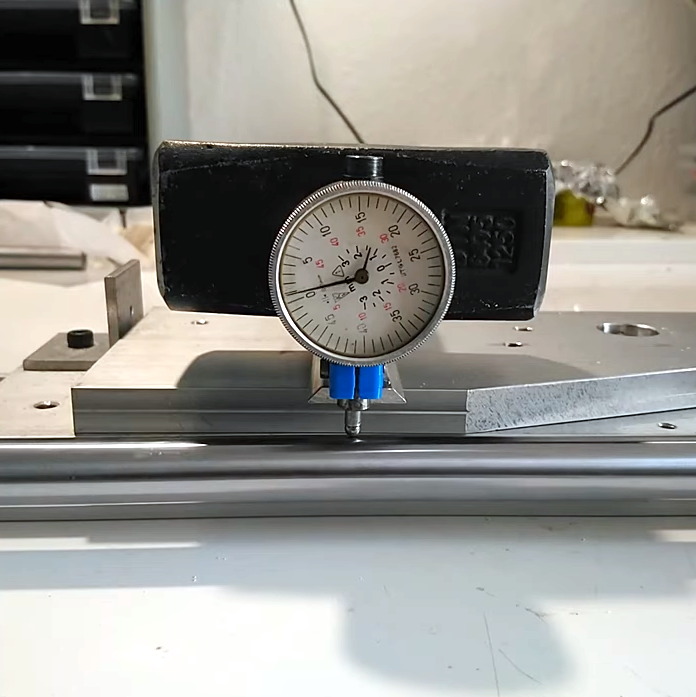
[joekutz] has a series of videos demonstrating the process of diagnosing and repairing the various things wrong with this device. In the first video, he dismantles the machine and discusses the next steps. In the second video, he takes some time to repair some dial indicators that will be critical for measuring the various things wrong with the CNC parts. Video number three delves into finding out the horrible things wrong with the machine, and the fourth is where repairs begin, including bending shafts and sanding blocks back into service.
Those videos are embedded below, and while the machine isn’t quite restored yet, progress is promising. We’ve seen easy and effective upgrades for such CNC machines before, but if you happen to be in more of a repair and restore situation, give [joekutz]’s work a look because it might just save you some time and frustration.
Continue reading “Impulse Buying A 3040 CNC Machine, What Could Go Wrong?”