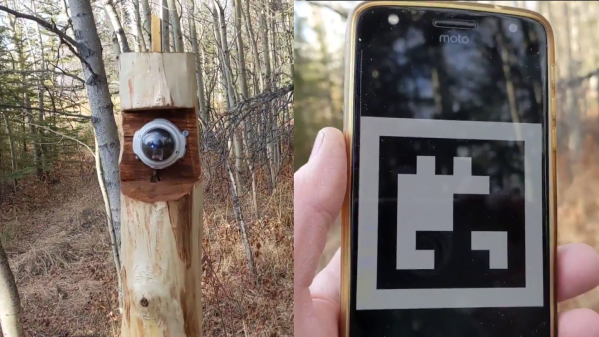
[Herb Peyerl] is part of a robotics team, and in his robotics endeavours, learned about AprilTags; small QR-code-like printable patterns that are easily recognizable by even primitive machine vision. Later on, when thinking about good ways to let his guests through his property’s front gate, the AprilTags turned out to be a wonderful solution. Now all he needs to do is send his guest a picture of the appropriate AprilTag, which they can present to the camera at his front gate using their smartphone.
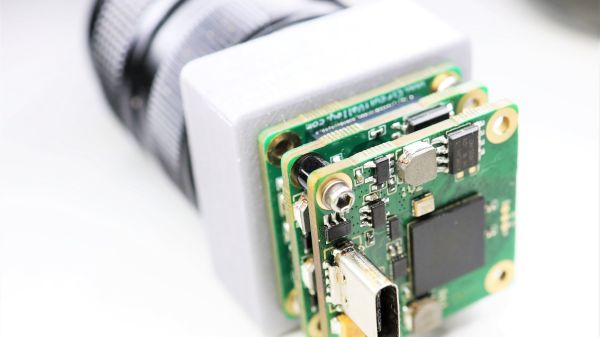
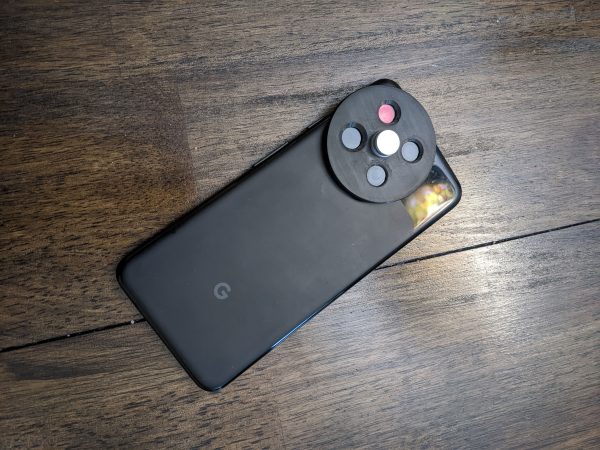
He used an OpenMV board for this – thanks to its wide variety of available libraries, the AprilTag recognition is already baked in, and the entire script is merely a hundred lines of MicroPython. An old surveillance camera gave up its dome-shaped housing, and now the OpenMV board is doing guest access duty on a post in front of his property’s front gate. He’s shared the code with us, and says he’s personally running a slightly modified version for security reasons — not that a random burglar is likely to stumble upon this post anyway. Besides it looks like the gate would be easy for a burglar to jump over without any need for security bypass, and the convenience benefits of this hack are undeniable.
In the unlikely chance a burglar is reading this, however, don’t be sad. We do happen to have a bunch of hacks for you, too. There’s far less secure systems out there, from building RFID keyfobs to gated community access control systems, sometimes all you need is a 12 V battery. If you’re not into burglary, that’s okay too — we’ve covered other guest access hacks before, for instance, this ESP8266-powered one.