For anyone wanting to get that shot of nostalgia without the hassle of finding an NES Classic, the Retropie project is a great starting point. Of course, it’s not too noteworthy to grab a Raspberry Pi, throw a pre-built distribution on it, and plug in an SNES to USB converter. What is noteworthy, however, is building a Retropie that’s portable and that has the quality and polish of the latest build from [fancymenofcornwood].
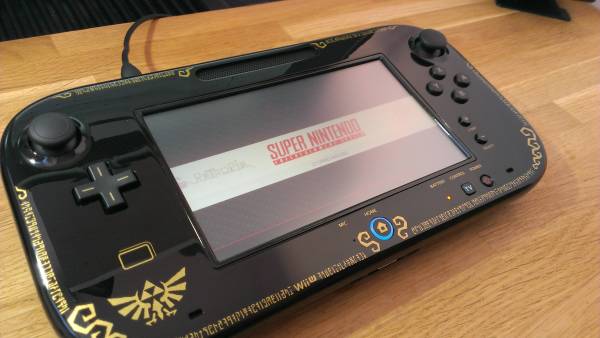
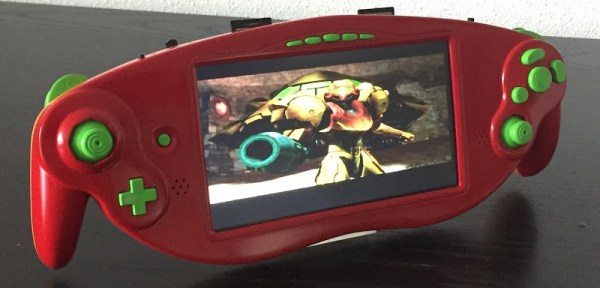
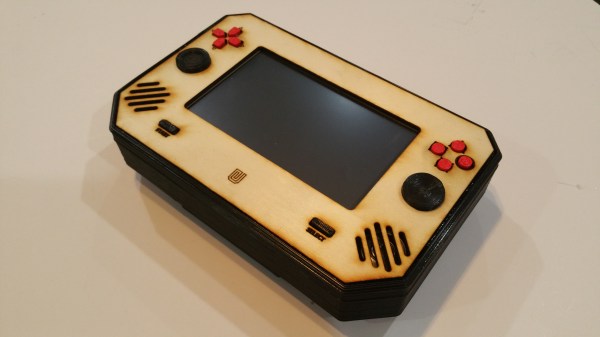
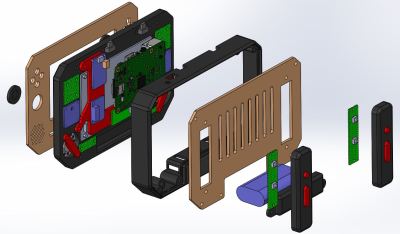 For starters, the laser cut wood case was custom-made. From there, all of the PCBs were fitted including specific ones to handle each set of buttons (complete sets of D-pads, shoulder buttons, and joysticks) and another for the 5″ HDMI screen. It has stereo speakers and its own headphone jack (to the envy of all new iPhone owners), and is powered from a Raspberry Pi 2 running Retropie 4.1. The battery pack shouldn’t leave you stranded, either, especially not if you grew up playing the Sega Game Gear.
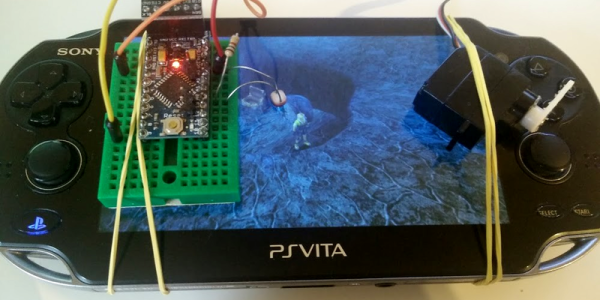
The quality of the build here is outstanding, and its creator made a design choice to make it easily replicable, so if you’ve wanted to play N64 or PS1 games while on the go, this might be what you’ve been waiting for. There are lots of other options for getting some fun from a Retropie going though, from building one into a coffee table to re-purposing that infamous Game Gear.
Obligatory clip of this portable playing Doom is found after the break.
Continue reading “Portable RetroPie Builds On The Shoulders Of Giants”