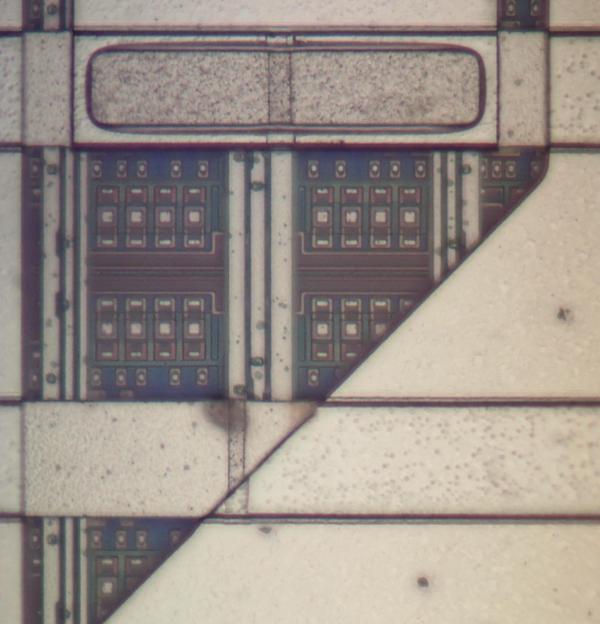
The 1980s and early 1990s were a bit of an odd time for semiconductor technology, with the various transistor technologies that had been used over the decades slowly making way for CMOS technology. The 1991-vintage IBM ES/9000 mainframe was one of the last systems to be built around bipolar transistor technology, with [Ken Shirriff] tearing into one of the processor modules (TCM) that made up one of these mainframes.
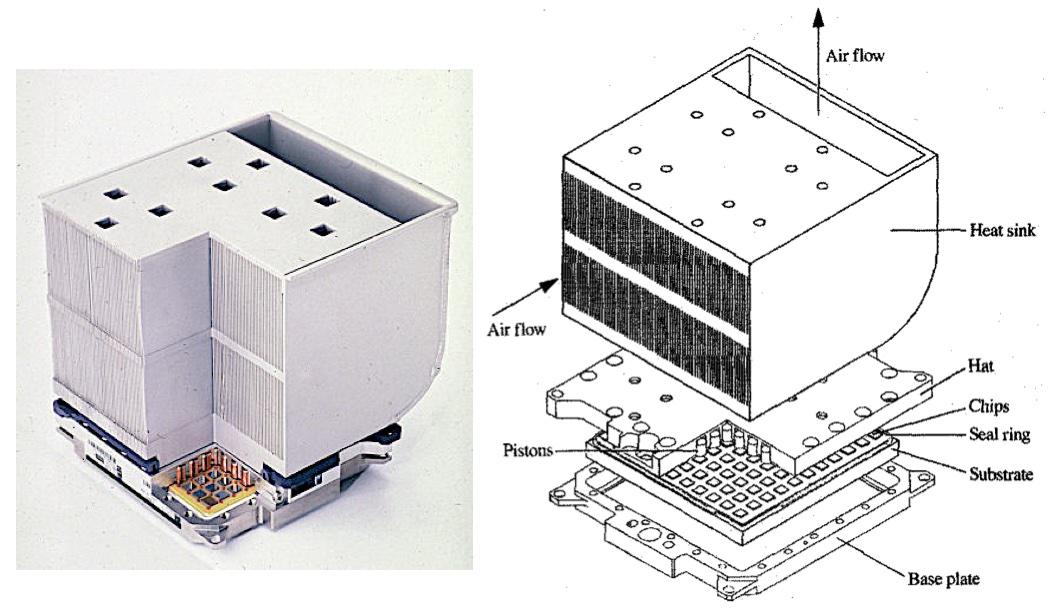
Five of these Thermal Conduction Modules (127.5 mm a side) made up the processor in these old mainframes. Most of note are the use of the aforementioned bipolar transistors and the use of DCS-based (differential current switch) logic. With the already power-hungry bipolar transistors driven to their limit in the ES/9000, and the use of rather massive DCS gates, each TCM was not only fed many amperes of electricity, but also capable of dissipating up to 600 Watts of power.
Each TCM didn’t contain a single large die of bipolar transistors either, but instead many smaller dies were bonded on a specially prepared ceramic layer in which the wiring was added through a very precise process. While an absolute marvel of engineering, the ES/9000 was essentially a flop, and by 1997 IBM too would move fully to CMOS transistor technology.
Over the years we’ve featured a lot of [Ken]’s work, perhaps you’d like to know more about his techniques.