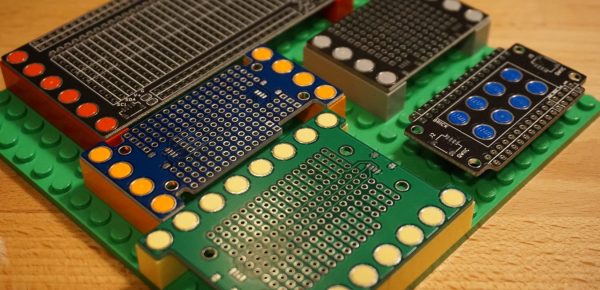
We’ve all marveled at the high quality PCB artwork used within the #BadgeLife and other communities to produce eye-catching designs, but those of you who have dipped your toes in the PCB artwork water will know that it’s hardly an easy process. [Jaseg] may have an answer though with gerbolyze, his software for processing SVG files into Gerber layers or KiCAD footprints.
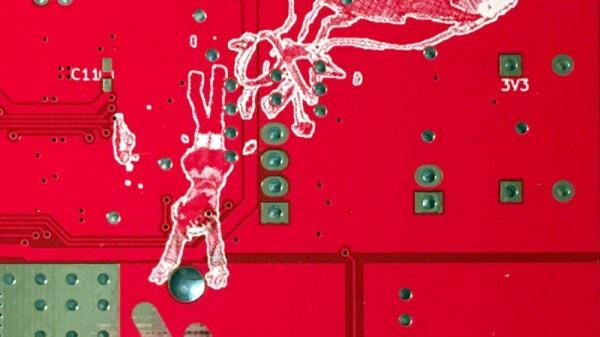
His impetus for building it came from disappointing experience with other scripts that simply tried to rasterise any SVG they were given, or didn’t fully support the complete SVG spec. It’s designed for minimal preprocessing, allowing for as streamlined a process as possible. It includes a bitmap vectoriser to handle everything that can be thrown at it, and the GitHub repository has full instructions including examples of the output for different settings.
This is the latest in a long progression of enhancements to the PCB art process, but it’s not by any means the first time we’ve ventured down this path. In particular [Brian Benchoff] did a lot of work on the production of multi-colour PCBs.