Add Nest Functionality To Your Thermostat For $5

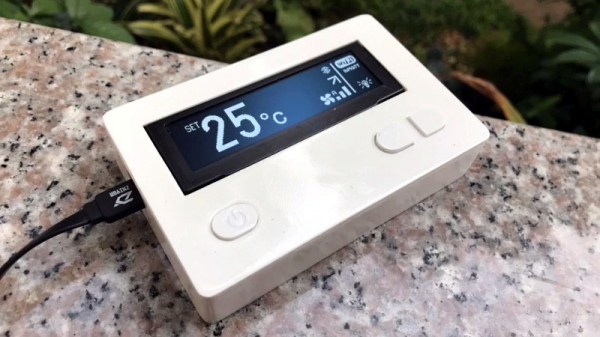
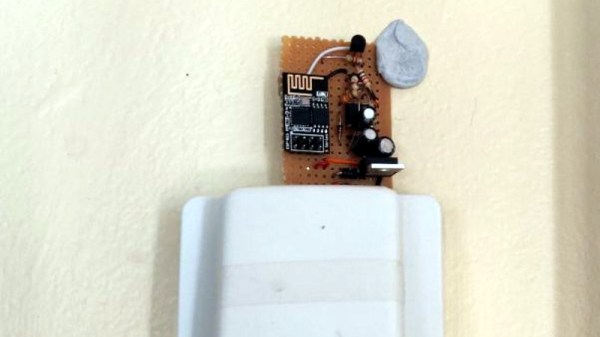
The Nest Thermostat revolutionized the way that people control the climate in their homes. It has features more features than even the best programmable thermostats. But, all of the premium features also come at a premium price. On the other hand, for only $5, a little coding, and the realization that thermostats are glorified switches, you can easily have your own thermostat that can do everything a Nest can do.

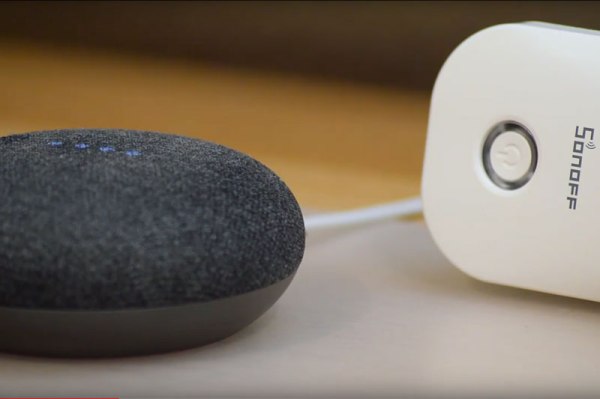
[Mat’s] solution uses a Sonoff WiFi switch that he ties directly into the thermostat’s control wiring. That’s really the easy part, since most thermostats have a ground or common wire, a signal wire, and a power wire. The real interesting work for this build is in setting up the WiFi interface and doing the backend programming. [Mat’s] thermostat is controlled by software written in Node-RED. It can even interface with Alexa. Thanks to the open source software, it’s easy to add any features you might want.

[Mat] goes through a lot of detail on the project site on how his implementation works, as far as interfacing all of the devices and the timing and some of the coding problems he solved. If you’ve been thinking about a Nest but are turned off by the price, this is a great way to get something similar — provided you’re willing to put in a little extra work. This might also be the perfect point to fall down the home automation rabbit hole, so be careful!

Continue reading “Add Nest Functionality To Your Thermostat For $5”

Adding Energy Use And Cost To “Laundry Done” Notifications

Some time ago [Xose Pérez] got interested in generating a notification when his washer had completed a cycle, and now with added features like reporting power usage and cost, he’s put it all together into a Node-Red node that makes it easy to modify or integrate with other projects.

[Xose] started this journey with a Laundry Monitor he created that effectively used cheap hardware (and his own firmware) to monitor his washing machine’s current usage. That sensor was used as the basis for sending notifications informing him whenever the appliance’s cycle was done. Since then, he has continued to take household power monitoring seriously, and with a bit of added work can not only tell when a given appliance has been started and stopped, but can also summarize the energy usage and cost of the appliance, making the notifications more useful. The package is named node-red-contrib-power-monitor and is also hosted on GitHub.

Cheap WiFi-enabled smart switches are making it possible for even the dumbest of appliances to join the Internet of Things, so don’t ignore [Xose]’s complementary work on ESPurna, which is an alternative open-source firmware for a wide variety of ESP8266 and ESP8285 based smart switches, lights and sensors.

Hack My House: ZoneMinder’s Keeping An Eye On The Place

Hacks are often born out of unfortunate circumstances. My unfortunate circumstance was a robbery– the back door of the remodel was kicked in, and a generator was carted off. Once the police report was filed and the door screwed shut, it was time to order cameras. Oh, and record the models and serial numbers of all my tools.

We’re going to use Power over Ethernet (POE) network cameras and a ZoneMinder install. ZoneMinder has a network trigger capability, and we’ll wire some magnetic switches to our network of PXE booting Pis, using those to inform the Zoneminder server of door opening events. Beyond that, many newer cameras support the Open Network Video Interface Forum (ONVIF) protocol and can do onboard motion detection. We’ll use the same script, running on the Pi, to forward those events as well.

Many of you have pointed out that Zoneminder isn’t the only option for open source camera management. MotionEyeOS, Pikrellcam, and Shinobi are all valid options.  I’m most familiar with Zoneminder, even interviewing them on FLOSS Weekly, so that’s what I’m using.  Perhaps at some point we can revisit this decision, and compare the existing video surveillance systems.

Continue reading “Hack My House: ZoneMinder’s Keeping An Eye On The Place”

Vibrosight Hears When You Are Sleeping. It Knows When You’re Awake.

No matter how excited you are to dive headfirst into the “Internet of Things”, you’ve got to admit that the effort and expense of going full-on Jetsons is a bit off-putting. To smarten up your home you’ve generally got to buy all new products (and hope they’re all compatible) or stick janky after-market sensors on the gear you’ve already got (and still hope they’re all compatible). But what if there was a cheap and easy way to keep tabs on all your existing stuff? The answer may lie in Cold War era surveillance technology.

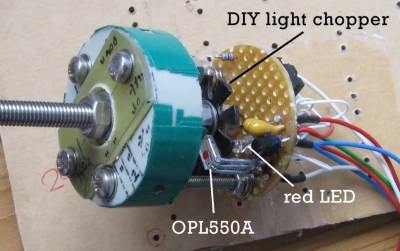
As if the IoT wasn’t already Orwellian enough, Vibrosight is a project that leverages a classic KGB spy trick to keep tabs on what’s going on inside your home. Developed by [Yang Zhang], [Gierad Laput] and [Chris Harrison], the project uses retro-reflective stickers and a scanning laser to detect vibrations over a wide area. With this optical “stethoscope”, the system can glean all kinds of information; from how long you’ve been cooking something in the microwave to whether or not you washed your hands.

The project takes its inspiration from the optical eavesdropping system developed by Léon Theremin in the late 1940’s. By bouncing a beam of light off of a window, Theremin’s gadget was able to detect what people inside the room were saying from a distance. The same idea is applied here, except now it uses an automated laser scanner and machine learning to turn detected vibrations into useful information that can be plugged into a home automation system.

For Vibrosight to “listen” to objects, the user needs to place retro-reflective tags on whatever they want to include in the system. The laser will periodically scan around the room looking for these tags. Once the laser finds a new tag, will add it to a running list of targets to keeps an eye on. From there Vibrosight is able to take careful vibration measurements which can provide all sorts of information. In the video after the break, Vibrosight is shown differentiating between walking, jogging, and running on a treadmill and determining what kind of hand tools are being used on a workbench. The team even envisions a future where Vibrosight-ready devices would “hum” their IP address or other identifying information to make device setup easier.

If all this talk of remote espionage at a distance has caught your interest, we’ve covered Theremin’s unique surveillance creations in the past, and even a way to jam them if you’re trying to stay under the radar.

Continue reading “Vibrosight Hears When You Are Sleeping. It Knows When You’re Awake.”

Down The DIY Rabbit Hole With A Shop AC Installation

There’s a fine line between a successful DIY project and one that ends in heartbreak. It’s subjective too; aside from projects that end up with fire trucks or ambulances in the driveway, what one DIYer would consider a disaster might be considered a great learning opportunity to someone else.

We’re pretty sure [Cressel] looks at his recent DIY mini-split AC installation for his shop as a series of teachable moments. Most folks leave HVAC work to the pros, but when you run a popular YouTube channel where you make your own lathe from scratch, you might be persuaded to give anything a go. [Cressel] did everything possible to do this job like a pro, going so far as to get training in the safe handling of refrigerants and an EPA certification so he knew how to charge the system correctly. He also sunk quite a bit of money into tools; between the manifold gauge set, vacuum pump, and various plumbing bits, that was a hefty $300 bite alone.

The install went well until he started charging the refrigerant, when a mistake with a fitting caused him to contaminate his nice, new batch of R-410A. Rather than back out and call a pro to finish up, [Cressel] stuck with it, to the tune of $900 in extra tools and materials needed to recover the old refrigerant safely and replace it with virgin R-410A. The video below has a condensed version of the whole tale.

It all worked out in the end, but at a cost that probably meets or exceeds what an HVAC contractor would have charged. [Cressel] seems like a glass-half-full kind of guy, though, so we expect he’s happy to have learned something new, and to have a bunch of neat new tools to boot.

Continue reading “Down The DIY Rabbit Hole With A Shop AC Installation”

Hack My House: Running Raspberry Pi Without An SD Card

Many of us have experienced the pain that is a Raspberry Pi with a corrupted SD card. I suspect the erase-on-write nature of flash memory is responsible for much of the problem. Regardless of the cause, one solution is to use PXE booting with the Raspberry Pi 3. That’s a fancy way to say we’ll be booting the Raspberry Pi over the network, instead of from an SD card.

What does this have to do with Hacking My House? As I discussed last time, I’m using Raspberry Pi as Infrastructure by building them into the walls of every room in my house. You don’t want to drag out a ladder and screwdriver to swap out a misbehaving SD card, so booting over the network is a really good solution. I know I promised we’d discuss cabling and cameras. Think of this as a parenthetical article — we’ll talk about Ethernet and ZoneMinder next time.

So let’s dive in and see what the Preboot Execution Environment (PXE) is all about and how to use PXE with Raspberry Pi.

Continue reading “Hack My House: Running Raspberry Pi Without An SD Card”

RTL-SDR Paves Way To Alexa Controlled Blinds

You’d be forgiven for occasionally looking at a project, especially one that involves reverse engineering an unknown communication protocol, and thinking it might be out of your league. We’ve all been there. But as more and more of the devices that we use are becoming wireless black boxes, we’re all going to have to get a bit more comfortable with jumping into the deep end from time to time. Luckily, there are no shortage of success stories out there that we can look at for inspiration.

A case in point are the wireless blinds that [Stuart Hinson] decided would be a lot more useful if he could control them with his Amazon Alexa. There’s plenty of documentation on how to get Alexa to do your bidding, so he wasn’t worried about that. The tricky part was commanding the wireless blinds, as all he had to go on was the frequency printed on the back of the remote.

Luckily, in the era of cheap RTL-SDR devices, that’s often all you need. [Stuart] plugged in his receiver and fired up the incredibly handy Universal Radio Hacker. Since he knew the frequency, it was just a matter of tuning in and hitting the button on the remote a couple times to get a good capture. The software then broke it down to the binary sequence the remote was sending out.

Now here’s where [Stuart] lucked out. The manufacturers took the easy way out and didn’t include any sort of security features, or even bother with acknowledging that the signal had been received. All he needed to do was parrot out the binary sequence with a standard 433MHz transmitter hooked up to an ESP8266, and the blinds took the bait. This does mean that anyone close enough can take control of these particular blinds, but that’s a story for another time.

We took a look at the Universal Radio Hacker a year or so back, and it’s good to see it picking up steam. We’ve also covered the ins and outs of creating your own Alexa skills, if you want to get a jump on that side of the project.