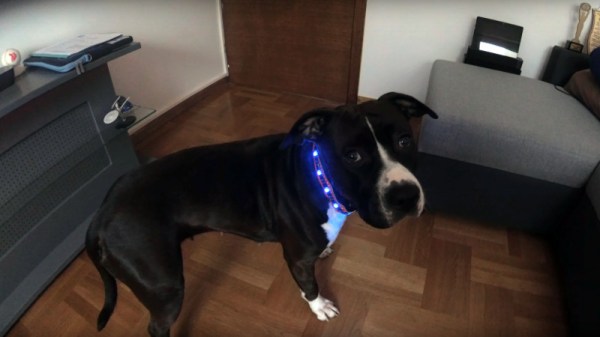
Our canine friends have been at our side for millennia, their prehistoric wolf ancestors evolving alongside us into the breeds we know today. But astoundingly until now no dog has been Wi-Fi enabled, at least according to [Entropy], whose dog [Kaya] now sports a colourful Wi-Fi enabled collar.
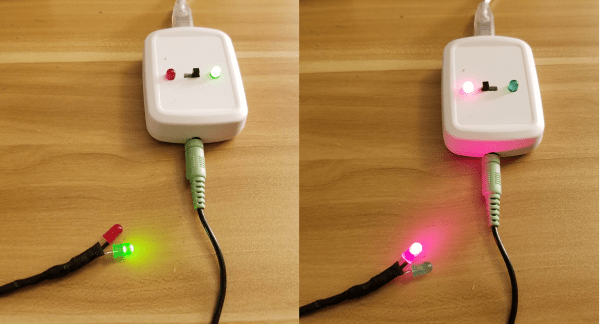
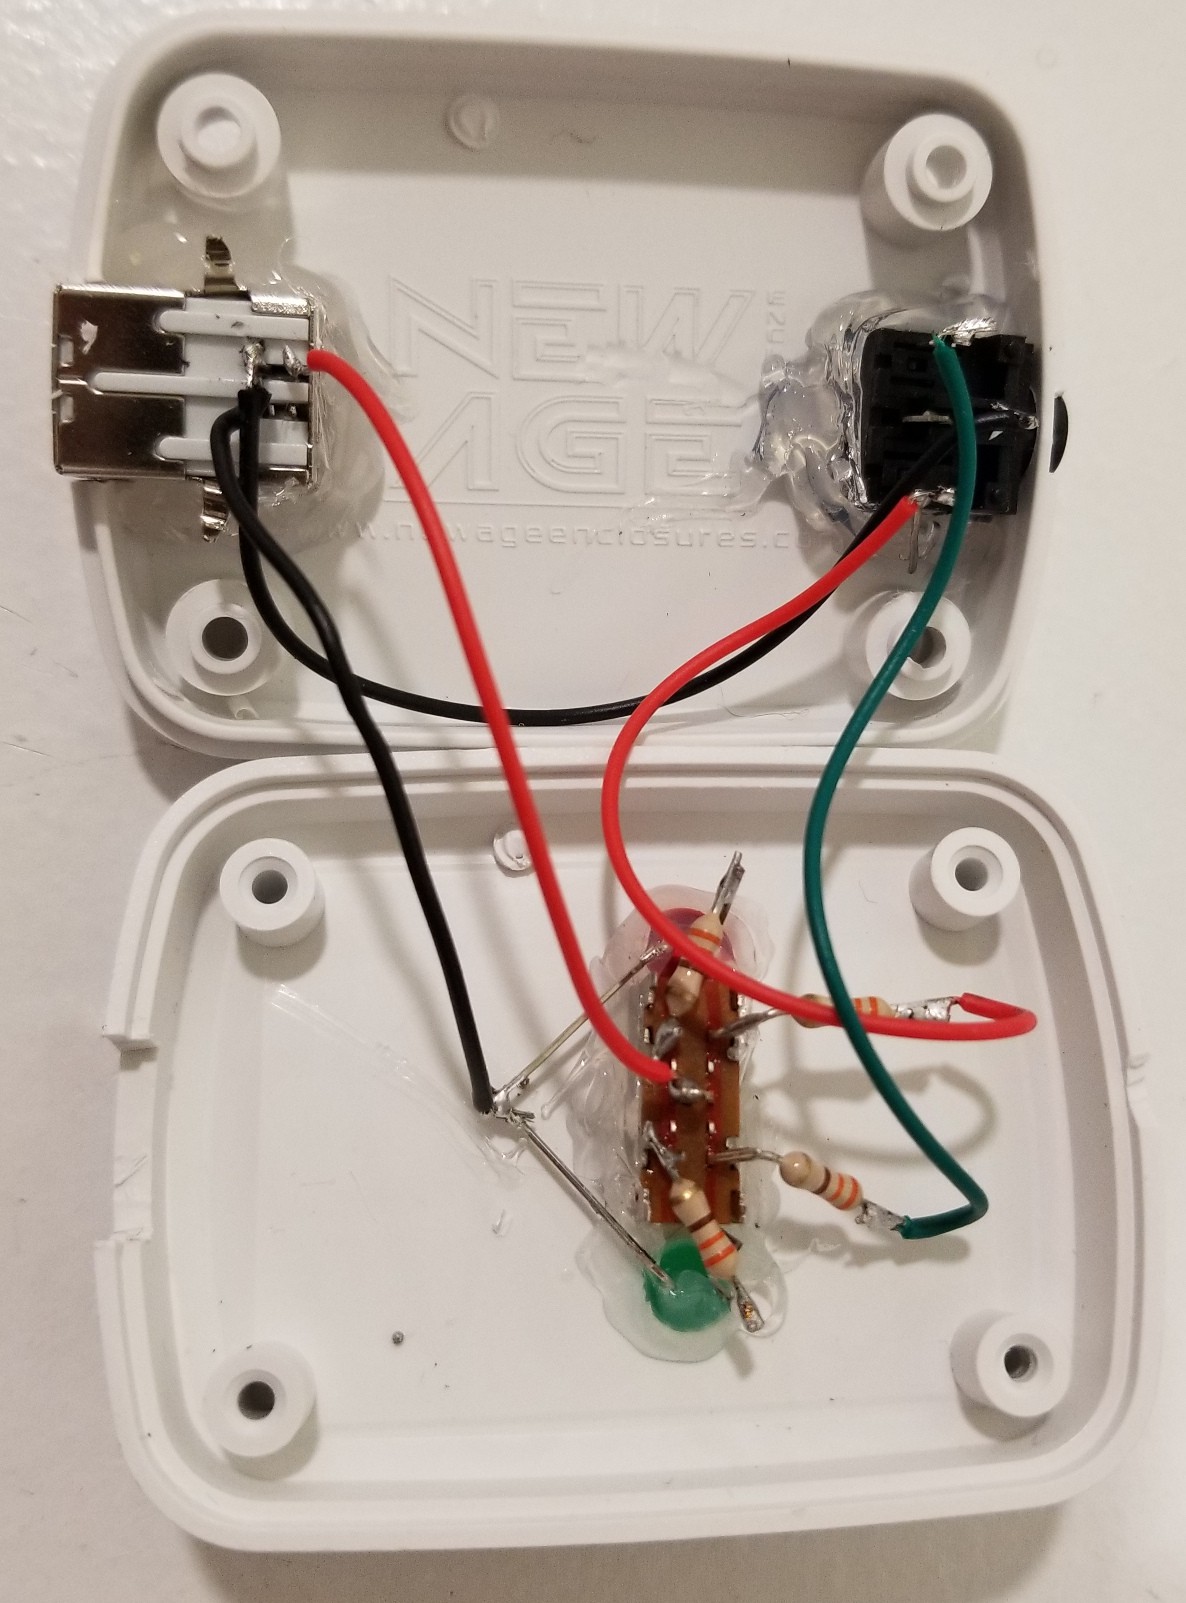
Light-up dog collars and harnesses have been with us for a while, and serve the very useful purpose of protecting the animals from accidents by making them visible at night, but [Kaya]’s colar was a particularly disappointing example. Its single light and lacklustre optical fibre coupled with disappointing battery life left much to be desired, so when it broke there was ample excuse to upgrade it. In went a strip of addressable LEDs and an ESP32 module, along with an 18650 lithium-ion cell. We’re a bit unsure whether lights can be controlled from a mobile phone, but perhaps the most significant benefit lies elsewhere. The Wi-Fi hotspot from the ESP32 serves as a beacon to find [Kaya] within a short distance should she wander off, which as any dog owner will tell you can be a boon when they’re investigating some fascinating new smell and ignoring your calls. You can see her modelling the collar in the video below the break.
Canine hacks appear on these pages from time to time. One of our favourites is this not very successful but highly amusing remote controlled dog.


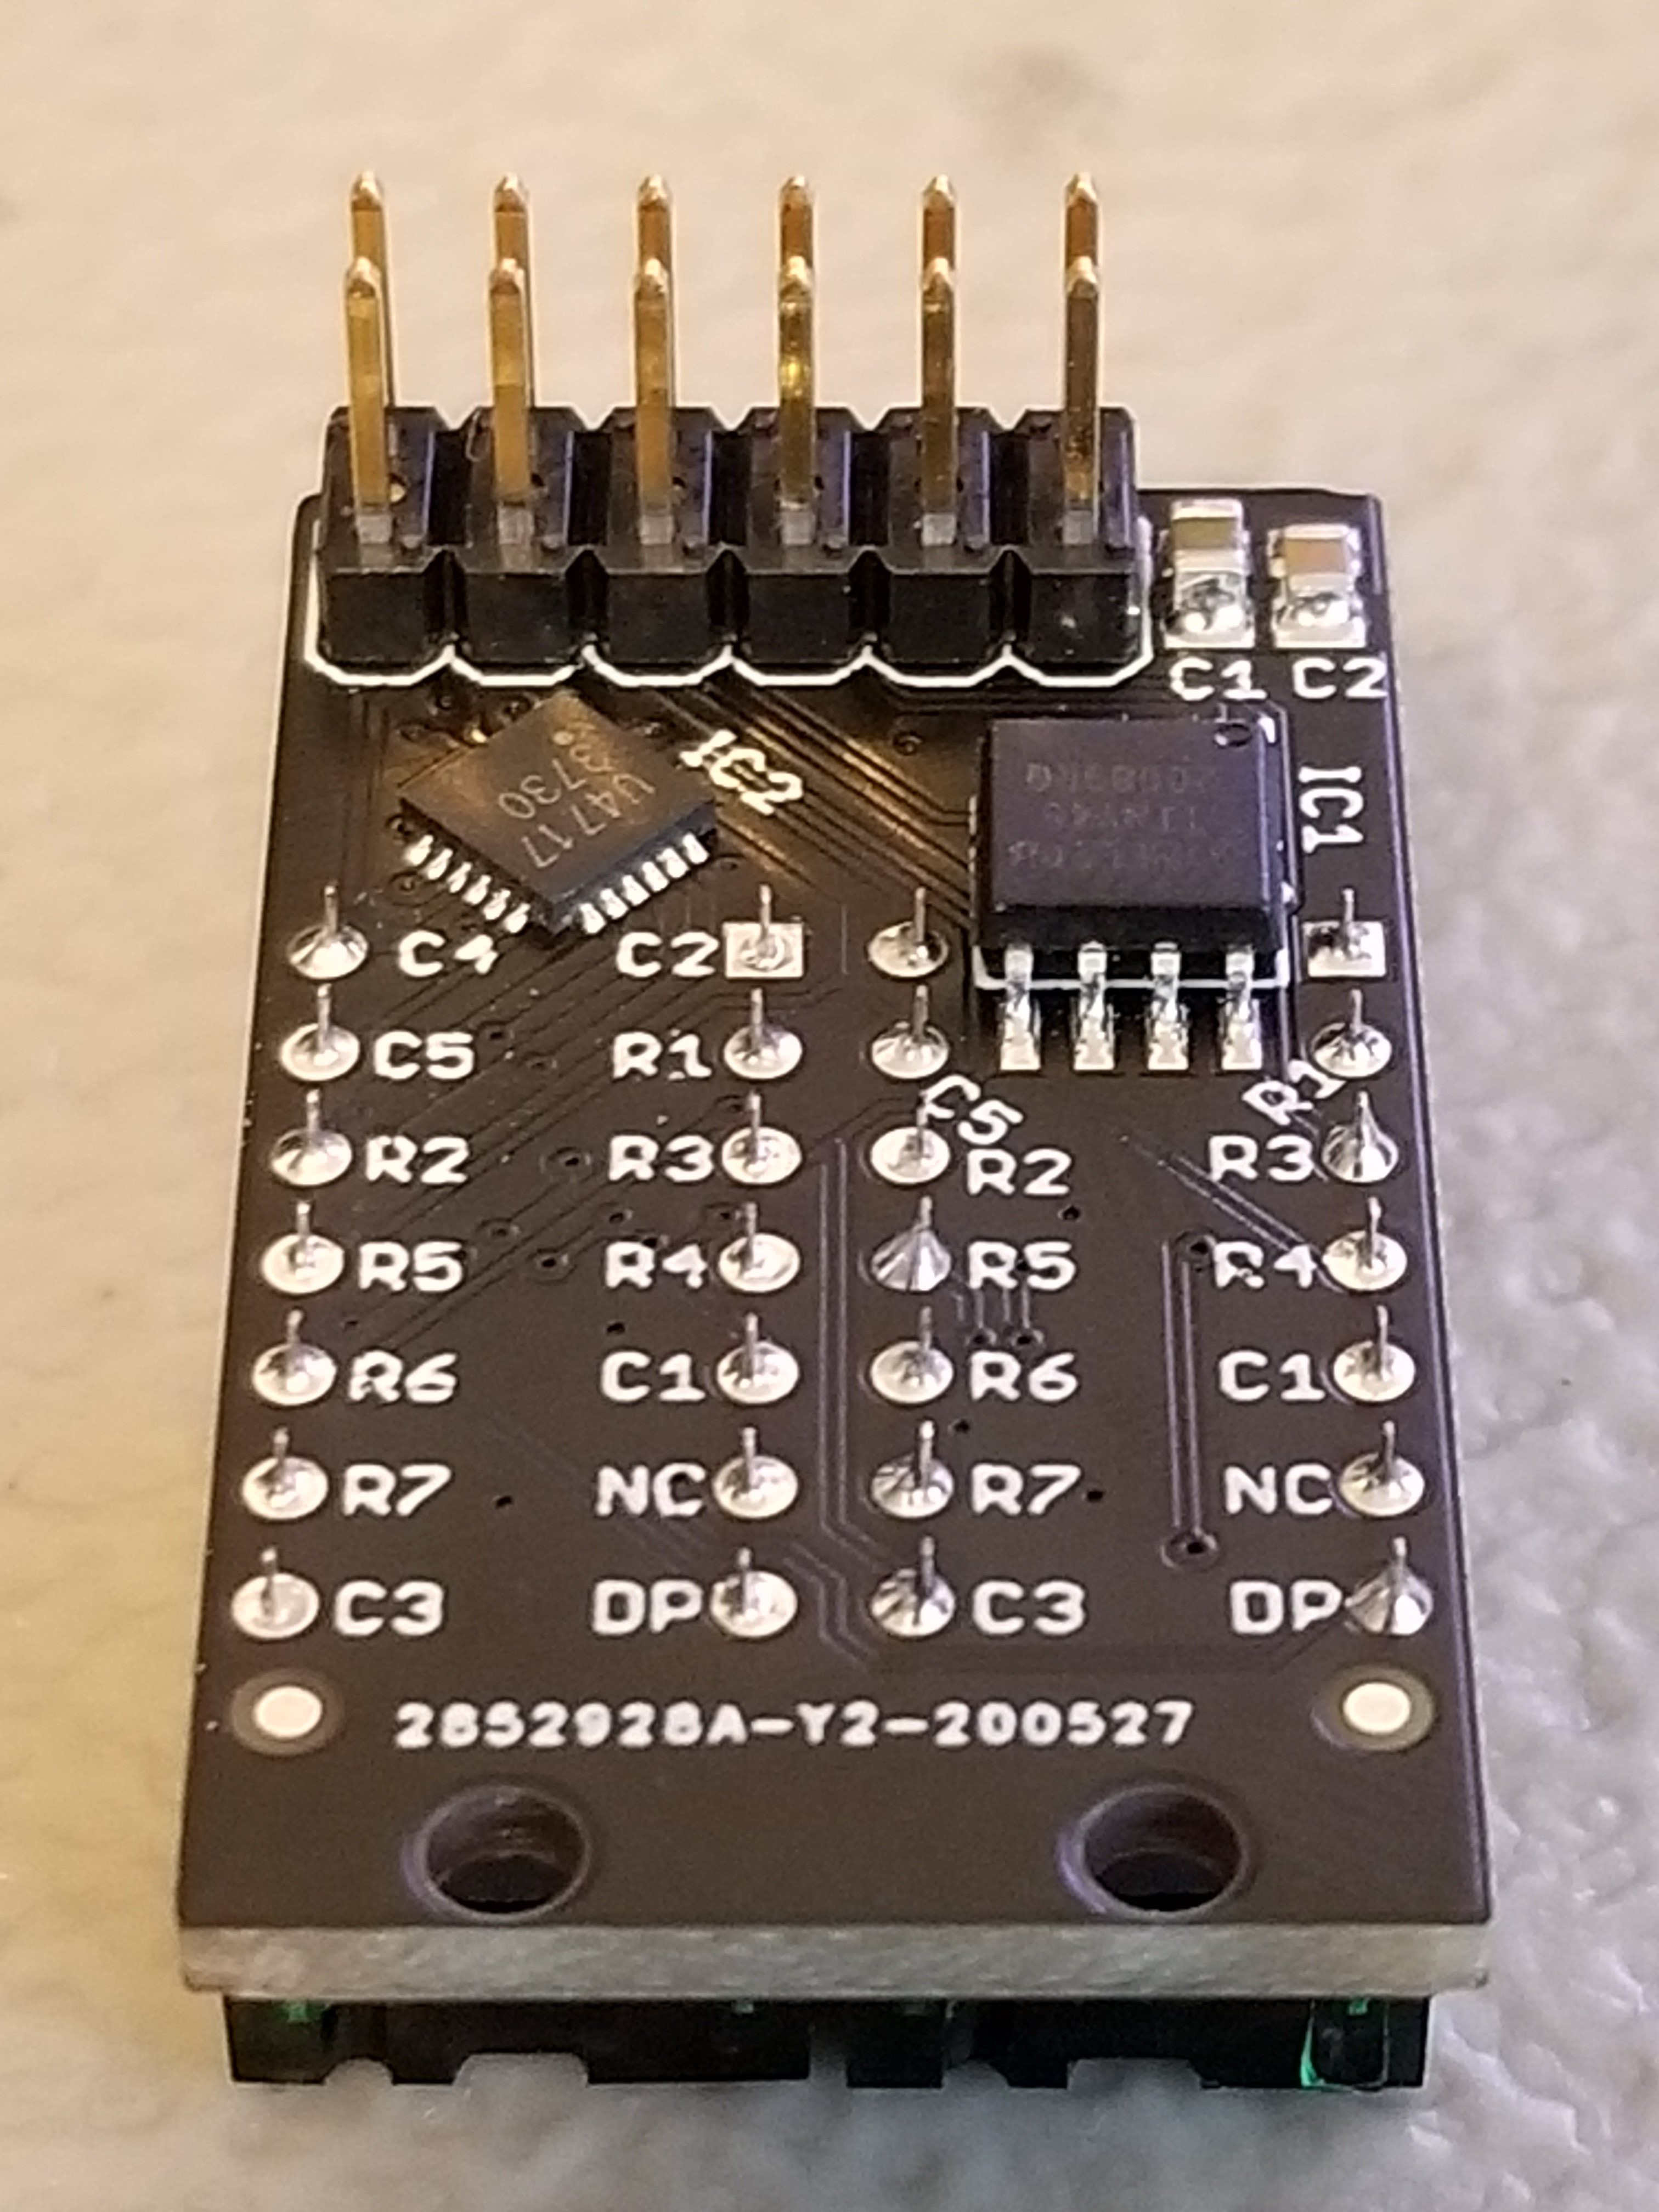 Each Pixie module is designed to host two gorgeous little