In a world where ninjas no longer rule the social hierarchy, where can a ninja-wannabe practice their sword fighting skills? In the popular Introduction to Embedded Systems class at the Massachusetts Institute of Technology, a team of students made their own version of the popular mobile game Fruit Ninja with a twist – you’re fighting your true nemesis, vegetables.
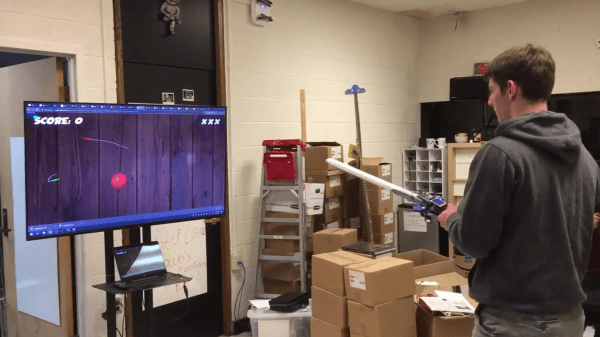
Vegetable Assassin allows single or multi-player mode, with players slicing vegetables on a screen using fake swords with sensors to detect the players’ motion. The web-based game allows swords to communicate their orientation to the game session with a WebSocket connection to a server, with the game generated and rendered using a 3D client JavaScript library. Rather than using MQTT, which also uses a persistent TCP connection as well as lower overhead, WebSocket provided maximum browser support.


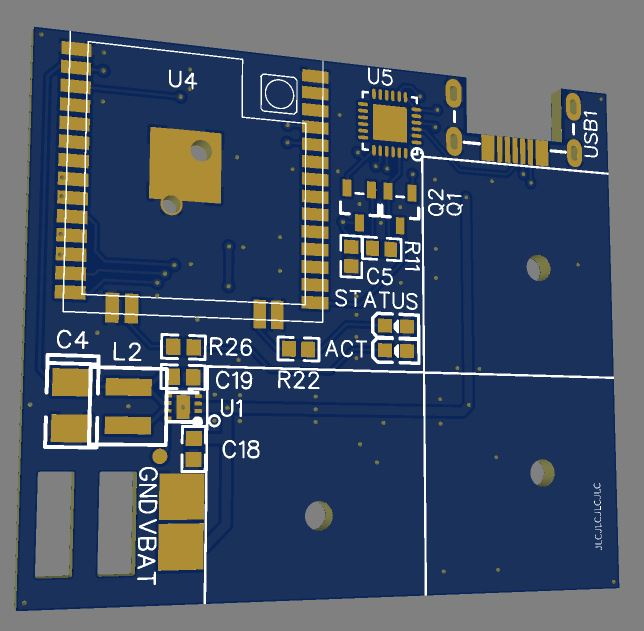
An onboard ESP32 microcontroller and IMU track the sword movements. The game begins by calibrating the sword movements within the play area. Information is generated using the Madgwick algorithm, a 9-degrees-of-freedom algorithm that uses 3-axis data from the sword’s gyroscope, accelerometer, and magnetometer and outputs the absolute orientation of the sword.
The sword and browser both connect to the same channel on the server through a WebSocket connection, identified by a session ID similar to how web chat rooms are implemented. A statistics server manages the allocation of session IDs and other persistent game data to track high scores.
As for the graphics, a Three.js WebGL library creates the scene and camera, loading the game into the browser’s animation frame. Other scripts load the 3D models for the fruits and vegetables in the game, update their positions based on the physics engine provided by Cannon.js, and render UI elements within the game.
Curious? The project site has the microcontroller code to build your own sword that you can use to play the demo. If you don’t have an ESP32 and accelerometer handy you can play Vegetable Assassin in your browser instead.