Put APIs To Work Wth This ArduinoJson Walkthrough

One of the things this community is famous for is the degree to which people will pitch in to fill an obvious need. Look at the vast array of libraries available for Arduino as an example of how people are willing to devote their time to making difficult tasks easier, often for little more than a virtual pat on the back.

One level up from the library writers are those who go through the trouble of explaining how all these libraries work in real-world applications. [Brian Lough] recently rose to that challenge with a thorough explanation of the use of the ArduinoJSON library, a very useful but often confusing library that makes IoT projects easier.

The need for an ArduinoJSON explainer no knock on its author, [BenoĆ®t Blanchon], who has done excellent work documenting the library; it’s more of a realization that the nature of JSON itself means a library that works with it is going to be complex. [Brian]’s contribution here is sharing his insights into getting ArduinoJSON up and running in a real-world ESP32 example, and dealing with the potential pitfalls of parsing a human-readable text file that can be used to represent almost any data object using the limited resources of a microcontroller. Along with the basics, we found the warning about how pointers refer back to the dynamic JSON document object particularly helpful; the bit about using filters to winnow down a large data set was useful too.

Thanks to [Brian] for taking the time to put this valuable information out there. Here’s hoping this encourages others to share the wealth of hard-earned knowledge in a similarly clear and concise manner.

Continue reading “Put APIs To Work Wth This ArduinoJson Walkthrough”

ESP8266 Adds WiFi To A 433 MHz Weather Station

There’s no shortage of cheap weather stations on the market that pull in data from several wireless sensors running in the 433 to 900 MHz range and present you with a slick little desktop display, but that’s usually where the flow of information stops. Looking to bridge the gap and bring all that local climate data onto the Internet, [Jonathan Diamond] decided to reverse engineer how his weather station worked.

The first phase of this project involved an RTL-SDR receiver, GNURadio, and a sprinkling of Python. [Jonathan] was able to lock onto the signal and piece together the data packets that reported variables such as temperature, wind speed, and rainfall. Each one of these was a small puzzle in itself, and in the end, there’s still a few bits which he hasn’t quite figured out. But he at least had enough to move onto the next step.

Tapping into the radio module.

Now at this point, he could have pulled the data right out of the air with his RTL-SDR. But looking to push his skills to the next level, [Jonathan] decided to open up the base station and isolate its receiver. Since he already decoded the packets on the RF side, he knew exactly what he was looking for with his oscilloscope and logic analyzer. Once he was tapped into the feed coming from the radio, the final step was writing some code for the ESP8266 that could listen on the line, interpret the data packets, and push the resulting variables out over the network.

In this case, [Jonathan] decided to funnel all the data into Weather Underground by way of the Personal Weather Station API. This not only let him view the data through their web interface and smartphone application, but brought their hyperlocal forecasting technology into the mix at no extra charge. If you’re not interested in sharing your info with the public, it would be a trivial matter to change the firmware so the data is published to a local MQTT broker, or whatever else floats your proverbial boat.

If you’re really lucky, your own weather station may already have an ESP8266 onboard and is dumping all its collected data to the serial port. But if not, projects like this one that break down how to reverse engineer a wireless signal can be a great source of inspiration and guidance should you decide to try and crack the code.

Python Runs Through A Zombified 8-Bit AVR

As amazing as CircuitPython is, it hasn’t yet been ported to any 8-bit microcontrollers. [Chris Heo] was unsatisfied with his inability to use Python on his 8-bit ATmega4808 AVR, so he worked out a way to zombify it and bend it to his will using Python on his PC.

The trick to making this all work is the UPDI interface: a single-wire UART interface for programming and debugging Microchip’s newer 8-bit AVR microcontrollers. UPDI reaches deep into the microcontroller’s core, allowing you to stop and start execution of microcontroller code and access all of the onboard data and I/O. [Chris] realized this could be used to stop execution of any code running on the AVR and directly control the output pins using the pyupdi library. Since UPDI lets him modify the AVR’s I/O registers, he was also able to blink an LED and use the microcontrollers UART to send a message back to his PC without compiling a single line of code.

This may seem like an entirely unnecessary hack, but for devices too small or basic to have a JTAG interface for debugging this could be the best way to test and debug peripherals in an assembled circuit. We hope this catches on and would love to see how much of the chip can be controlled in this way. Maybe this will make it easy to experiment with the programmable logic that’s on some of the newer AVRs.

Modifying Lights For DIY Ambiance

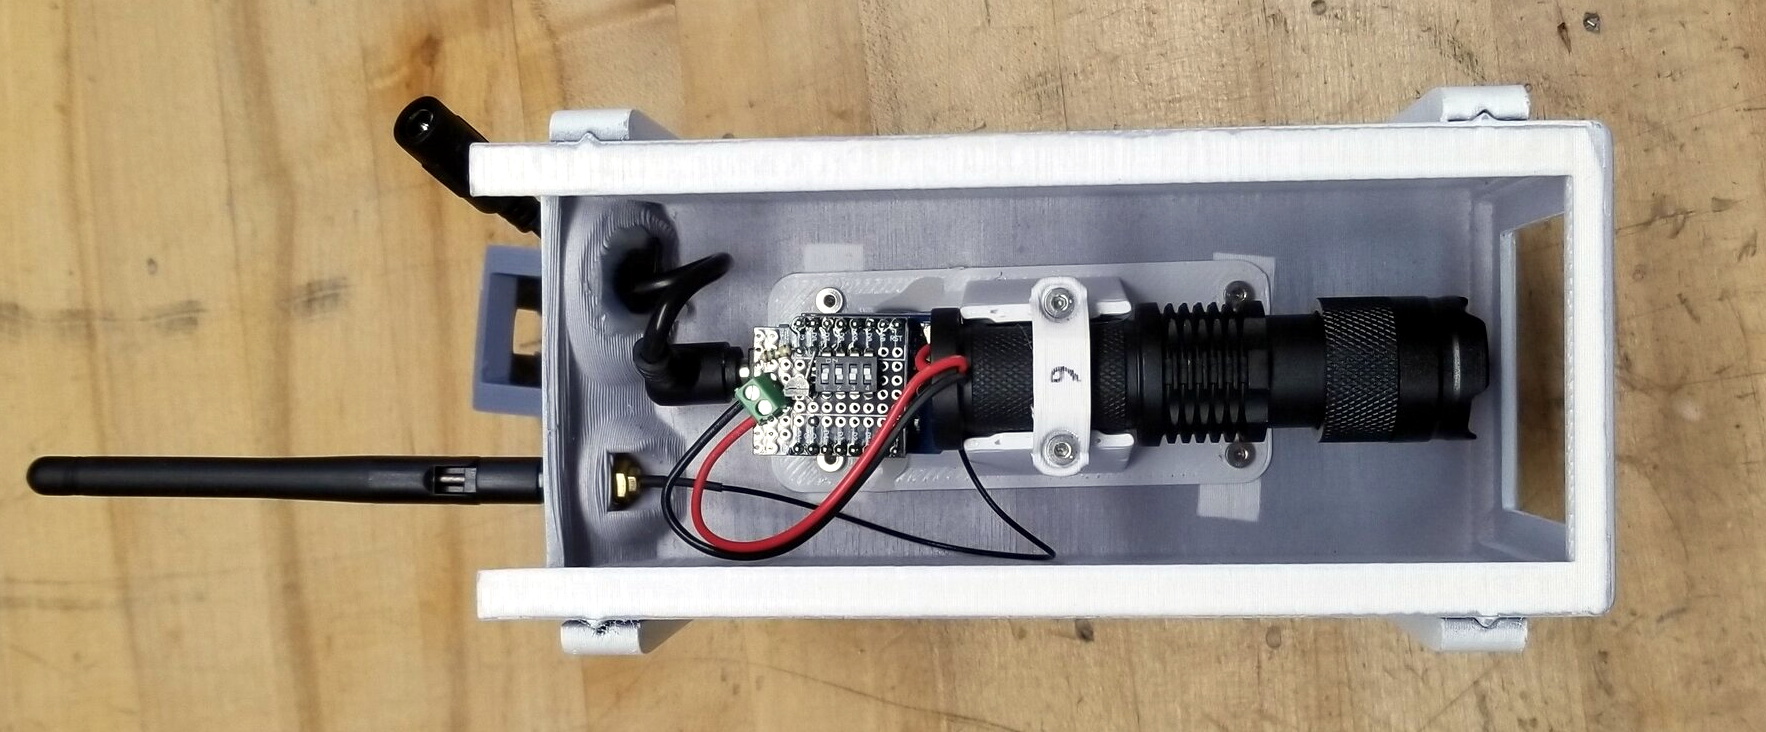
The ESP32 and ESP8266 spread like wildfire a few years ago due to their small form factor, low price, and wireless capability. They didn’t just take over the DIY scene, though. Plenty of mass market products began to incorporate these tiny chips as well, which means that there are some interesting pre-made devices around that are ripe for modification. In this case, using an off-brand smart light bulb as a base for an semi-proprietary lighting setup.

The lighting in this build is a generic RGB light bulb with the ability to control its color over Wi-Fi. Since it has an ESP8266 chip in it, it can be made to work with Philips Hue lights with some minor modifications, allowing a much wider range of control than otherwise available. For this one, [Vadim] needed to pry open the bulb case to access the chip, then solder wires to it for reprogramming. It needed power during this step which meant plugging the resulting mess of wires back into a lamp socket, but after this step the new programming allows the bulb to be reprogrammed remotely.

After that step is complete, though, the generic bulb is ready for its inclusion into a Hue lighting system. In this case, [Vadim] is using diyHue, a Hue emulator that allows control of the bulbs without needing to use any cloud services, running on a BeagleBone. It’s a fairly comprehensive way of adding many different types and brands of bulbs to one system, and avoids any subscription models or the use of a cloud service, which is always something we can get behind.

Continue reading “Modifying Lights For DIY Ambiance”

Spherical Keyboard Build Leaves Hacker Well-Rounded

Often times we as hackers don’t know what we’re doing, and we sally forth and do it anyway. Here at Hackaday, we think that’s one of the best ways to go about a new project, and the absolute fastest way to learn a whole lot as you go. Just ask [Aaron Rasmussen] regarding this spherical, standing 5×6 dactyl manuform keyboard build, which you can see in a three-part short video series embedded after the break.

[Aaron] gets right down to it in the first video. He had to get creative right away, slicing up the dactyl manuform model to fit on a tiny print bed. However, there’s plenty of room inside the sphere for all that wiring and a pair of Elite-C microcontrollers running QMK. Be sure to turn on the sound to hear the accompanying voice-overs.

The second video answers our burning question: how exactly does one angle grind a slippery sphere without sacrificing sheen or shine? We love the solution, which involves swaddling the thing in duct tape and foam.

You may be wondering how [Aaron] is gonna use any kind of mouse while standing there at the pedestal keyboard. While there is space for a mouse to balance on top, this question is answered in the third video, where [Aaron] learns the truth behind the iconic ThinkPad nubbin and applies this knowledge to build a force-feedback joystick/trackpoint mouse. Awesome answer, [Aaron]!

Not ready to go full-tilt, sci-fi prop ergo? Dip your toe in the DIY waters with a handy macropad.

Continue reading “Spherical Keyboard Build Leaves Hacker Well-Rounded”

Raspberry Pi RP2040: Hands-On Experiences From An STM32 Perspective

The release of the Raspberry Pi Foundation’s Raspberry Pi Pico board with RP2040 microcontroller has made big waves these past months in the maker community. Many have demonstrated how especially the two Programmable I/O (PIO) state machine peripherals can be used to create DVI video generators and other digital peripherals.

Alongside this excitement, it raises the question of whether any of this will cause any major upheaval for those of us using STM32, SAM and other Cortex-M based MCUs. Would the RP2040 perhaps be a valid option for some of our projects? With the RP2040 being a dual Cortex-M0+ processor MCU, it seems only fair to put it toe to toe with the offerings from one of the current heavyweights in the 32-bit ARM MCU space: ST Microelectronics.

Did the Raspberry Pi Foundation pipsqueak manage to show ST’s engineers how it’s done, or should the former revisit some of their assumptions? And just how hard is it going to be to port low-level code from STM32 to RP2040? Continue reading “Raspberry Pi RP2040: Hands-On Experiences From An STM32 Perspective”

Reverse-Engineering An Unknown Microcontroller In E Ink Displays

For a monochrome display where refresh rate isn’t particularly important, there’s almost no better option than an E Ink display. They’re available in plenty of sizes and at various price points, but there’s almost no option cheaper than repurposing something mass-produced and widely available like an E Ink (sometime also called eInk or ePaper) price tag. At least, once all of the reverse engineering is complete.

[Dmitry Grinberg] has been making his way through a ton of different E Ink modules, unlocking their secrets as he goes. In this case he set about reverse engineering the unknown microcontroller on the small, cheap display show here. Initial research showed an obscure chip from the ZBS24x family, packaged with a SSD1623L2 E Ink controller. From there, he was able to solder to the communications wires and start talking to the device over ISP.

This endeavor is an impressive deep dive into the world of microcontrollers, from probing various registers to unlocking features one by one. It’s running an 8051 core so [Dmitry] gives a bit of background to help us all follow along, though it’s still a pretty impressive slog to fully take control of the system.

If you happen to have one of these price tags on hand it’s an invaluable resource to have to reprogram it, but it’s a great read in general as well. On the other hand, if you’re more interested in reverse-engineering various displays, take a look at this art installation which spans 50 years of working display technologies.