“Gummy” might not be an adjective that springs to mind when describing metals, but anyone who has had the flutes of a drill bit or end mill jammed with aluminum will tell you that certain metals do indeed behave in unhelpful ways. But a new research paper seeks to shed light on the gummy metal phenomenon, and may just have machinists stocking up on office supplies.
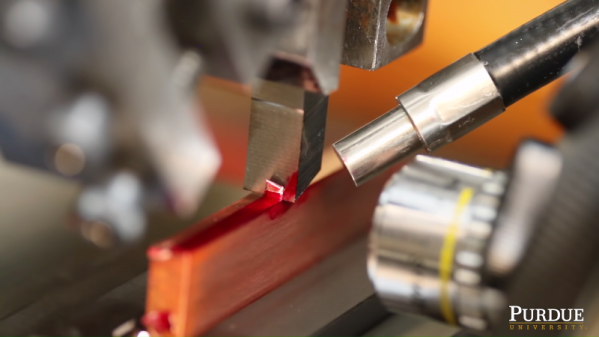
It’s a bit counterintuitive that harder metals like steel are often easier to cut than softer metals; especially aluminum but also copper, nickel alloys, and some stainless steel alloys. But it happens, and [Srinivasan Chandrasekar] and his colleagues at Purdue University wanted to find out why, and what can be done about it. So the first job was to get up close and personal with the interface between a cutting tool and metal stock, to observe the dynamics of cutting. In a fascinating bit of video, they saw that softer metals tend to fold in sinuous patterns rather than breaking on defined shear planes.
Source: American Physical Society.
Having previously noted that cutting through Dykem, a common machinist’s marking fluid, changes chip formation in soft metals, the researchers tested everything from Sharpies to adhesive tape and even correction fluid, and found that they all helped to reduce the gumming action to some degree. Under their microscope they can clearly see that chips form differently once the cutting edge hits the treated surface, tending to act more brittle and ejecting rather than folding. They also noted a marked decrease in cutting force for the treated metal, and much-improved surface finish to boot.
Will Sharpies and glue sticks enter the book of old machinist’s tricks like gauge-block wringing? Only time will tell. But for now, this is a pretty fascinating bit of research that you might be able to put to the test in your shop. Let us know what you find in the comments.
Continue reading “Sharpies And Glue Sticks Fight The Gummy Metal Machining Blues”