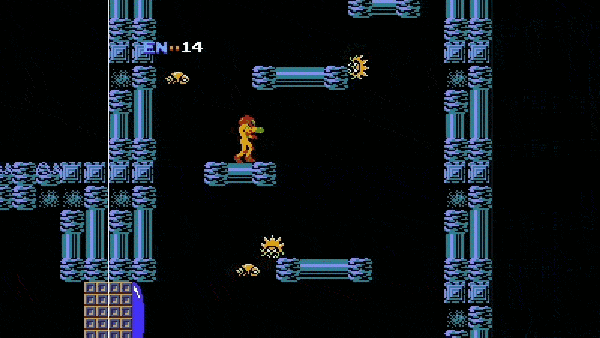
The NES was one of the flagship consoles of the glorious era that was the 1980s. Many of the most popular games on the platform involved some sort of adventure through scrolling screens — Metroid, Super Mario, and Zelda all used this common technique. For many games, keeping track of the map was a huge chore and meant mapping by hand on graph paper or using the screenshots published in Nintendo Power magazine. These day’s there’s a better way. [Daniel] set out to automatically map these huge two-dimensional worlds, developing software he calls WideNES to do it.
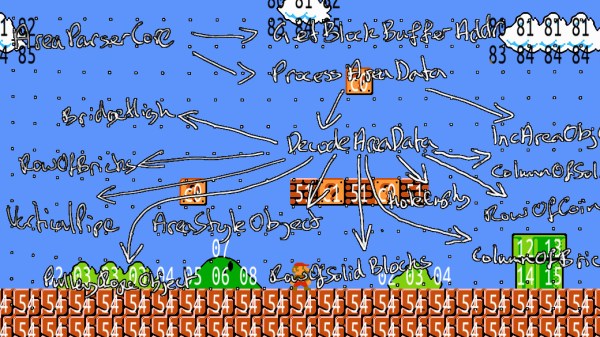
WideNES is an add-on to [Daniel]’s own NES emulator, ANESE. As part of the emulator, WideNES can easily read the various registers of the NES’s Picture Processing Unit, or PPU. The registers of the PPU are used to control the display of the background and sprite layers of NES graphics, and by monitoring these, it is possible to detect and map out the display of levels in various NES games.
It’s an interesting piece of software that relies on a thorough understanding of the NES display hardware, as well as the implementation of some neat tricks to deal with edge cases such as vertical scrolling in The Legend of Zelda or room changes in games like Castlevania — the use of perceptual hashing is particularly genius. There’s source and more available on the project page, including a GitHub link, if you’re interested in getting down to brass tacks.
We’re impressed by the manner in which WideNES is able to so neatly map out these games of yesteryear, and can’t wait to see where the project goes next. [Daniel] notes that it should be possible to integrate into more popular emulators without too much trouble. If that’s not enough, check out this reverse-emulation Nintendo hack.
[Thanks to Michael for the tip!]