We know this feeling all too well [YOHON!] spent $340 building, lubing, and filming a custom keyboard and it still wasn’t perfect until they got the keycaps sorted. They bought blank ‘caps because they’re awesome, but also because they wanted to make their own custom ‘caps for all those painstakingly lubed and filmed Gateron yellows. At first [YOHON!] thought about doing it DIY dye-sublimation style with a hair straightener and polyimide tape, but that is too permanent of a method. Instead, [YOHON!] wanted room to experiment, make changes, and make mistakes.
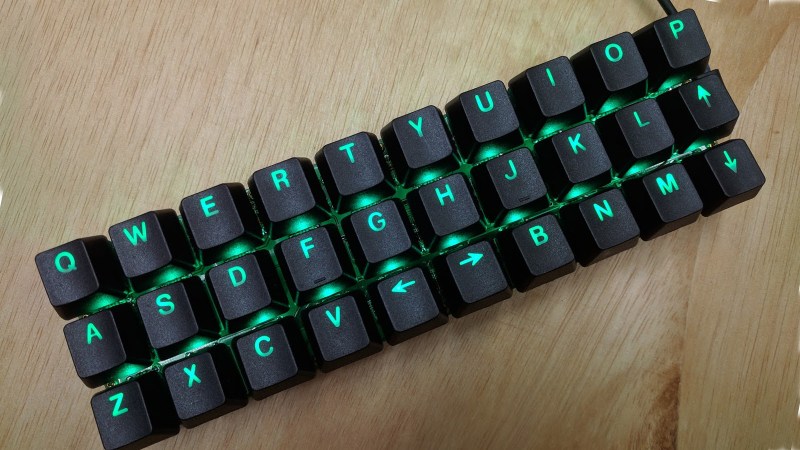
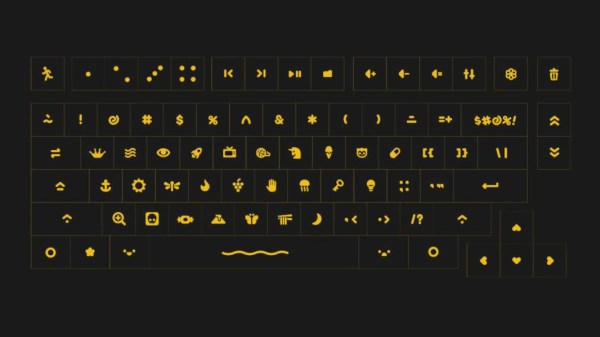
 Eventually, [YOHON!] learned about waterslide decals and settled on doing them that way. Every step sounds arduous, but we think it was way worth it because these look great. Since [YOHON!] wanted the keyboard to be weird, they designed a cute little symbol for each key which gives it a cryptic-but-accessible Wingdings feel.
We think these pictograms are all totally adorable, and we particularly like the owl for O, the volcano for V, and of course, the skeleton for X is a solid choice. Oh, and there’s a tiny fidget spinner knob to round out the cuteness. Designing and applying the keycaps took longer than the entire keyboard build, but you can check out the sped-up version after the break.
Want to just throw money at the keycaps problem? You may not want an entire keyboard full of cheeseburger and hot dog keycaps, but one or two fun keycaps are pretty cool to have. If you want to make your custom keycaps more permanent and don’t like the dye sublimation trick, try 3D printing them.