[Alex Rissato] proudly reports that he now holds the record for highest benchmark score on HWBOT (machine translation); something he sees not only as a personal achievement but admirably, of national pride. Overclocking a Raspberry Pi is not as simple as achieving the highest operational clock rate. A record constitutes just the right combination of CPU clock, memory clock, GPU clock and finally the CPU core voltage. If you’ve managed to produce that special sauce, the combination must be satisfactorily cooled and most importantly be stable enough to pass an actual performance benchmark.
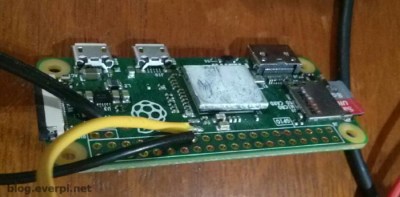
[Alex] realized that the main hurdle to achieving the desired CPU clock was the internally generated and hence restricted, CPU core voltage; This is externally LC filtered and routed back to the CPU on a stock Pi. [Alex] de-soldered the filter on the PCB and provided the CPU with an externally generated core voltage.
Next, the cooling had to be tended to. Air cooling simply wouldn’t cut it, so a Peltier based heatsink interface had to be devised with the hot side immersed in a bucket of salt water. All of this translated to a comfy 16C at a clock speed of 1600 MHz.
Was all the effort justified? We certainly think it was! Despite falling short of the Pi zero CPU clock rate record, currently set at 1620MHz, [Alex] earned the top spot in the HWBOT Prime overclocking benchmark. Brazil can now certainly add this to its trophy cabinet, arguably overshadowing the 129 Olympic medals.