This Mini Soviet Micro Will Have Astounding Attention To Detail

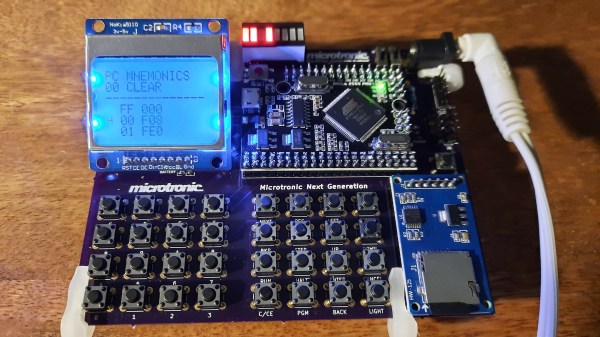
As the retro craze has gone mainstream, we’ve grown used to seeing “mini” versions of classic hardware, preloaded with a selection of games and ready for a wallow in nostalgia. Unfortunately for fans of the less well known platforms, the only devices to get the mini treatment so far are popular ones such as the Nintendo consoles, or the Commodore 64. This is something [Svofski] is aiming to change for one classic micro, by producing a mini version of the Soviet Vector-06c. And unlike the Commodore with its fake keyboard, this one will work in its entirety and have a fully-functional keyboard.

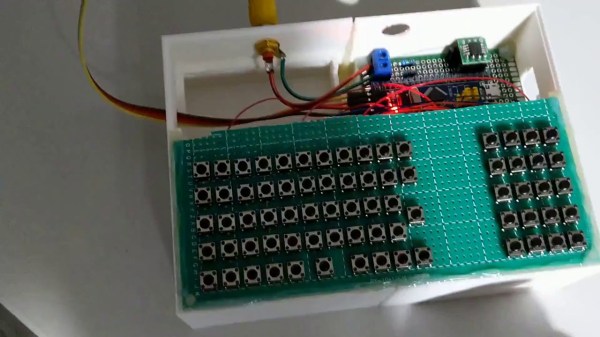
It’s a build that’s not finished yet. But in this case that’s no bad thing, because such is the extreme attention to detail that you’ll want to stick around and watch it unfold. The electronics will come courtesy of an FPGA recreation of the hardware, while the Vector’s unique keyboard is being recreated in miniature, with keycaps designed to fit a particular Alps switch. These are 3D-printed, painted, and then marked with their decals using stencils carefully etched from copper sheet. Even if you have no interest in the Vector-06c, these techniques could find a place in so many other projects.

The wonderfully ingenious and diverse world of Soviet technology has found its way onto these pages many times over the years, including at least one other microcomputer, and even a supercomputer. If your interests extend behind the Iron Curtain though, you might wish to read our colleague [Voja Antonic]’s account of hacking in Communist Yugoslavia.

Reverse Engineering The Charge Pump Of An 8086 Microprocessor

You’d think that the 8086 microprocessor, a 40-year-old chip with a mere 29,000 transistors on board that kicked off the 16-bit PC revolution, would have no more tales left to tell. But as [Ken Shirriff] discovered, reverse engineering the chip from die photos reveals some hidden depths.

The focus of [Ken]’s exploration of the venerable chip is the charge pump, a circuit that he explains was used to provide a bias voltage across the substrate of the chip. Early chips generally took this -5 volt bias voltage from a pin, which meant designers had to provide a bipolar power supply. To reduce the engineering effort needed to incorporate the 8086 into designs, Intel opted for an on-board charge pump to generate the bias voltage. The circuit consists of a ring oscillator made from a trio of inverters, a pair of transistors, and some diodes to act as check valves. By alternately charging a capacitor and switching its polarity relative to the substrate, the needed -5 volt bias is created.

Given the circuit required, it was pretty easy for [Ken] to locate it on the die. The charge pump takes up a relatively huge amount of die space, which speaks to the engineering decisions Intel made when deciding to include it. [Ken] drills down to a very low level on the circuit, with fascinating details on how the MOSFETs were constructed, and why eight transistors were used instead of two diodes. As usual, his die photos are top quality, as are his explanations of what’s going on down inside the silicon.

If you’re somehow just stumbling upon [Ken]’s body of work, you’re in for a real treat. To get you started, you’ll want to check out how he found pi baked into the silicon of the 8087 coprocessor, or perhaps his die-level exploration of different Game Boy audio chips.

Myst ‘Demake’ For The Apple II

Making certain games run on systems which were never designed to run such games (or any games at all) is a favorite hobby of some, with [deater] being no exception. His latest creation involves porting Myst to the Apple II, or ‘demake’ in his own words. This means taking a game that was released in 1993 for MacOS and later for Windows 3.1 and the original PlayStation, and creating a version that works on an 8-bit system from 1977.

Obviously the graphical fidelity has been turned down some compared to the 1990s version, but at this stage much of the game’s levels have been implemented. For anyone who has ever played the game before, much of the visuals will be instantly recognizable. According to [deater], the game should run on any Apple II/II+/IIe, with at least 48 kB of RAM, but 64 kB needed for sound effects. If a Mockingboard sound card is installed, it will even play the intro theme.

On the project page the (currently) three floppy disks can be downloaded, with the source available on Github. While one is there, one can also check out [deater]’s ‘Another World’ port to the Apple II which we covered last year.

Continue reading “Myst ‘Demake’ For The Apple II”

Die Photos Reveal Logic From Commodore 128 PLA Chip

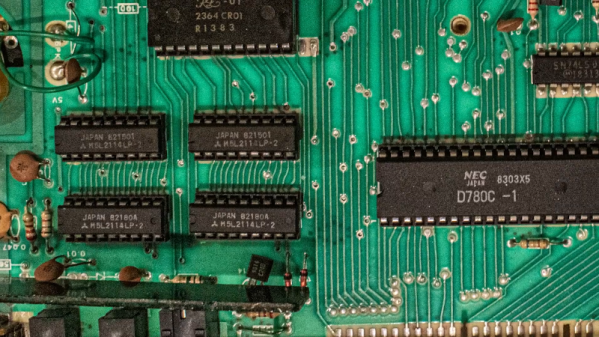
The 8721 PLA, or programmable logic array, was one of the chips that had to be invented to make the Commodore 128, the last of the 8-bit computers that formed the leading edge of the early PC revolution, a reality. [Johan Grip] got a hold of one of these chips and decided to reverse engineer it, to see what the C-128 designers had in mind back in mid-1980s.

PLAs were the FPGAs of the day, with arrays of AND gates and OR gates that could be connected into complex logic circuits. [Johan]’s investigation started with liberating the 8721 die from its package, for which he used the quick and easy method favored by [CuriousMarc]. The next step was tooling up, as the microscope he was using proved insufficient to the task. Even with a better microscope in hand, [Johan] still found the need to tweak it, adding one of the new high-quality Raspberry Pi cameras and motorizing the stage with some stepper motors and a CNC controller board.

With optics sorted out, he was able to identify all the pads on the die and to find the main gate array areas. Zooming in a little further, he was able to see the connections between the matrices of the AND and OR gates, which makes decoding the logic a relative snap, although the presence of what appears to be an output block with latching functions confounds this somewhat.

The end result is a full Verilog HDL file that reflects the original 8721 logic, which we think is a pretty neat trick. And we’d love it if our own [Bil Herd] could chime in on this; after all, he literally designed the C-128.

Smoking Meat With A Commodore 64

When [Deadline] couldn’t find a replacement control module for his Masterbuilt electric smoker, he could have just tossed the thing in the trash. Instead, he decided to come up with his own system to take over for the smoker’s original brain. Basing it around the nearly 40 year old Commodore 64 probably wouldn’t have been our first choice, but it’s hard to argue with the end result.

Connectors to control the smoker’s hardware.

At the most basic level, controlling an electric smoker like this only requires a temperature sensor, a relay to control the heating element, and something to get those two devices talking to each other. But for the best results you’ll also want some kind of a timer, and an easy way to change the target temperature on the fly. Connecting the relay and temperature sensor up to the back of the C64 was easy enough, all he had to do was write the BASIC code to glue it all together.

This hack was made considerably easier thanks to the fact that the Masterbuilt’s original controller interfaced with the smoker by way of a couple relatively well documented connectors. So instead of having to mess with any of the mains voltage electronics, he simply had to bring a wire in the connector high to fire up the smoker’s heating element. This bodes well for anyone looking to replace the controller in a similar smoker, with a C64 or otherwise.

In the past we’ve seen some very impressive custom smoker controllers that look as though they could easily be adapted for use with these commercial units. Though the true smoke aficionados might prefer building the entire thing to their exacting specifications.

Continue reading “Smoking Meat With A Commodore 64”

Homebrew 16-Bit Computer Is A Wire-Wrapped Work Of Art

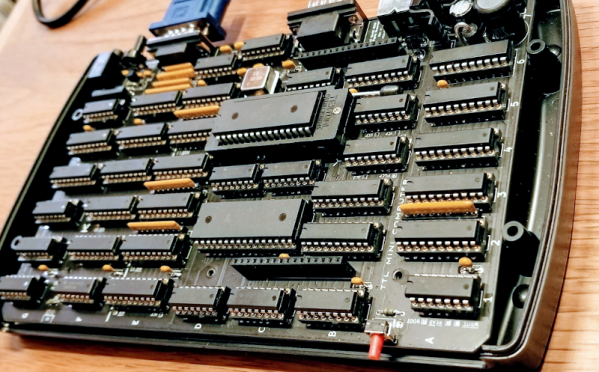
Breadboard 8-bit computer builds seem all the rage these days, and with good reason: building your own CPU from the board up using discrete logic chips is a great way to really learn how microprocessors work. Not to mention that it’s an incredible flex. But once you’ve conquered the eight-bit, what do you do? Easy: build a 16-bit computer from 74HC logic chips.

Attentive readers will likely remember this computer’s builder, [Paulo Constantino], from his previous work on 8-bit breadboard computers. As gloriously entropic as that tangled mass of wires was, it must have been a nightmare for [Paulo] to maintain. And so when the time came to upgrade, he wisely chose a more integrated construction method. The construction method is wire-wrapping, with multiple cards plugged into backplane and connected by ribbon cables. The whole card cage is far neater than the previous build, and seems to lend itself to rapid modifications. The top card in the cage acts as a control panel for now; eventually, [Paulo] planes to put a real front panel on the cage to support all the switches and blinkenlights such builds demand. Stretch goals include supporting audio and video and getting the machine online so anyone can log in.

The video below is an overview of the current state of the machine; earlier videos in the playlist cover the design and build in more detail. We hope to see schematics soon, and we’d love to know where to get some of those wire-wrap PCBs for projects of our own.

Continue reading “Homebrew 16-Bit Computer Is A Wire-Wrapped Work Of Art”

Portable CP/M Runs The Classics Anywhere

If you want to run an old CP/M program — maybe you want to run WordStar or play StarTrek — you have several options. One is to acquire some classic hardware. You can also build a new computer using a Z80 or some other processor that will emulate a Z80. Finally, you can emulate old hardware on your current computer. The iz-cpm project from [ivanizag] takes this last approach. Unlike some emulators, iz-cpm doesn’t try to emulate everything in one simulated environment. Instead, it directly accesses your file system so it allows CP/M executables to run more as though they were a native program.

You can think of it as Wine for CP/M. The code is portable to Linux, Windows, or MacOS. The author mentions, though, that it won’t run on CP/M itself! The program can run an executable standalone which means you could set .COM files up to execute automatically if you wanted to.

Continue reading “Portable CP/M Runs The Classics Anywhere”