What do you get when you cross a self-taught maker with an enthusiasm for all things Nerf? A mobile nerf gun platform capable of 15 darts per second. Obviously.
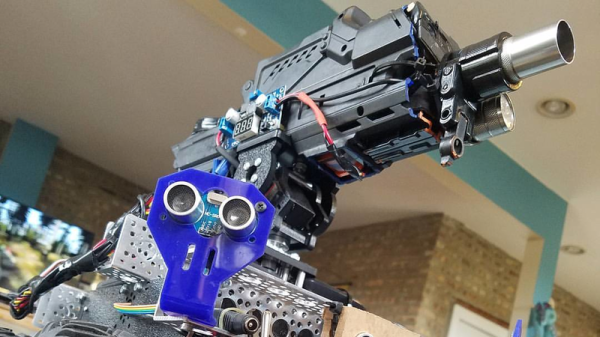
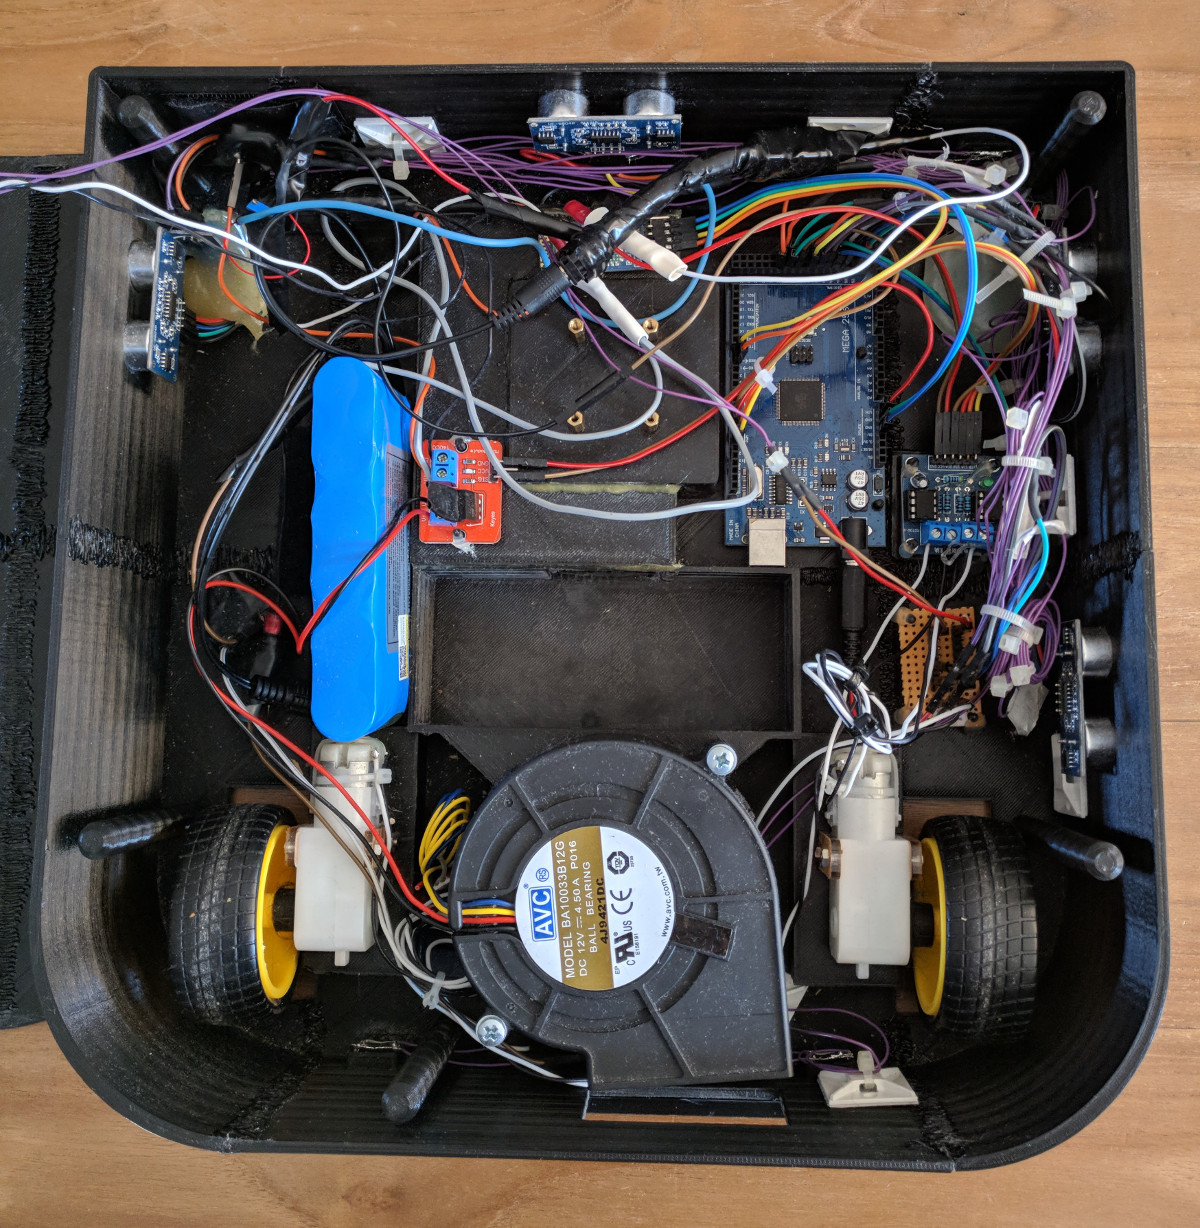
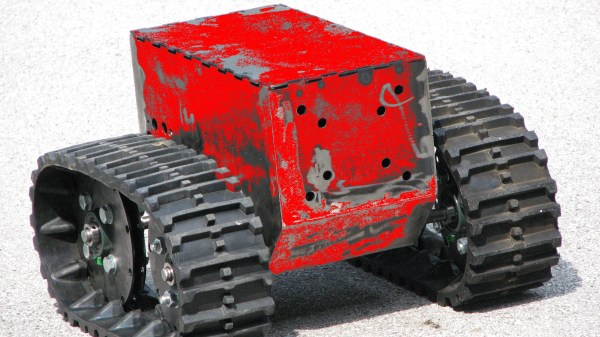
The M1 NerfBot built by [GrimSkippy] — posting in the ‘Let’s Make Robots’ community — is meant to be a  constantly updating prototype as he progresses in his education. That being the case, the progress is evident; featuring two cameras — a webcam on the turret’s barrel, and another facing forward on the chassis, a trio of ultrasonic sensors, controlled by an Xbox 360 controller, and streaming video to a webpage hosted on the M1 itself, this is no mere beginner project.
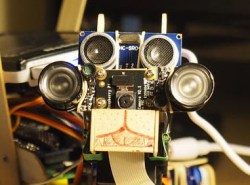
Perhaps most compelling is how the M1 tracks its targets. The cameras send their feeds to the aforementioned webpage and — with a little reorganization — [GrimSkippy] accesses the the streams on an FPV headset-mounted smartphone. As he looks about, gyroscopic data from the phone is sent back to the M1, translating head movement into both turret and chassis cam movement. Check it out!
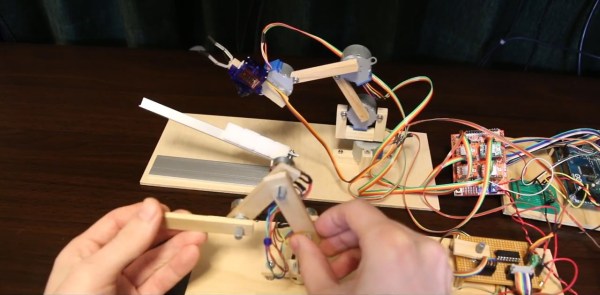
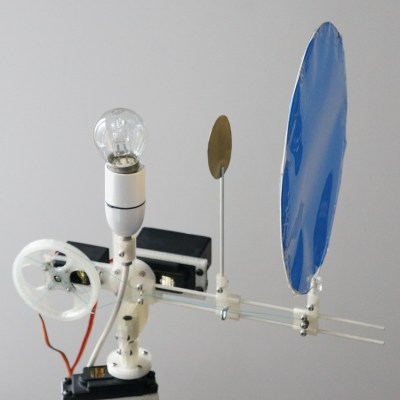 This is an older project, but the electromechanical solution used to create
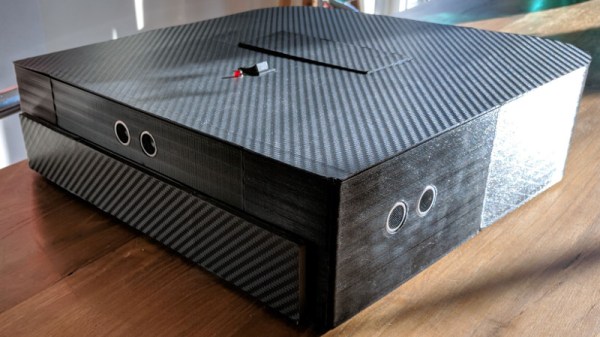
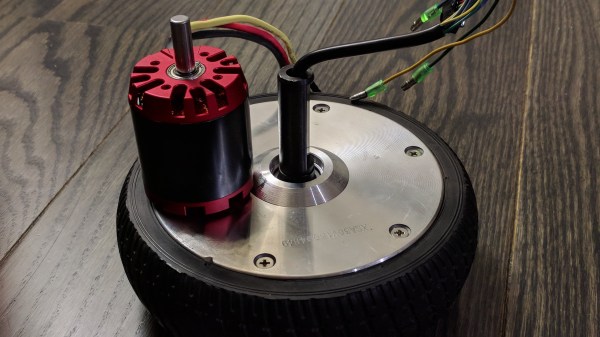
 [madcowswe] starts by pointing out that the entire premise of ODrive (an open-source brushless motor driver board) is to make use of inexpensive brushless motors in industrial-type applications. This usually means using hobby electric aircraft motors, but robotic applications sometimes need more torque than those motors can provide. Adding a gearbox is one option, but there is another: so-called “hoverboard” motors are common and