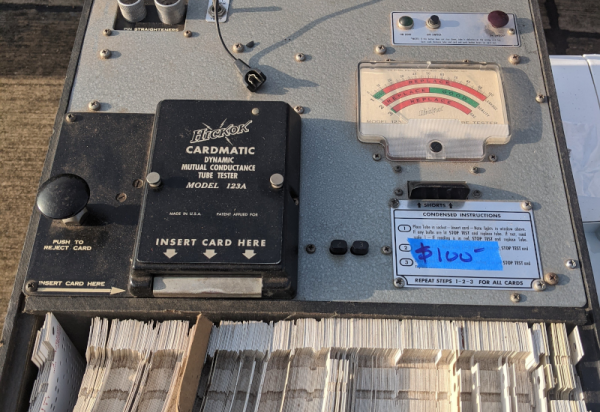
There’s no doubting the utility of the trusty solderless breadboard, but you have to admit they’re less than perfect. They’re not ideal for certain types of circuits, of course, but that’s less of a problem than those jumper wires. The careless will end up with their components hopeless tangled in a rat’s nest of jumpers, while the fastidious will spend far more time making the jumpers neat and tidy than actually prototyping the circuit itself. What to do?
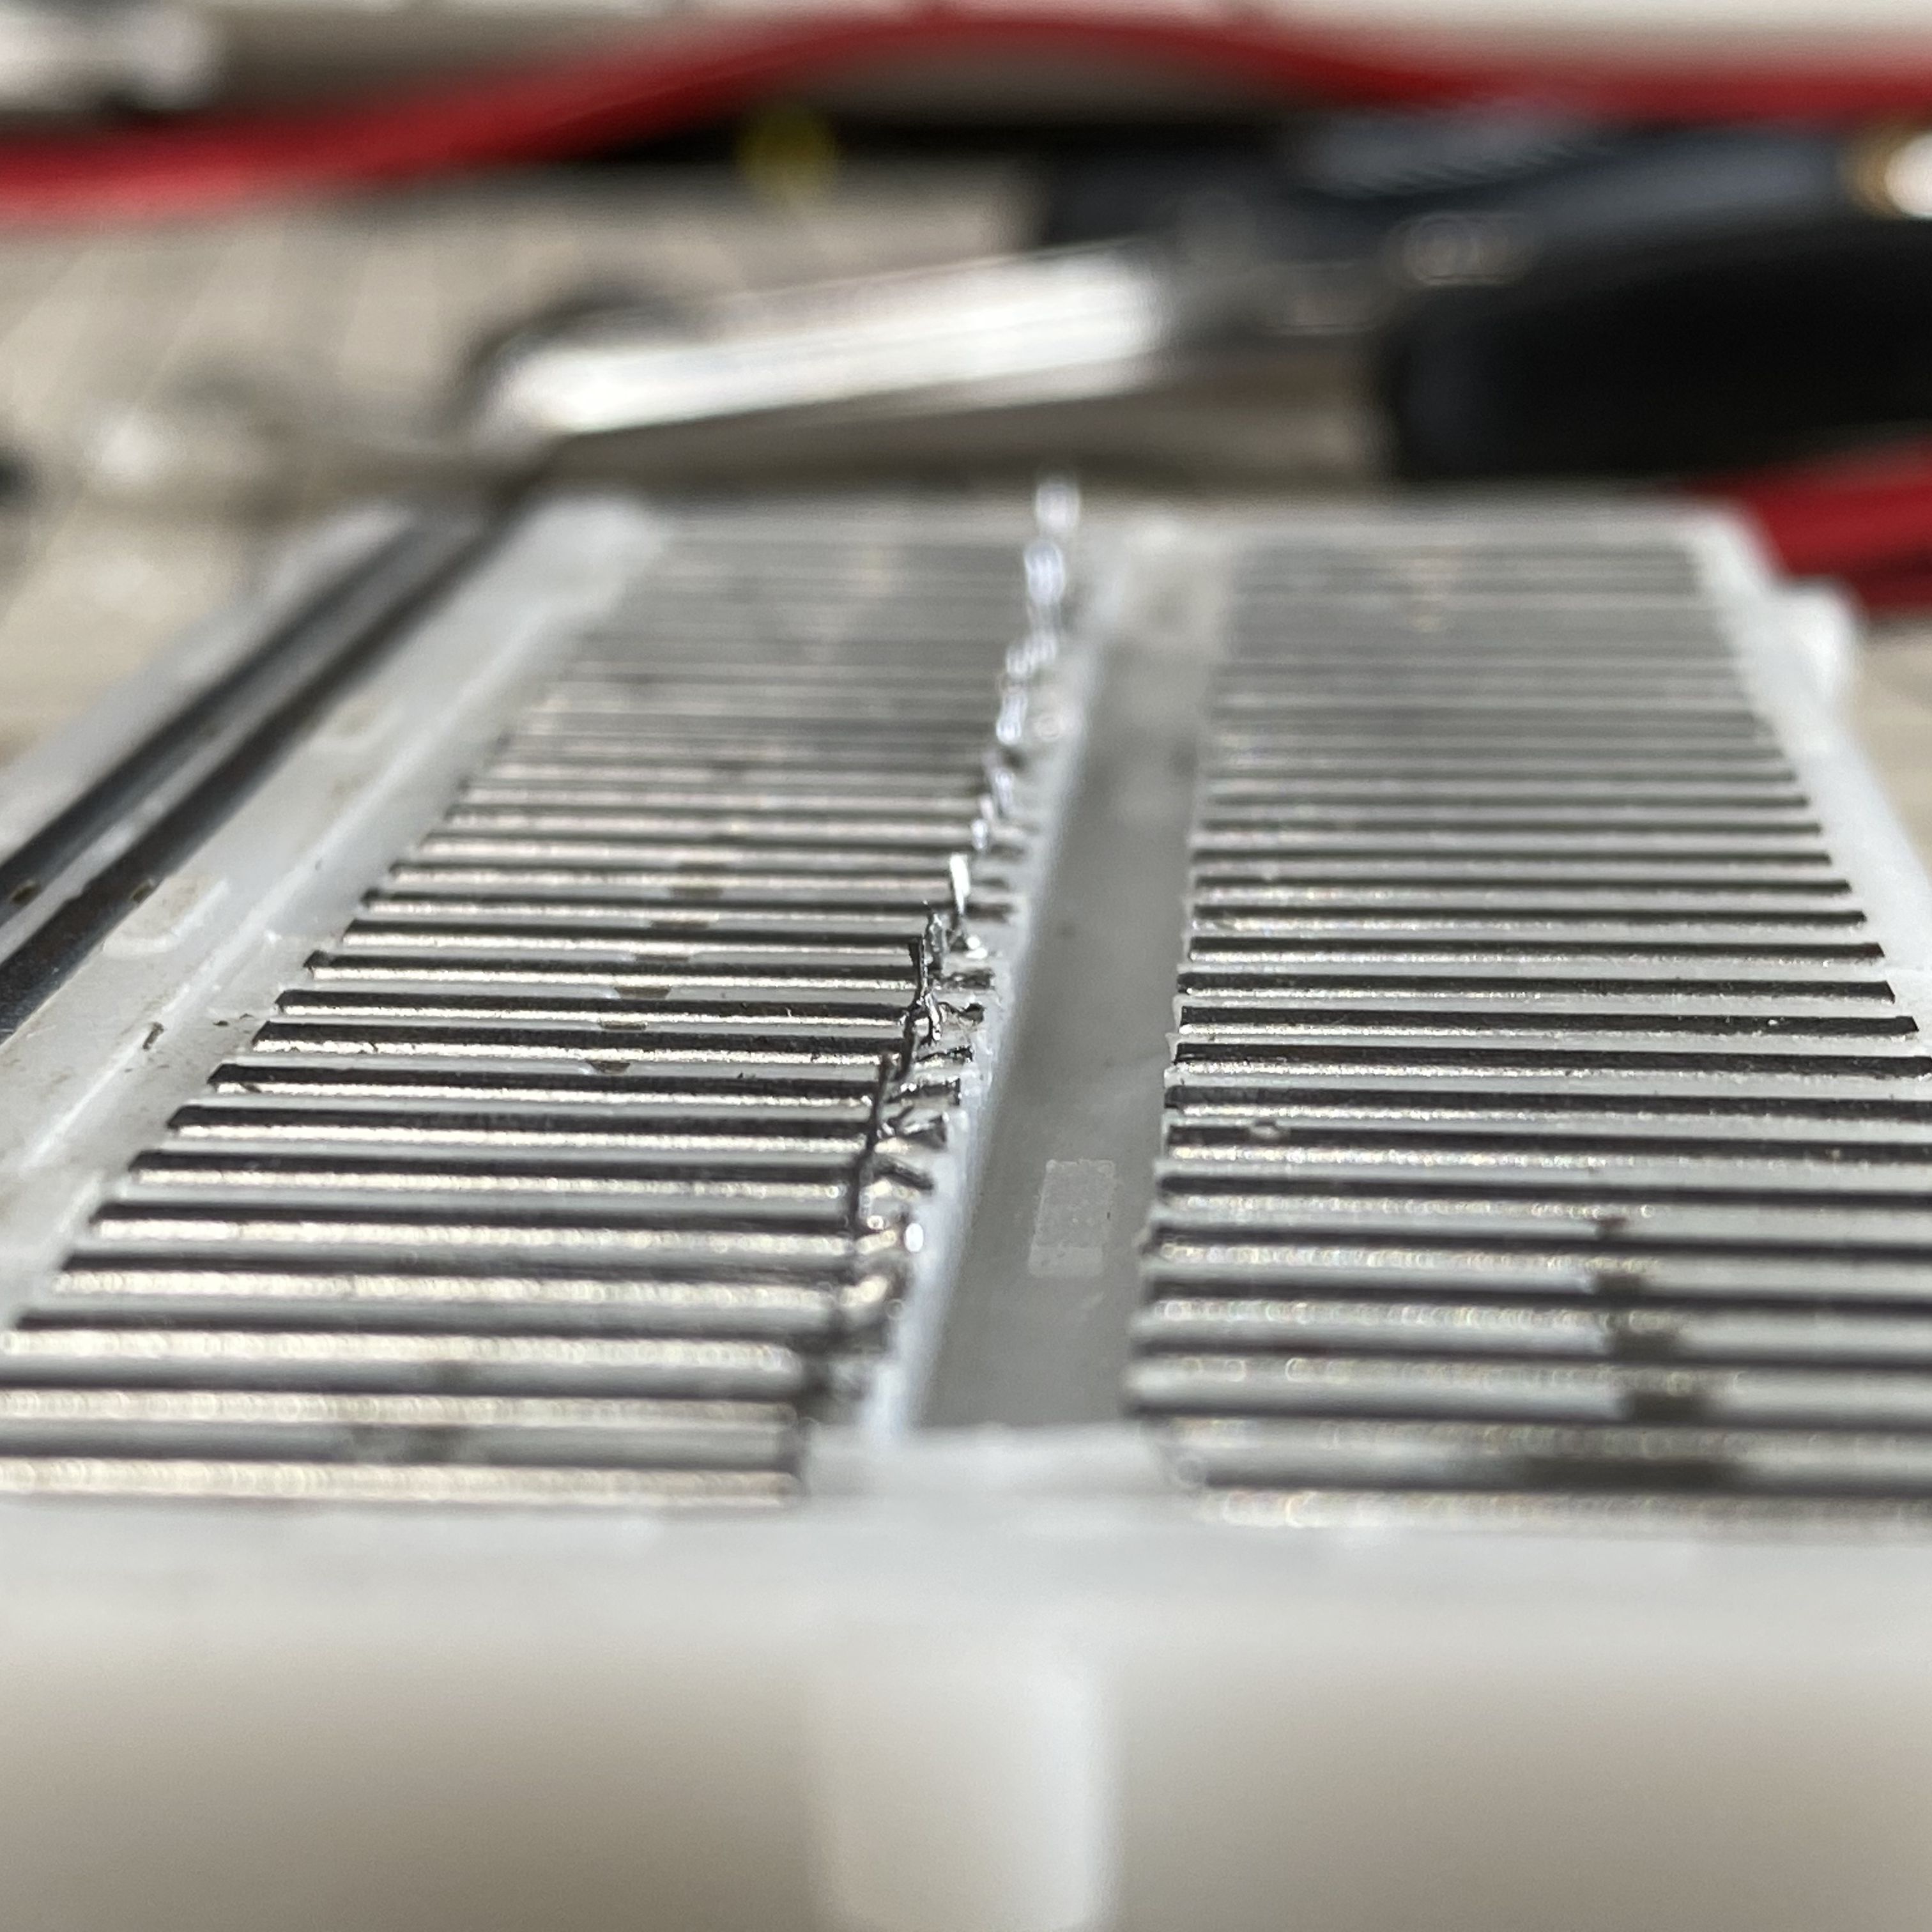 One way to crack this nut is to make the solderless breadboard jumperless, too. That’s the idea behind “breadWare” a work-in-progress undertaken by [Kevin Santo Cappuccio]. The idea is to adapt a standard breadboard so that connections between arbitrary pairs of common contact strips — plus the power rails — can be made in software. The trick behind this is a matrix of analog CMOS switch chips, specifically the MT8816AP. Each chip’s 128 crosspoint switches can handle up ± 12 volts, so there are plenty of circuits that can use these programmable silicon jumpers.
[Kevin] is currently on version 0.2, which is sized to fit under a solderless breadboard and make a compact package. He shared details on how he’s connecting to the breadboard contacts, and it looks like a painful process: pull out the contact, cut a small tab at the gutter-end, and bend it down so it forms a lead for a through-hole in the PCB. It seems like a lot of work, and there must be a better way; [Kevin] is clearly open to suggestions.
While we’ve seen crosspoint switching used to augment solderless breadboarding before, we find this project pleasing in its simplicity. The thought of tossing out all those jumpers is certainly tempting.