String shooters are exciting because they adhere to the laws of physics in that peculiar way that makes us ask, “How?” and “Why?” After a bit of poking and prodding, maybe some light rope burn, we probably have a few ideas on how we’d make our own. [Nick Belsten] and [Joey Rain] saw some desktop models and thought, “Let’s make that puppy eighty feet long!” Video also embedded after the break.
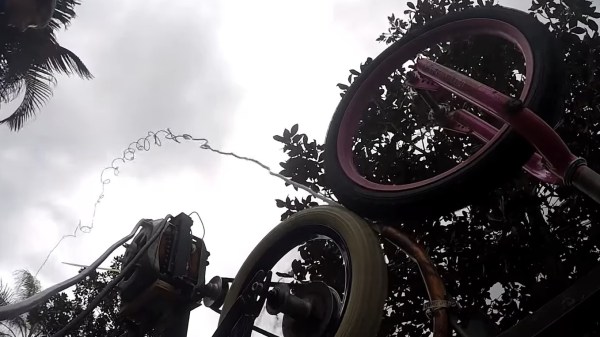
Instead of hobby motors, flashlight batteries, and toy car wheels, they choose a washing machine motor and bike tires, then plug into an extension cord. The three-minute video isn’t a how-to build because once you start welding this kind of hardware together, you are already flying by the seat of your pants. You will see a front yard with people delighting in the absurdity of launching rope continuously over the treetops. There’s plenty of room for observing a wave traveling along the cord or polishing your fingernails in a hurry.
We want to make string shooters for the office and add our personal flavor, like lights or colored string so they’re safe to touch. If you have a unique twist on any physics experiments, drop us a line, but for insurance reasons, we’ll add that you should not make a chainsaw without a guide bar, aka, the forbidden chain-saber.